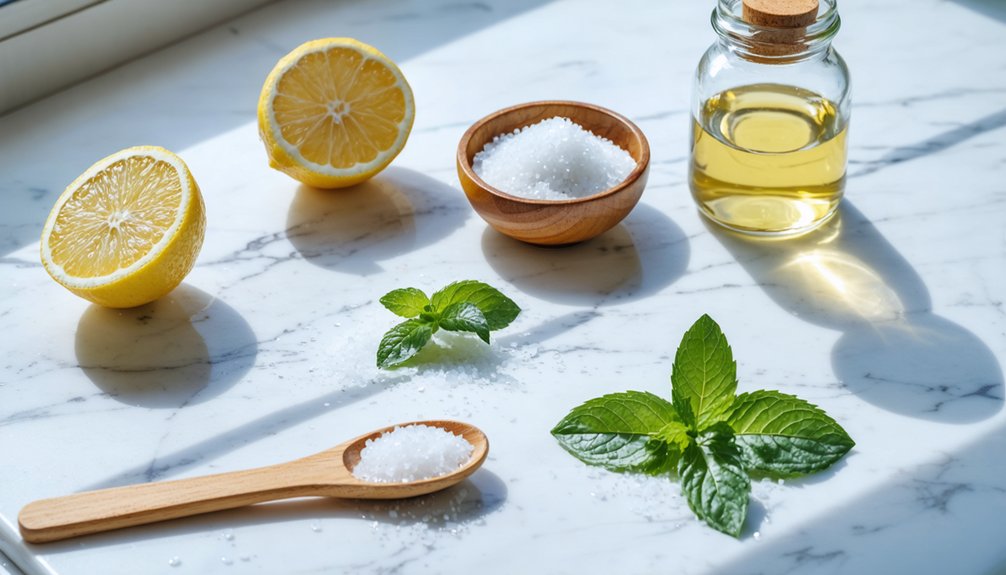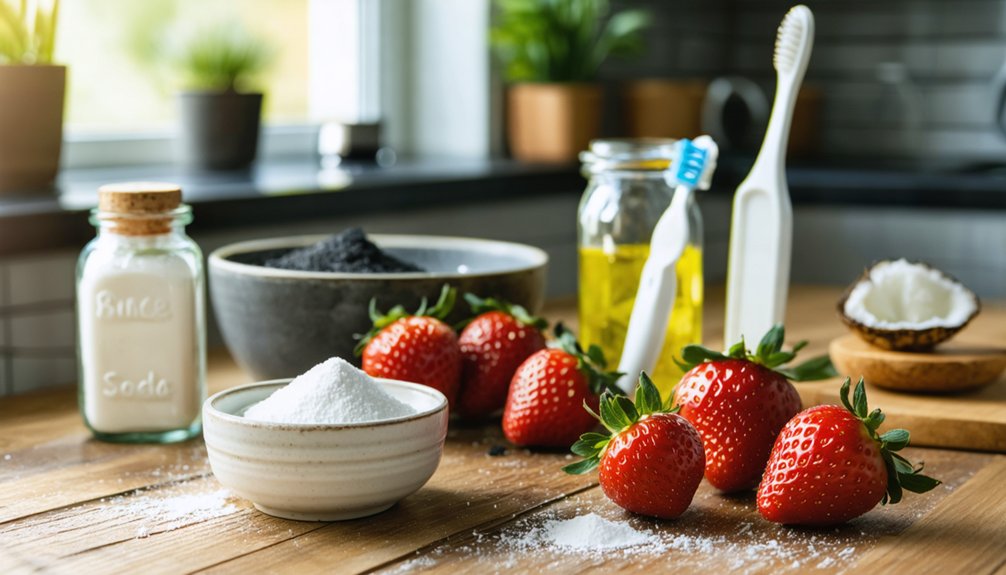
You can whiten your teeth at home using items like baking soda, diluted hydrogen peroxide, and oil pulling, but results depend on the type of stain. Surface stains respond well to these methods, while deeper intrinsic stains don’t. Aggressive DIY treatments like lemon juice or activated charcoal can permanently erode your enamel. Choosing the right approach matters more than trying everything at once. Keep exploring to find out which methods are actually worth your time.
Key Takeaways
- Baking soda mixed with water gently scrubs surface stains; use two to three times weekly to protect enamel.
- Diluted hydrogen peroxide (3% concentration) used as a mouth rinse effectively targets surface stains without causing damage.
- Oil pulling with coconut oil for 15–20 minutes may modestly reduce plaque and surface stains.
- Crunchy foods like apples, carrots, and celery act as natural abrasives, helping remove surface stains daily.
- Limit acidic methods like lemon juice or vinegar, as frequent use permanently erodes protective enamel.
Which Tooth Stains Actually Respond to Home Whitening
Not all tooth stains respond the same way to home whitening methods, so understanding the difference can save you time and prevent accidental damage.
Surface stains, called extrinsic stains, come from natural stain sources like coffee, tea, red wine, and tobacco. These respond best to household remedies because they sit on the enamel’s outer layer.
Intrinsic stains, however, form within the tooth’s structure due to aging, medication, or trauma, and home methods rarely affect them.
Enamel protection matters most when choosing your approach. Aggressive scrubbing or acidic treatments won’t reach intrinsic discoloration but can erode the enamel protecting your teeth.
If your staining runs deep, a dentist can identify the cause and recommend treatments that actually work without causing lasting harm.
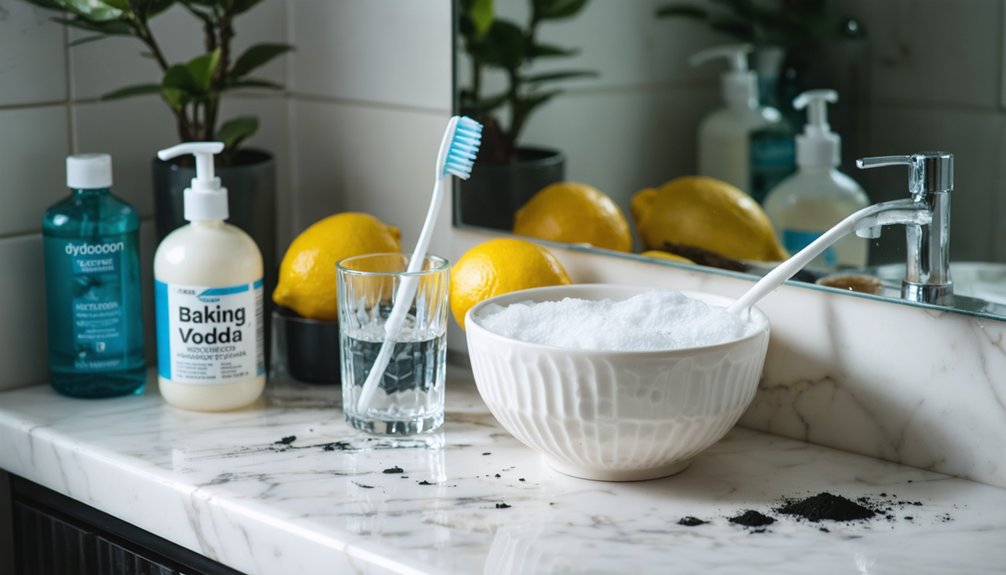
Baking Soda: The Most Reliable Way to Whiten Teeth at Home
Baking soda works as a mild abrasive that physically scrubs surface stains from enamel, and studies cited by dental sources confirm that toothpastes containing it remove plaque more effectively than those without.
To use it at home, mix one teaspoon of baking soda with two teaspoons of water to form a paste, apply it to your teeth, and brush gently for two minutes.
Limit use to a few times per week, since excessive application can gradually wear down enamel over time.
Why Baking Soda Works
When it comes to household whitening methods, baking soda stands out as one of the more reliable options because its mild abrasive texture physically scrubs surface stains off enamel.
Among the core baking soda benefits is its low-risk profile when used occasionally—it removes buildup without the harsh acid erosion associated with many baking soda alternatives like lemon juice or apple cider vinegar.
Studies cited by dental sources also confirm that commercial toothpastes containing baking soda outperform non-baking-soda formulas in plaque removal.
However, you shouldn’t rely on it daily, as repeated abrasion can gradually wear enamel.
Used sparingly and correctly—typically mixed as a paste with water—baking soda gives you measurable control over surface discoloration without unnecessary risk.
How To Apply It
Mixing baking soda correctly makes a real difference in how safely and effectively it works.
Don’t fall for whitening myths suggesting more paste means faster results—it doesn’t.
Follow these evidence-based steps to apply it properly:
- Combine 1 teaspoon of baking soda with 2 teaspoons of water to form a paste
- Apply the paste directly onto your toothbrush
- Brush gently for two minutes using circular motions
- Rinse thoroughly to remove all residue
- Limit use to two or three times weekly to protect enamel
Among natural alternatives, baking soda remains one of the most research-supported options.
However, you must stay consistent with regular brushing and flossing daily—baking soda only addresses surface stains, not deeper discoloration requiring professional treatment.
Safe Usage Frequency
Once you’ve mastered the application, knowing how often to use baking soda matters just as much as how you apply it. Limit use to two or three times per week.
Daily scrubbing accelerates enamel erosion, undermining the very results you’re chasing. Despite circulating whitening myths, more frequent application doesn’t produce faster or deeper whitening — it only increases risk.
Between sessions, rely on fluoride toothpaste and consistent flossing to maintain progress.
Natural alternatives like crunchy vegetables or oil pulling can complement your routine without abrasive risk.
Monitor your teeth for sensitivity; if it develops, reduce frequency immediately.
How to Use Hydrogen Peroxide Safely to Whiten Teeth at Home
When using hydrogen peroxide at home, you’ll want to dilute it properly—mix one part 3% hydrogen peroxide with one part water, or go even lighter at a 1-to-4 ratio if your teeth are sensitive.
Swish the solution for 30 to 60 seconds, then spit and rinse thoroughly.
Don’t use it daily, as overuse can cause tooth sensitivity and may compromise enamel over time.
Safe Dilution Ratios
Hydrogen peroxide is effective as a mild bleaching agent, but getting the dilution right matters for protecting your enamel and gums.
Using safe mixtures and correct dilution ratios keeps sensitivity and irritation minimal.
- Mix 1 part 3% hydrogen peroxide with 1 part water for a standard rinse.
- For a gentler option, combine 1 part hydrogen peroxide with 4 parts water.
- Swish the solution for 30 to 60 seconds, then spit completely.
- Never swallow the mixture, regardless of how diluted it is.
- Limit use to a few times per week to avoid triggering tooth sensitivity.
Overuse is where most people go wrong.
Stick to pharmacy-grade 3% concentrations only—stronger formulas dramatically increase your risk of enamel damage and gum irritation.
Avoiding Overuse Risks
Getting the ratios right is only half the equation—how often you use hydrogen peroxide matters just as much. Overuse consequences include temporary tooth sensitivity, gum irritation, and gradual enamel erosion. For enamel protection, limit hydrogen peroxide rinses to two or three times per week at most.
Don’t extend swishing beyond 60 seconds, and always rinse thoroughly with water afterward. If you notice increased sensitivity or discomfort, stop use immediately and allow your teeth time to recover.
Keep in mind that hydrogen peroxide addresses surface stains only. It won’t correct deep, intrinsic discoloration regardless of how frequently you use it.
For persistent staining that doesn’t respond to careful home methods, consult a dentist about professionally supervised whitening options instead.
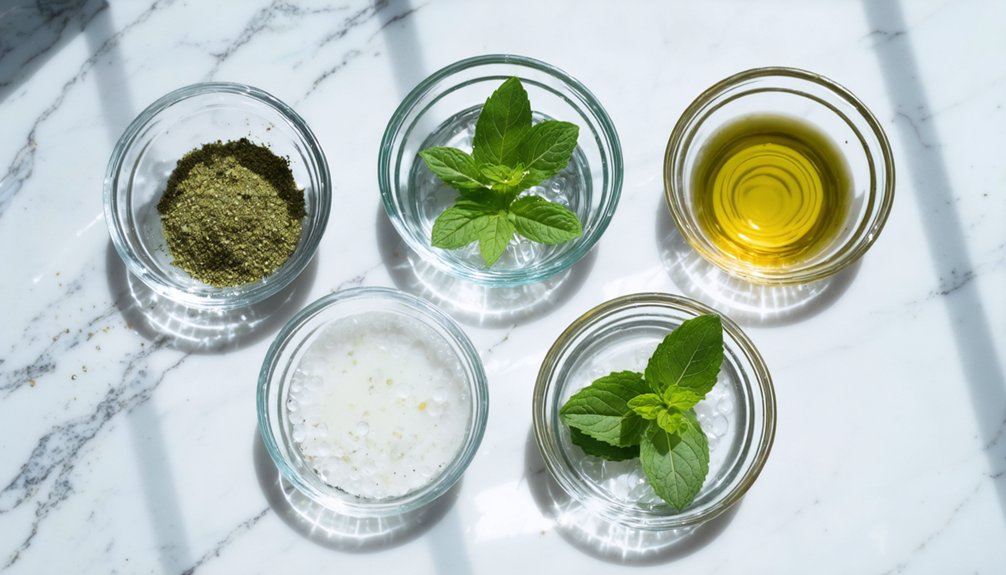
Does Oil Pulling Actually Whiten Your Teeth?

Oil pulling has gained popularity as a natural oral health practice, but you should understand what the evidence actually supports before expecting dramatic whitening results.
Research on oil pulling benefits remains limited, and you shouldn’t rely on it as a primary whitening method. Be mindful of oil pulling risks like wasted time if you’re substituting it for proven habits.
Here’s what you need to know:
- Use one tablespoon of coconut oil and swish for 15–20 minutes.
- Evidence suggests modest reductions in bacteria, plaque, and gingivitis.
- Whitening effects target surface stains only, not deep discoloration.
- Never swallow the oil; it collects bacteria during pulling.
- Always brush and floss afterward to maintain real oral hygiene gains.
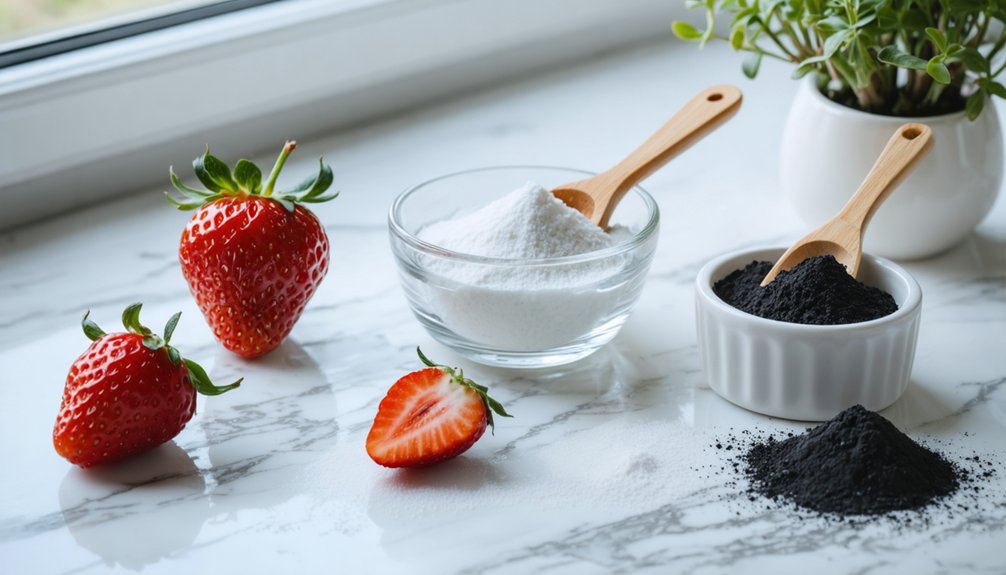
Strawberry Paste and Other Fruit-Based Whitening Methods
Fruit-based whitening methods like strawberry paste may seem appealing, but the evidence supporting them is weak and the risks to your enamel are real.
Strawberry effectiveness is largely overstated — the fruit acids and mild abrasion from added baking soda may lift minor surface stains temporarily, but they don’t produce lasting whitening.
Strawberry-based whitening is overstated — temporary stain removal, yes, but lasting results? The evidence simply isn’t there.
Worse, those same fruit acids can erode enamel if you apply them too frequently or don’t rinse thoroughly afterward.
Banana peel rubbing and citrus peel scrubbing carry similar concerns with even less supporting evidence.
If you choose to try any fruit-based method, use it sparingly, limit contact time, and rinse completely with water.
For persistent discoloration, these remedies won’t deliver meaningful results — professional treatment remains the more reliable path forward.
Crunchy Foods That Help Scrub Stains While You Eat
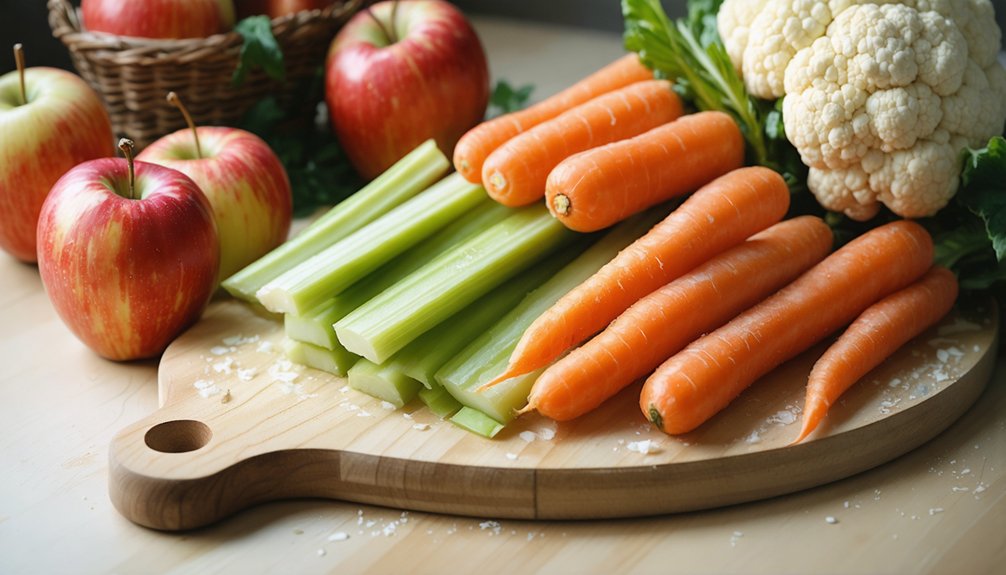
Crunchy raw vegetables and fruits offer a simple, natural way to reduce surface stains as part of your everyday diet.
These natural abrasives work while you chew, gently scrubbing tooth surfaces without extra effort. Crunchy vegetables like carrots and celery also stimulate saliva flow, which helps neutralize acids and wash away debris.
Consider adding these stain-fighting options to your routine:
- Apples – fibrous texture scrubs enamel surfaces during chewing
- Carrots – firm crunchy vegetables that promote saliva production
- Celery – acts as a natural abrasive with high water content
- Broccoli – rough florets help clean between teeth naturally
- Cucumbers – mild abrasion combined with hydrating properties
These foods support oral hygiene but won’t reverse deep intrinsic discoloration.
Pair them with consistent brushing for best results.
Household Ingredients That Can Quietly Damage Your Enamel
While some household whitening methods offer modest benefits, others can quietly erode the very enamel you’re trying to brighten.
Lemon juice, apple cider vinegar, and other acidic mixtures rank among the most misleading whitening myths circulating online. Despite their reputation for stain removal, repeated acidic exposure weakens your enamel permanently, since enamel doesn’t regenerate once lost.
Acidic whitening myths don’t just fail — they permanently strip the enamel they claim to brighten.
Activated charcoal presents a similar risk. Its aggressive abrasiveness may polish surface stains short-term, but the long-term effects include structural enamel damage that accelerates sensitivity and discoloration.
You should always rinse thoroughly after any acid-based method and limit frequency sharply.
If you’re experiencing persistent staining, enamel erosion from DIY remedies will only deepen the problem. A dentist-supervised treatment remains the safer, more effective path forward.
Signs Your DIY Whitening Routine Is Causing Harm
Even with the best intentions, your DIY whitening routine can cross from helpful to harmful before you notice the damage. Enamel damage often develops gradually, making early recognition critical for protecting your teeth.
Watch for these warning signs:
- Increased sensitivity to hot, cold, or sweet foods after whitening treatments
- Gum irritation or soreness that lingers beyond 24 hours
- Chalky or rough tooth surfaces indicating enamel erosion
- Translucent tooth edges, especially near the tips of front teeth
- Worsening discoloration despite consistent DIY whitening efforts
If you notice any of these signs, stop your current routine immediately. Continuing despite these signals accelerates irreversible enamel damage.
Consult a dentist to assess the harm and identify safer, more effective whitening alternatives suited to your specific situation.
How to Build a Simple Teeth-Whitening Routine at Home
Building a sustainable home-whitening routine starts with selecting one or two core methods—such as an occasional baking soda paste or a diluted hydrogen peroxide rinse—rather than combining multiple approaches that could stress your enamel.
Schedule these treatments no more than once or twice a week, keeping regular brushing and flossing as your daily foundation.
Track your progress over four to six weeks by noting any sensitivity, color changes, or gum irritation, and scale back immediately if warning signs appear.
Picking Your Core Methods
Once you understand what these household methods can and can’t do, picking a simple routine becomes much easier.
Focus on natural whitening approaches that prioritize enamel protection above cosmetic results.
Choose methods based on evidence and safety:
- Baking soda paste (occasional use, 1–2 times weekly) for mild surface stain removal
- Diluted hydrogen peroxide rinse (1:1 ratio, 30–60 seconds) for light bleaching effects
- Crunchy raw foods like apples and carrots to mechanically reduce daily buildup
- Oil pulling as a supplementary step, not a primary whitening solution
- Whitening fluoride toothpaste as your daily foundation for stain prevention
Don’t combine acidic and abrasive methods in the same session.
Rotate carefully, monitor sensitivity, and stop any method that causes discomfort.
Scheduling Weekly Whitening Steps
Turning individual methods into a consistent weekly routine is where most people either see results or give up too early.
Spread your natural alternatives across the week rather than stacking them on one day. Use a baking soda paste once or twice weekly, a diluted hydrogen peroxide rinse two to three times weekly, and reserve oil pulling for mornings when you have 15–20 minutes available.
Don’t let whitening myths push you into daily overuse—enamel erosion compounds quietly over time. Eat crunchy raw vegetables regularly and brush with a whitening fluoride toothpaste daily.
Track your routine for four weeks before evaluating results. Surface stains respond to consistency; if discoloration persists beyond that window, consult a dentist rather than intensifying home treatments.
Monitoring Progress Over Time
Sticking to a weekly schedule gets you started, but knowing how to read your results keeps you on track without pushing too far. Progress evaluation requires honest observation, not guesswork. Tracking results consistently helps you adjust methods before overuse causes sensitivity or enamel wear.
- Photograph your teeth weekly under consistent lighting for accurate comparison.
- Note any sensitivity after each whitening session and scale back if it increases.
- Limit surface-stain methods to occasional use, not daily application.
- Recognize that household items address only extrinsic stains, not deep discoloration.
- Consult a dentist if discoloration persists beyond several weeks of consistent effort.
Measuring change objectively prevents you from overusing abrasive or acidic remedies. If your tracking results show no improvement after a reasonable period, professional treatment becomes the more effective option.
Signs You Need Professional Whitening Instead
Sometimes, no matter how consistently you apply household remedies, the results simply don’t come — and that’s a clear sign you’re dealing with more than surface stains.
Signs discoloration runs deeper include gray or brown hues, uneven patches, or staining linked to medications, trauma, or aging enamel. These are intrinsic issues that household methods simply can’t reach.
If you’ve followed safe whitening routines for several weeks without noticeable improvement, it’s time to seek a professional evaluation.
A dentist can identify whether you need bleaching trays, in-office peroxide treatments, or veneers for severe cases.
Continuing to apply abrasive or acidic remedies beyond their limits risks enamel damage without delivering results.
Recognizing when to escalate your approach isn’t a setback — it’s smart, informed decision-making.
Frequently Asked Questions
Can Teeth Whitening Household Methods Affect Dental Crowns or Veneers?
Household methods won’t whiten crowns or veneers, yet they can worsen crown sensitivity and cause veneer staining. You’re preserving natural teeth while risking restorations—consult your dentist before applying any whitening remedy to protected surfaces.
How Long Does It Typically Take to See Noticeable Whitening Results?
You’ll typically notice results in two to four weeks with consistent whitening frequency. Natural alternatives target surface stains only, so don’t expect overnight changes—persistent discoloration may require professional treatment instead.
Is It Safe to Whiten Teeth While Pregnant or Breastfeeding?
Over 85% of dentists advise against whitening during pregnancy. You should avoid most whitening methods due to pregnancy safety and breastfeeding concerns—stick to brushing, flossing, and crunchy foods until you’ve consulted your doctor.
Can Children or Teenagers Safely Use Home Whitening Methods?
You shouldn’t use home whitening methods on children or teenagers without consulting a dentist. Age considerations matter because developing enamel is more vulnerable, and sensitivity concerns make these treatments potentially harmful to younger, still-maturing teeth.
Does Drinking Water After Whitening Treatments Improve or Reduce Effectiveness?
Drinking water after whitening treatments won’t reduce effectiveness—it actually offers water benefits by rinsing away residue. You’ll want to mind treatment timing; wait briefly before eating or drinking anything acidic to protect your enamel.
References
- https://www.absolutedental.com/blog/natural-teeth-whitening-tricks/
- https://www.healthline.com/nutrition/whiten-teeth-naturally
- https://mytoothhq.com/6-simple-ways-to-naturally-whiten-your-teeth-at-home/
- https://www.myimagedental.com/blog/whiten-teeth-at-home-one-day/
- https://www.armandhammer.com/en/articles/how-to-whiten-teeth-with-baking-soda
- https://www.aarp.org/health/healthy-living/foods-that-whiten-teeth-naturally/
- https://www.youtube.com/watch?v=qGkzrHzJUBU
- https://www.medicalnewstoday.com/articles/322421
- https://mypenndentist.org/dental-tips/2024/02/29/safe-ways-to-whiten-teeth-naturally/
- https://www.urmc.rochester.edu/news/publications/health-matters/diy-teeth-whitening-too-good-to-be-true