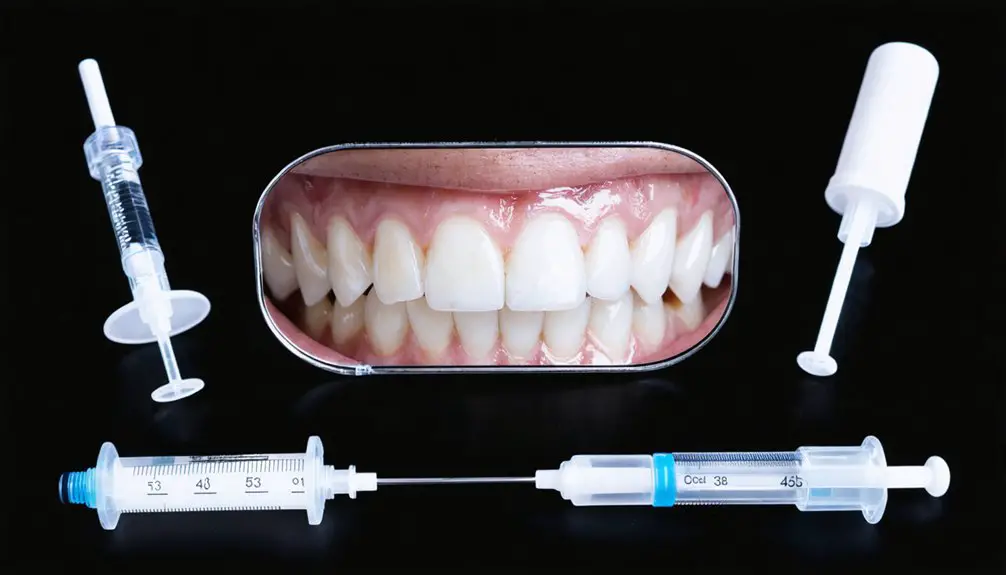
You’ll find that home teeth whitening kits use peroxide-based agents to break down stain molecules through oxidation reactions. To get the best results, you’ll need to choose between strips, trays, or LED systems based on your sensitivity level and time commitment. Always consult your dentist first, as improper use can damage enamel and gums. When used correctly with proper oral hygiene, these kits can safely transform your smile – and understanding the complete process will guarantee your success.
Key Takeaways
- Choose between peroxide-based whitening strips, LED systems, or tray kits based on your goals, budget, and time commitment.
- Prepare teeth by brushing and flossing thoroughly, ensuring they’re completely dry before applying any whitening product.
- Follow product instructions carefully, especially regarding application time and gel quantity, to avoid damaging teeth or gums.
- Avoid staining foods and drinks during treatment, and maintain good oral hygiene to maximize whitening results.
- Manage sensitivity by using specialized toothpaste and schedule regular touch-up treatments every six months for long-lasting results.
How Home Teeth Whitening Kits Actually Work
While teeth whitening may seem like a simple cosmetic procedure, the science behind home whitening kits involves complex chemical reactions between bleaching agents and stain molecules.
The primary whitening mechanisms rely on hydrogen peroxide or carbamide peroxide, which penetrate your tooth’s enamel and dentin layers.
These active ingredients create chemical interactions through oxidation, where unstable oxygen molecules target and break down stubborn stain compounds.
When these agents reach the deeper tooth layers, they convert double carbon bonds into single bonds, effectively fragmenting larger stain molecules into smaller, less pigmented ones.
The result is enhanced light reflection from your teeth’s surface.
A typical 10% carbamide peroxide solution will convert to 3.5% hydrogen peroxide during the whitening process.
Maintaining a proper pH balance during whitening helps prevent enamel damage and ensures safe, effective treatment.
You’ll find most home kits utilize either peroxide gels or strips, sometimes paired with LED activation to accelerate these natural chemical processes.
Choosing the Right Kit for Your Needs
With numerous whitening options available on the market, selecting the most suitable home teeth whitening kit requires careful consideration of your specific needs, sensitivity levels, and lifestyle factors.
When evaluating kit features against your user preferences, focus on achieving the best results while minimizing potential risks. Consulting with a dental professional first helps ensure the safest and most effective whitening approach for your unique situation.
Products typically achieve 2.6 shade improvement in a two-week period with consistent use.
- Assess your whitening goals – choose higher concentrations for stubborn stains or gentler options with PAP formulas if you have sensitive teeth.
- Consider your time commitment – strips offer quick applications while tray systems require longer sessions.
- Evaluate your budget constraints – LED systems cost more but may provide faster results.
- Factor in ease of use – pre-filled trays simplify application compared to custom-fit options requiring preparation.
Remember to prioritize clinically-tested products that align with your sensitivity level and desired outcomes.
Safety Considerations and Potential Side Effects
Although home teeth whitening kits can provide effective results, users must understand potential risks and side effects before beginning treatment.
Chemical exposure from unregulated products or overuse can damage tooth enamel, increasing cavity risk and sensitivity. Popular DIY ingredients like lemon juice and baking soda can permanently erode enamel. Improper tray fit may cause gum irritation, leading to redness, swelling, and potential tissue damage. Off-brand products often contain dangerous bleach concentrations that can severely damage oral tissues.
You’ll need to be especially cautious if you have dental restorations, as these won’t whiten along with natural teeth, resulting in uneven coloring.
It’s essential to consult a dentist before starting any whitening regimen, particularly if you have untreated cavities or gum disease. Always follow manufacturer instructions precisely and discontinue use if you experience persistent sensitivity or adverse reactions.
Professional supervision remains the safest approach to achieving your desired whitening results.
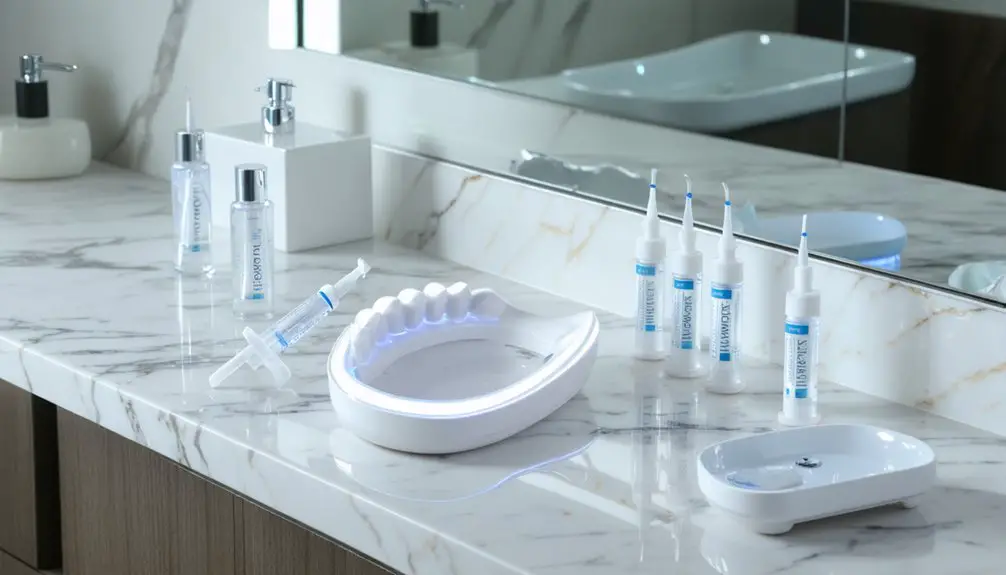
Step-by-Step Application Guide
Successful teeth whitening at home requires careful attention to a precise application process. Different gel types demand specific application techniques, but following proper steps guarantees ideal results while minimizing sensitivity and gum irritation. Using two 30-minute sessions back-to-back provides optimal whitening results.
Achieving professional-quality teeth whitening results at home depends on following detailed steps carefully to ensure safety and effectiveness.
- Prepare thoroughly by brushing and flossing teeth, then dry them completely to enhance gel adhesion. Using cool water and toothbrush to clean trays after each use helps maintain their effectiveness.
- Apply a small amount (approximately 0.25cc) of whitening gel to each tooth impression in the tray, focusing primarily on front teeth.
- Insert trays firmly against teeth, creating a proper seal, and wipe away any excess gel that may contact gums.
- Follow recommended wearing times based on your gel concentration – starting conservatively with 30 minutes for stronger gels (35%) or up to 8 hours for milder formulations (10%).
Remember to maintain strict post-treatment care, including thorough rinsing and avoiding staining substances for 24 hours.
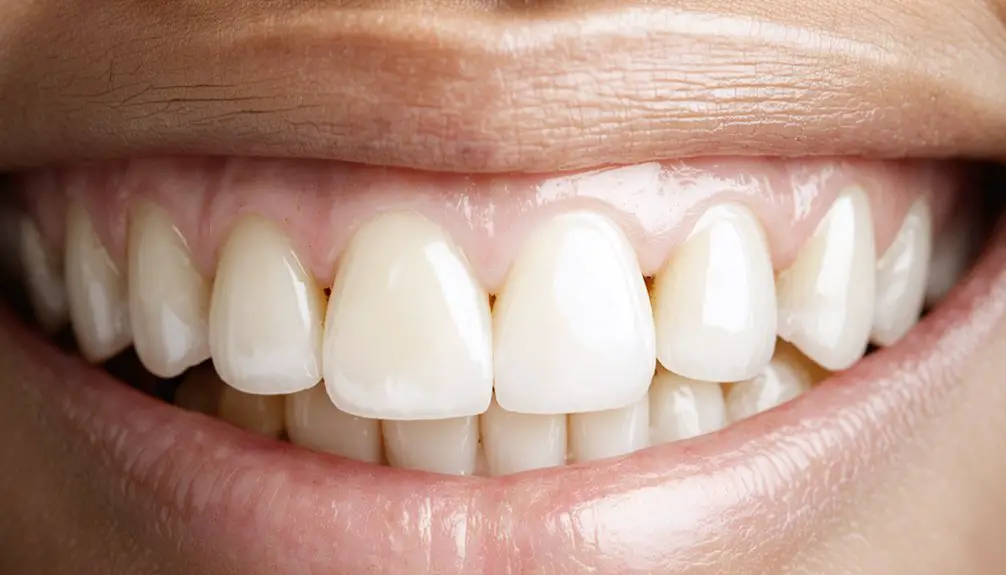
Maximizing Results and Maintaining Your Brighter Smile
Achieving ideal teeth whitening results requires more than just following application instructions – it’s about implementing a thorough maintenance strategy.
You’ll need to maintain excellent oral hygiene by brushing twice daily with a soft-bristled toothbrush and flossing regularly to prevent plaque buildup that leads to discoloration. Professional-grade whitening gels ensure stronger whitening effects compared to store-bought options.
To manage tooth sensitivity, use specialized toothpaste and avoid hot, cold, or acidic foods during treatment. Patients can take anti-inflammatory medication to help alleviate any discomfort during the whitening process.
You’ll want to steer clear of staining substances like coffee, tea, and red wine, especially during active whitening periods.
Store your whitening kit properly by keeping trays in a cool, dry place and gels refrigerated.
Schedule touch-up treatments every six months, and maintain results by consuming a balanced diet rich in crunchy fruits and vegetables.
Remember to monitor your progress and consult your dentist if you experience any concerns.
Frequently Asked Questions
Can I Use Teeth Whitening Kits While Pregnant or Breastfeeding?
While you’re enthusiastic to brighten your smile, safety concerns advise against teeth whitening during pregnancy and breastfeeding. Pregnancy guidelines recommend waiting until after these periods to avoid any potential risks to you and baby.
How Long Should I Wait After Dental Work Before Using Whitening Products?
You’ll need to wait 7-14 days after fillings and longer for other dental work. Consult your dentist for specific timing, as whitening sensitivity issues can affect different restorations. Don’t rush the process.
Will Whitening Treatments Affect My Crowns, Veneers, or Dental Fillings?
Picture your bright smile – but whitening treatments won’t change your dental restorations. Your crowns, veneers, and fillings will maintain their original color, potentially creating noticeable shade differences with your natural teeth.
Can Teenagers Safely Use Home Teeth Whitening Kits?
You shouldn’t use home whitening kits until age 14-16, following safety guidelines and age restrictions. Always consult your dentist first, as teen teeth are more sensitive to whitening chemicals.
Should I Get My Cavities Filled Before Starting a Whitening Treatment?
Like building a house on shaky ground, whitening without cavity treatment isn’t safe. You’ll need to get your cavities filled first to protect your teeth and guarantee whitening safety. It’s non-negotiable.
References
- https://healthcare.utah.edu/the-scope/health-library/all/2023/10/does-home-teeth-whitening-really-work
- https://www.loudfamilydentistry.com/blog/teeth-whitening-related-statistics-on-effectiveness-and-sensitivity-incidence
- https://pmc.ncbi.nlm.nih.gov/articles/PMC9915942/
- https://pmc.ncbi.nlm.nih.gov/articles/PMC4058574/
- https://www.matthewsfamilydentistry.com/blog/do-at-home-teeth-whitening-kits-work/
- https://sandlakedental.com/blog/understanding-the-science-behind-teeth-whitening/
- https://cdeworld.com/courses/21029-tooth-whitening-options-mechanism-of-action-and-safety-considerations
- https://www.salvatoredental.com/dental-services/blog/do-home-teeth-whitening-kits-work-which-ones-are-best
- https://www.colgate.com.au/oral-health/teeth-whitening/how-does-led-teeth-whitening-work
- https://prairiegardendental.com/the-science-behind-teeth-whitening-how-it-works/