For a reunion-ready smile, you’ll want to start whitening 4–6 weeks out. Use over-the-counter strips or professional take-home trays to build your baseline brightness, then schedule an in-office session 1–2 weeks before the event for a final boost of up to 8 shades. Avoid staining foods for 48 hours post-treatment, and manage sensitivity with desensitizing toothpaste. A whitening pen handles last-minute touch-ups beautifully. The full strategy ahead covers every detail you’ll need.
Key Takeaways
- Start at-home whitening 4–6 weeks before your reunion using OTC strips or professional take-home trays for foundational brightness.
- Schedule in-office whitening 1–2 weeks before the event, achieving up to 8 shades brighter in one 90-minute session.
- Use desensitizing toothpaste 1–2 weeks before treatments to minimize post-whitening sensitivity effectively.
- Avoid staining foods like coffee, wine, and berries for at least one week after whitening treatments.
- On reunion day, use a whitening pen for a quick, safe brightness refresh.
How Many Weeks Before Your Reunion Should You Start Whitening?
Timing your whitening treatment correctly can mean the difference between a confident smile and one that’s still settling when the photos are taken. Start at-home whitening two to three weeks before your reunion to build a foundational brightness without rushing results.
Timing your whitening correctly builds lasting brightness — start two to three weeks out and let results develop naturally.
If you’re pursuing in-office treatment, schedule it one to two weeks out, allowing sensitivity to subside before the event.
For heavy staining from coffee or smoking, begin six to eight weeks ahead, combining at-home strips with a final professional session.
Unlike dental veneers, whitening requires strategic timing rather than a single appointment.
Even tongue exercises can indirectly support oral confidence by improving overall mouth awareness during this preparation phase.
Control your timeline, and you’ll control your results.
In-Office Whitening: What It Costs and What to Expect
When you walk into a professional whitening appointment, you can expect results that no over-the-counter product can reliably match. Dentists apply a concentrated whitening gel activated by professional-grade heating lamps, brightening your teeth up to eight shades in a single session.
A 90-minute treatment runs up to $249, while a 60-minute session starts at $174. Keep in mind that dental insurance rarely covers cosmetic procedures, so plan for out-of-pocket costs.
You’ll likely experience some post-treatment sensitivity, which typically subsides within a few days. Schedule your appointment one to two weeks before your reunion to let that sensitivity resolve before the event.
That timing also guarantees your results remain at peak brightness when it matters most.
At-Home Whitening Methods That Actually Work
If you’re handling whitening at home, over-the-counter strips typically deliver visible results within one to two weeks of consistent use.
While professional take-home kits with custom trays require a two-to-three-week lead time.
You’ll get the best outcome by wearing your trays for roughly 15 minutes daily—preferably at night—and starting no later than three weeks before your reunion.
Timing is everything, so don’t wait; beginning your treatment within 48 hours of a dental cleaning gives you the cleanest possible foundation for maximum brightness.
Whitening Strips Timeline
Whitening strips are one of the most accessible at-home options, but they only deliver results if you give them enough time to work. One of the most persistent teeth whitening myths is that strips produce dramatic results within days. They don’t. Most over-the-counter strips require one to two weeks of consistent daily use before you’ll notice a meaningful difference.
If your teeth carry deeper dental stain sources—coffee, tea, red wine, or tobacco—expect to need the full two weeks, possibly longer. Start your strip regimen at least two to three weeks before your reunion. That timeline gives you visible brightness, allows any sensitivity to resolve, and leaves room for a touch-up if staining rebounds before the event.
Professional Take-Home Kits
Strips get the job done, but professional take-home kits take the results further. Your dentist custom-fits trays to your teeth, delivering consistent gel contact that store-bought options can’t replicate.
Worn 15 minutes daily over two weeks, they produce controlled, measurable brightening. Check whether your dental insurance covers any portion of the cost, as some plans include whitening benefits.
Key advantages of professional take-home kits:
- Custom trays eliminate uneven gel distribution
- Professional-grade concentration accelerates results
- Two-to-three-week lead time fits most reunion schedules
- Supports long-term oral hygiene without enamel compromise
- Allows dentist oversight to manage sensitivity safely
Start your kit two to three weeks before the reunion. This timeline builds a strong brightness foundation before any final in-office touch-up session.
Optimal Timing Tips
Timing your at-home whitening correctly separates a noticeable result from a disappointing one. Start your treatment two to three weeks before the reunion, giving enamel adequate time to stabilize and sensitivity to subside.
Begin within 48 hours of a professional tooth polishing appointment, when your teeth are cleanest and most receptive to whitening agents.
Incorporate daily dental flossing throughout your treatment to eliminate plaque buildup that blocks even penetration of whitening gel.
Avoid staining foods during the first two days post-treatment, as enamel remains highly susceptible during this window.
If your reunion falls further out, use a top-up session two weeks before the event to lock in brightness.
Never whiten the day before—results need two days to fully settle.
How to Combine At-Home and In-Office Whitening for Maximum Results
Starting your whitening journey four to six weeks before your reunion with a professional take-home kit builds the foundational brightness that makes in-office treatment far more effective.
You’ll want to schedule your in-office session roughly one to two weeks before the event, giving your enamel time to stabilize while keeping your results at peak brightness.
After both treatments, avoid staining foods, switch to a whitening toothpaste, and drink colored beverages through a straw to lock in the combined results.
Building Your Whitening Foundation
When combining at-home and in-office whitening, you’ll achieve the most dramatic results by treating each method as a distinct phase rather than interchangeable options. At-home treatments build your foundation; in-office sessions deliver the final transformation.
Prioritize gingival health before starting—use dental floss daily to eliminate plaque that blocks whitening agents from penetrating evenly.
Structure your approach strategically:
- Begin at-home whitening two to three weeks before your reunion
- Wear custom trays 15 minutes nightly for consistent baseline brightening
- Maintain gingival health with dental floss to ensure even product absorption
- Schedule your in-office session one to two weeks before the event
- Avoid staining foods during the critical 48-hour post-treatment window
This phased strategy maximizes penetration, controls sensitivity timing, and delivers measurable shade improvements you can see in photographs.
Timing Both Treatments
Combining at-home and in-office whitening into a single, coordinated timeline is how you achieve the most significant shade transformation before your reunion. Start your at-home foundation two to three weeks before the event, using customized trays nightly for approximately 15 minutes.
Then schedule your in-office boost one week out, allowing sensitivity to subside before the reunion arrives. Check whether your dental insurance covers any portion of professional treatment to manage costs strategically.
During your at-home phase, pair whitening with a durable, high-quality toothbrush — toothbrush durability directly affects how evenly you maintain surface cleanliness between sessions. Avoid staining foods during the critical post-treatment window, and drink colored beverages through a straw.
This coordinated approach gives you complete control over your results, timing, and final shade.
Maintaining Combined Results
Once your combined whitening timeline is complete, protecting those results becomes the priority. Your gum health and dental flossing habits directly impact how long brightness lasts—neglecting either accelerates stain buildup along the gumline.
- Avoid coffee, tea, red wine, and dark sauces for at least one week post-treatment.
- Drink staining beverages through a straw to minimize direct tooth contact.
- Floss daily to protect gum health and remove debris that contributes to discoloration.
- Switch to a whitening toothpaste to maintain your new shade between sessions.
- Rinse with water immediately after meals to neutralize staining agents.
Professional in-chair results can last six months or longer with consistent care. You’ve invested in the timeline—now control the outcome by treating maintenance as seriously as the treatment itself.
How to Manage Sensitivity Before Reunion Day
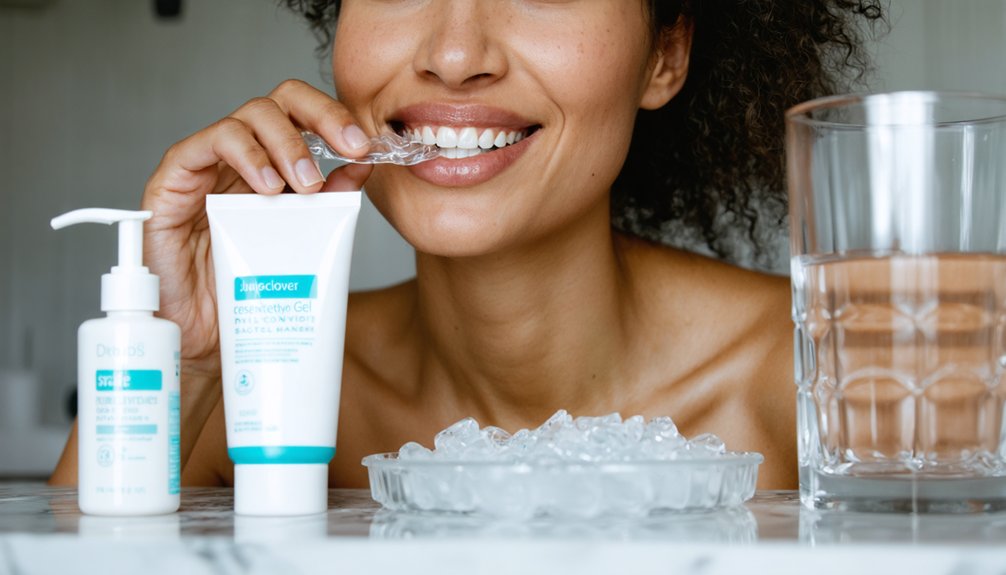
Tooth sensitivity is a common side effect of whitening treatments, but you can manage it effectively with the right preparation. Start using desensitizing toothpaste one to two weeks before your treatment to strengthen enamel and reduce whitening discomfort.
Never exceed recommended application times, as overexposure accelerates sensitivity and enamel irritation. Avoid mixing different whitening products, since combining formulas damages enamel structure and intensifies discomfort.
Schedule your final in-office session at least one to two weeks before your reunion, giving tooth sensitivity time to fully subside before the event. If sensitivity persists, consult your dentist immediately rather than continuing treatment.
Following this controlled timeline ensures your results settle properly while keeping you comfortable and confident on reunion day.
The Best Day-By-Day Timing Schedule Before Your Reunion
Planning your whitening schedule around a clear day-by-day timeline takes the guesswork out of achieving your brightest smile. A personalized consultation with your dentist helps debunk whitening myths and builds a precise plan tailored to your enamel.
- 4–6 weeks out: Begin at-home whitening to build a brightness foundation
- 2–3 weeks out: Start professional take-home trays, worn 15 minutes nightly
- 1–2 weeks out: Schedule your in-office session; allow sensitivity to fully subside
- First 48 hours post-treatment: Avoid coffee, red wine, dark sauces, and berries
- Day of reunion: Use a whitening pen for a quick refresh without triggering sensitivity
This structured approach keeps you in control, maximizes results, and ensures your smile looks settled and natural when it matters most.
Foods and Drinks to Avoid Before Your Reunion
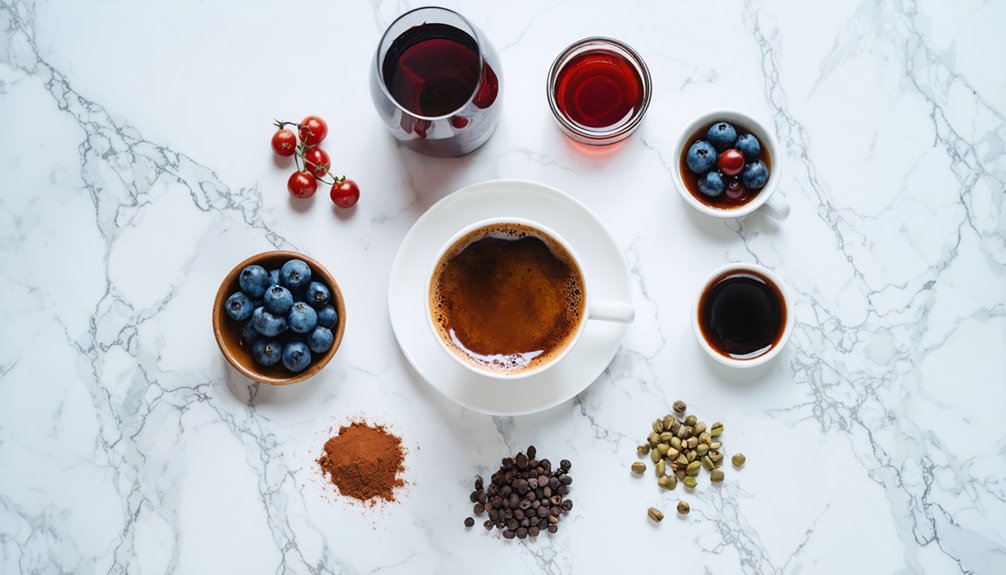
With your whitening timeline locked in, what you eat and drink in the days leading up to your reunion can make or break your results. The first two days post-treatment are your highest-risk window for staining, so eliminate coffee, tea, red wine, dark berries, tomato sauce, and soy sauce immediately.
Choose lighter-colored foods and rinse with water after every meal to neutralize staining agents. If you’re wearing a whitening mouthguard during this period, clean it thoroughly after each use to avoid reintroducing bacteria.
Maintain consistent dental flossing to clear debris from between teeth where stains accumulate. Drink colored beverages through a straw to minimize direct contact with enamel.
Controlling your diet during this critical window safeguards your investment and ensures your results hold through the event.
Quick Fixes If Your Reunion Is Just Days Away
If your reunion is just days away, you still have effective options to brighten your smile without risking sensitivity or enamel damage. Focus on targeted, low-risk strategies that deliver visible results quickly.
- Use ADA-approved whitening strips for a safe, immediate surface lift
- Apply a professional whitening pen for concentrated, fast-acting brightness
- Switch to whitening toothpaste and nonalcoholic mouthwash to combat discoloration
- Choose lip colors with blue undertones to visually enhance tooth whiteness in photos
- Book a quick dental polish—check whether your dental insurance covers cosmetic-adjacent cleanings
Pair these fixes with strong oral hygiene habits: brush twice daily, floss once, and rinse with water after meals. Avoid coffee, tea, and dark sauces until after the event to lock in every shade of progress.
How to Keep Your Teeth White After Your Reunion
Getting your smile reunion-ready is only half the battle—keeping it bright afterward is where long-term results are actually built. Don’t fall for common whitening myths suggesting that one treatment delivers permanent results. It doesn’t. Maintenance requires consistent daily habits.
Brush twice daily, floss once, and switch to a whitening toothpaste to prevent surface stain buildup. Limit coffee, tea, red wine, and dark sauces long-term—not just during the critical post-treatment window. Use a straw when drinking pigmented beverages to reduce direct tooth contact.
Schedule routine dental cleanings to preserve your results and prevent new stain accumulation.
One persistent dental myth is that frequent whitening accelerates brightness—it actually risks enamel damage. Instead, plan strategic touch-up sessions based on your lifestyle and your dentist’s recommended frequency.
Frequently Asked Questions
Can Teeth Whitening Treatments Affect Existing Dental Crowns or Veneers?
Whitening won’t touch your crowns or veneers—not even slightly. Bleaching agents can’t alter dental material compatibility, so you’ll notice crown discoloration contrasting against your newly brightened natural teeth. Consult your dentist before treatment to maintain a seamless, uniform smile.
Is Teeth Whitening Safe for People Who Are Pregnant or Breastfeeding?
You should avoid teeth whitening during pregnancy due to pregnancy safety concerns, as bleaching agents may pose unknown risks. For breastfeeding considerations, consult your dentist before proceeding, since professional guidance guarantees you’re protecting both your health and your baby’s.
Does Teeth Whitening Work Differently on Naturally Yellow Versus Gray-Toned Teeth?
Yes, your natural tooth color affects results. Yellow-toned teeth typically respond better to whitening due to higher shade compatibility, while gray-toned teeth often resist bleaching agents. Understanding your natural tooth color helps you choose the most effective treatment.
Can Whitening Treatments Interfere With Orthodontic Retainers or Clear Aligners?
Whitening treatments can interfere with retainers and clear aligners. You’ll risk uneven whitening longevity and increased dental sensitivity if you whiten while wearing them. Consult your dentist to coordinate a safe, effective whitening schedule around your orthodontic plan.
Are There Age Restrictions or Recommendations for Teeth Whitening Treatments?
Whitening isn’t for everyone at every age! You’ll want to weigh your age considerations and dental history carefully. Dentists typically recommend avoiding whitening for children, and you should always consult your dentist first.
References
- https://austincreekdental.com/blog/how-to-whiten-your-teeth-before-a-special-event/
- https://www.springfielddentist.net/blog/teeth-whitening-for-events/
- https://wewhiten.com/
- https://www.downtownpittsburghdentist.com/blog/2022/07/02/how-to-plan-for-teeth-whitening-before-a-special-event/
- https://almanandkatzdmd.com/best-time-to-whiten-teeth/
- https://www.thornburydentalwellness.co.uk/blogs/teeth-whitening-for-special-occasions
- https://www.whiteandbright.com.au/post/whitening-for-weddings-and-special-occasions-tips