You can whiten surface stains at home using baking soda, hydrogen peroxide, oil pulling, or fruit-based remedies, but these methods won’t fix intrinsic discoloration caused by aging or medications. Overusing DIY techniques risks enamel erosion and increased sensitivity, so frequency matters. Match your method to your stain type for the best results. If you want to treat your discoloration safely and effectively, everything you need to know is covered below.
Key Takeaways
- Baking soda mixed with water into a paste can mechanically lift surface stains when brushed gently for two minutes.
- Diluted hydrogen peroxide (3% solution mixed equally with water) targets oxidized pigments but should only be used one to two minutes.
- Oil pulling with one tablespoon of coconut oil for 15–20 minutes may reduce surface bacteria with low erosion risk.
- DIY whitening only addresses extrinsic stains; intrinsic discoloration from aging or medications requires professional dental treatment.
- Overusing DIY methods accelerates enamel erosion, so limit baking soda and hydrogen peroxide use to two to three times weekly.
Why Do Teeth Get Discolored in the First Place?
Before reaching for DIY whitening remedies, it’s worth understanding why teeth discolor in the first place.
Stain causes fall into two categories: extrinsic and intrinsic. Extrinsic stains develop on enamel surfaces and are directly tied to dietary impacts — coffee, tea, red wine, and tobacco are primary culprits. These substances deposit chromogens that bond to enamel over time.
Extrinsic stains form on enamel surfaces, driven by coffee, tea, red wine, and tobacco depositing chromogens over time.
Intrinsic discoloration originates deeper within the dentin layer, often resulting from aging, certain medications like tetracycline, or excessive fluoride exposure during tooth development.
DIY methods can only address extrinsic staining effectively. You need to identify which type you’re dealing with before committing to a home treatment plan.
Treating intrinsic discoloration with surface-level remedies won’t produce meaningful results and may delay necessary professional intervention.
Which Home Whitening Method Works Best for Your Stain Type?
Now that you understand the difference between extrinsic and intrinsic staining, matching the right method to your stain type becomes the next logical step.
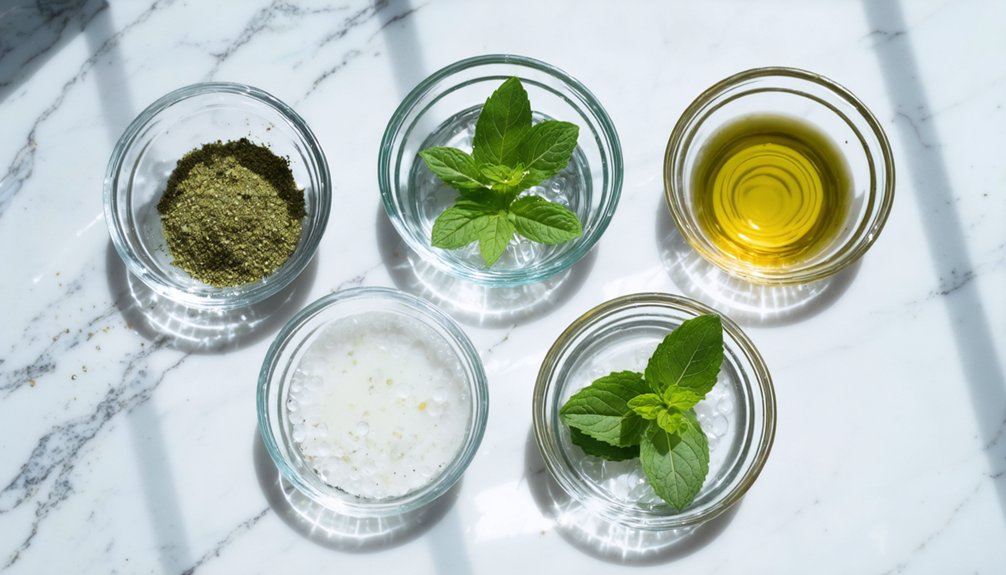
An effectiveness comparison across stain types reveals clear boundaries. Surface stains from coffee, tea, or tobacco respond to baking soda, activated charcoal, and oil pulling. These methods mechanically lift debris without penetrating enamel.
Hydrogen peroxide offers slightly deeper action, targeting oxidized pigments within the outer enamel layer. Fruit-based remedies like strawberry and banana peel produce the mildest results and suit sensitive teeth best.
You won’t resolve intrinsic discoloration from medication, trauma, or fluorosis using any home method. Attempting aggressive treatments on deep stains risks enamel erosion without benefit.
Identify your stain type first, then select a method calibrated to that specific cause.
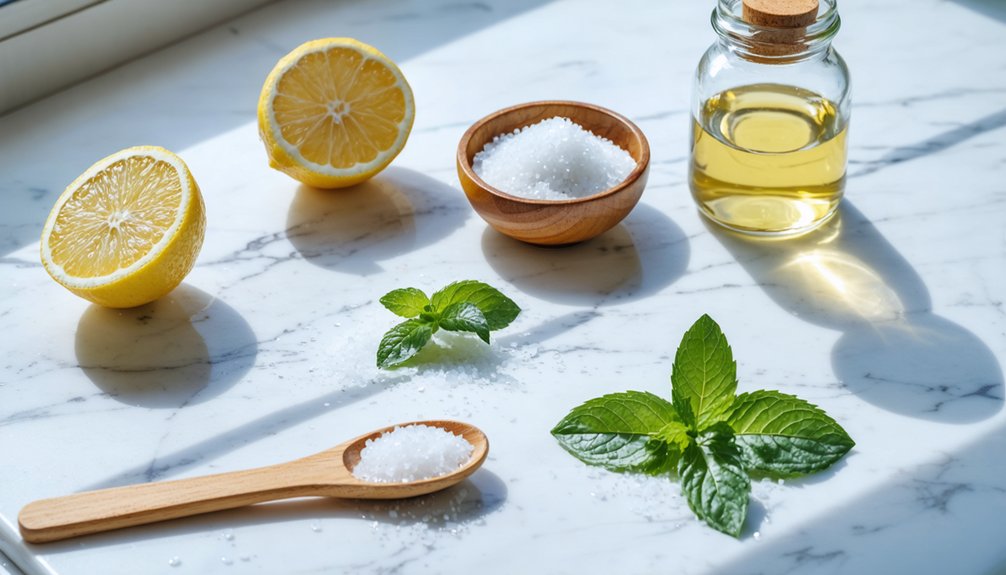
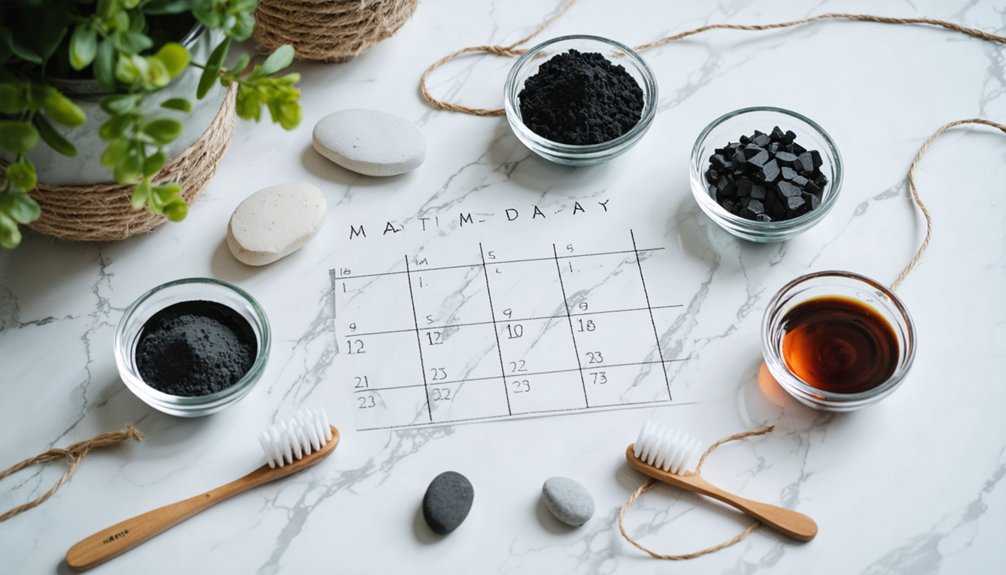
How to Use Baking Soda and Hydrogen Peroxide to Whiten Teeth
To use baking soda effectively, mix equal parts baking soda and water into a thick paste. Then brush gently in circular motions for two minutes to coat all tooth surfaces.
If you add hydrogen peroxide, dilute a standard 3% solution with equal parts water and limit brushing to one to two minutes to reduce enamel exposure.
You should avoid swallowing any mixture and rinse thoroughly afterward, as overuse can erode enamel and cause sensitivity.
Baking Soda Application Steps
Combining baking soda with hydrogen peroxide creates a mild abrasive paste that can lift surface stains when applied correctly. Among the key baking soda benefits is its low abrasivity, which buffs enamel without the harshness of commercial whiteners.
However, baking soda risks include enamel erosion and gum irritation if you overuse it.
To apply, mix equal parts baking soda and water or 3% hydrogen peroxide into a thick paste. Using a soft-bristled toothbrush, brush gently in circular motions for two minutes, ensuring full coverage across all surfaces.
Leave the paste on for one minute, then rinse thoroughly. Limit this method to two or three times weekly. If you experience sensitivity, discontinue use and consult a dental professional immediately.
Hydrogen Peroxide Safety Tips
When using hydrogen peroxide for whitening, selecting the correct concentration is critical for safety. You should only use a standard 3% hydrogen peroxide solution, available at most pharmacies. Higher concentrations increase your risk of enamel damage and gum irritation.
Following proper hydrogen peroxide precautions means diluting the solution before use. Mix one part hydrogen peroxide with one part water to reduce its acidity. Swish the diluted solution for 30 to 60 seconds, then spit it out completely.
For safe usage when combining with baking soda, brush the mixture gently for one to two minutes.
Never swallow the paste or solution, as ingestion causes internal side effects. Rinse your mouth thoroughly afterward to remove all residue and protect your enamel.
Does Oil Pulling With Coconut Oil Actually Remove Stains?
Oil pulling with coconut oil may reduce surface bacteria and loosen debris, but you shouldn’t expect dramatic stain removal since clinical evidence for significant whitening remains limited.
To try it, you swish one tablespoon of coconut oil around your mouth for 15 to 20 minutes daily, then spit it into the trash to avoid clogging your pipes.
You can incorporate this into your routine, but be cautious about overstating its whitening potential beyond modest surface discoloration reduction.
Oil Pulling Stain Removal
Swishing a tablespoon of coconut oil around your mouth for 15 to 20 minutes is the core technique behind oil pulling, a practice that’s gained popularity as a natural whitening remedy.
Evidence on coconut oil effectiveness remains limited, though oil pulling benefits may include reduced surface bacteria and loosened debris.
Follow these steps precisely:
- Swish one tablespoon of melted coconut oil through teeth and gums for 15 to 20 minutes without swallowing.
- Spit the oil into a trash can, never the sink, since it solidifies and clogs pipes.
- Rinse thoroughly with warm water to clear residual oil before brushing normally.
Expect modest surface discoloration reduction only.
Deep stains won’t respond to this method, so manage your expectations accordingly.
Coconut Oil Daily Technique
Daily coconut oil pulling requires 15 to 20 minutes of consistent practice before you’ll notice even modest surface-level results, and current evidence doesn’t strongly support its effectiveness as a whitening method.
You’ll take one tablespoon of coconut oil, allow it to melt in your mouth, then swish it consistently to loosen debris and bacteria. The coconut benefits most commonly cited involve antimicrobial properties, not direct whitening action.
After pulling, spit the oil into a trash bin to prevent pipe clogging, then rinse with warm water to clear residue. Perform this daily for any measurable reduction in surface discoloration.
If you’re seeking controlled, predictable results, understand that oil pulling works best as a complementary habit rather than a primary whitening solution.
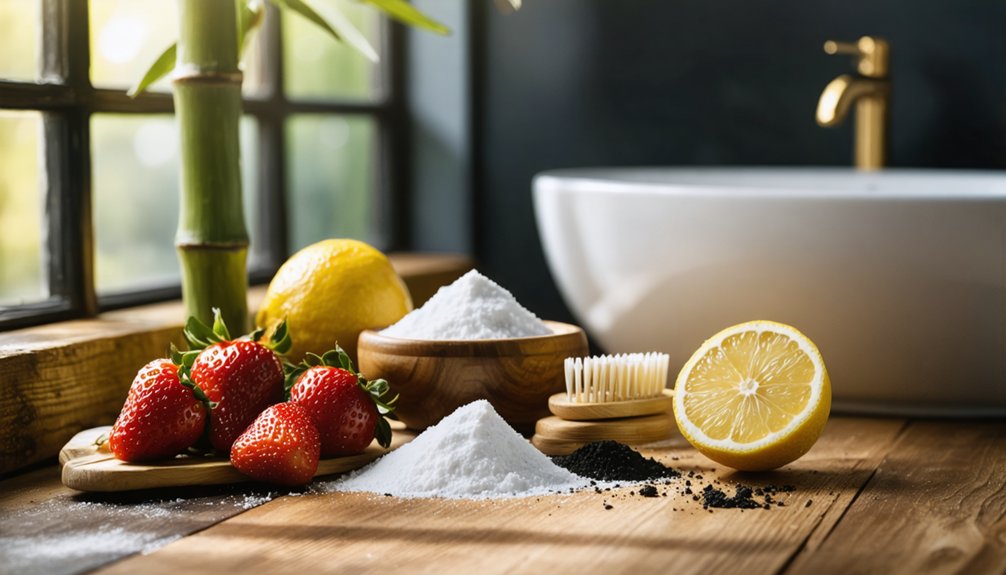
How Strawberries, Banana Peels, and Citrus Rinds Whiten Teeth

Certain fruits offer mild surface-whitening effects through natural compounds found in their flesh and peels. Strawberry enzymes, banana minerals, and citrus acidity each interact differently with enamel, so you’ll want to apply them carefully.
- Strawberries: Mash one ripe strawberry with half a teaspoon of baking soda. These natural abrasives gently lift surface stains. Apply the mixture, leave it five minutes, then rinse completely.
- Banana Peels: Rub the white inner peel on your teeth for two minutes. Banana minerals may reduce discoloration gradually. Let residue sit ten minutes before brushing.
- Citrus Rinds: Rub orange or lemon peel inside surfaces for two minutes, then rinse immediately. Citrus acidity risks enamel erosion if left too long.
Expect only modest, surface-level results.
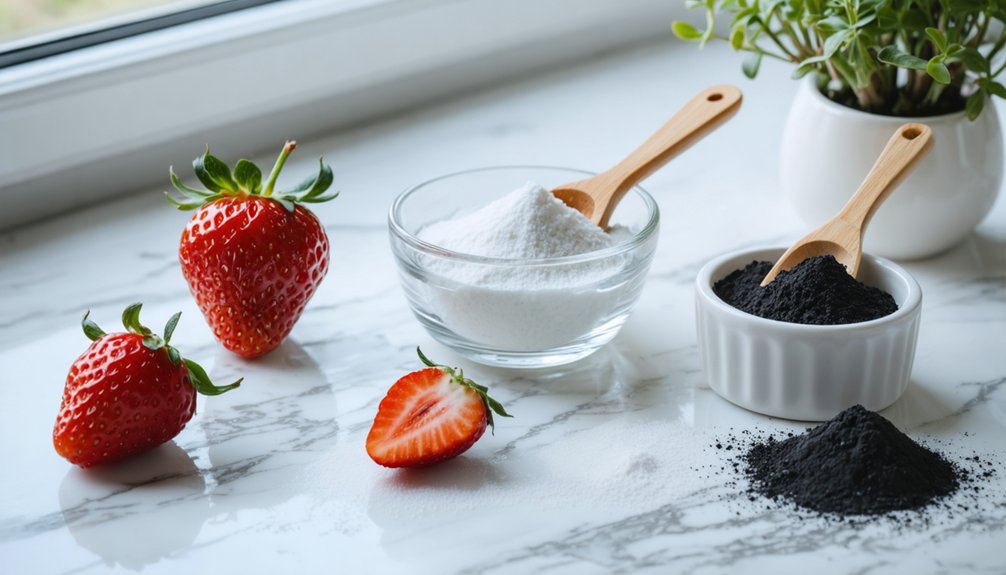
Can Activated Charcoal and Apple Cider Vinegar Whiten Teeth Safely?
Beyond fruit-based remedies, activated charcoal and apple cider vinegar have gained popularity as whitening agents, though both carry risks you should weigh carefully before using them.
Charcoal benefits include its porous structure, which binds to surface stains effectively. Wet your toothbrush, dip it in activated charcoal powder, and brush gently in small circles for two minutes before rinsing thoroughly.
Limit use to once or twice weekly to minimize enamel abrasion.
Vinegar risks are real. Apple cider vinegar’s acidity can erode enamel with frequent use. If you choose to proceed, dilute one part vinegar with three parts water, swish for 30 seconds, then rinse immediately with plain water.
Never exceed twice-weekly application, and discontinue use if sensitivity develops.
How Often Should You Use Each DIY Whitening Method?
Frequency matters as much as technique when it comes to protecting your enamel while still achieving results. Overusing any DIY whitening method accelerates erosion and increases sensitivity. Control your whitening frequency and treatment duration deliberately.
- Baking soda and hydrogen peroxide — Use two to three times weekly maximum. Daily brushing strips enamel progressively, leaving teeth visibly thinner and more vulnerable to decay.
- Oil pulling — Practice daily for up to 20 minutes. This method carries the lowest erosion risk, making consistent treatment duration sustainable without structural damage.
- Activated charcoal and apple cider vinegar — Limit strictly to once or twice weekly. Picture fine scratches accumulating across your enamel surface with each excess session.
Rinse thoroughly after every treatment and monitor sensitivity closely.
When DIY Teeth Whitening Is Not Enough
While DIY whitening methods address surface stains, they can’t treat intrinsic discoloration caused by aging, trauma, medications like tetracycline, or structural enamel defects.
Understanding this distinction protects your teeth health and helps you avoid chasing whitening myths that promise results beyond what home remedies can deliver.
Knowing what whitening can and cannot do saves your teeth from unnecessary damage and disappointment.
If you’ve consistently applied baking soda, hydrogen peroxide, or oil pulling for several weeks without noticeable improvement, your discoloration likely originates below the enamel surface.
At that point, you need professional intervention. Dentists can offer bleaching treatments, veneers, or bonding procedures that target deeper staining effectively.
Don’t delay professional evaluation if you notice tooth sensitivity, uneven discoloration, or structural irregularities.
Continuing aggressive DIY treatments on compromised teeth risks enamel erosion without producing meaningful whitening results.
Frequently Asked Questions
Can DIY Whitening Methods Damage Existing Dental Crowns or Veneers?
Over 60% of DIY whitening users risk crown sensitivity and reduced veneer longevity. You shouldn’t apply acidic or abrasive mixtures to restorations—they’ll degrade bonding agents, compromise aesthetics, and accelerate wear beyond professional repair thresholds.
Is Teeth Whitening Safe to Do During Pregnancy or Breastfeeding?
You shouldn’t use whitening treatments during pregnancy or breastfeeding due to potential chemical absorption risks. To manage teeth sensitivity safely, try natural alternatives like oil pulling or banana peel remedies, which carry considerably lower risk profiles.
How Does Diet Affect the Longevity of DIY Whitening Results?
Studies show staining beverages cause recoloration within 48 hours. Dietary impacts directly undermine whitening longevity—you’ll accelerate discoloration by consuming coffee, tea, and red wine. You must avoid acidic, pigment-rich foods to maintain your DIY results effectively.
Can Children or Teenagers Safely Use Home Teeth Whitening Methods?
You shouldn’t use home whitening methods on children due to critical age considerations. Developing enamel heightens sensitivity issues considerably. Consult a pediatric dentist first, as they’ll provide evidence-based guidance tailored to younger patients’ unique dental needs.
Does Drinking Coffee Immediately After Whitening Reverse the Treatment Results?
Yes, you’re undoing your results. Coffee’s dark pigments penetrate newly treated enamel rapidly, directly countering whitening timing efforts. You should wait at least 48 hours after any whitening treatment before consuming coffee to protect coffee impact gains.
References
- https://www.healthline.com/nutrition/whiten-teeth-naturally
- https://www.pleasantfamilydentistry.com/blog/6-natural-ways-to-whiten-your-teeth
- https://www.youtube.com/watch?v=iLYyxF0Euyw
- https://snowteethwihteningkits.mystrikingly.com/blog/teeth-discoloration-natural-remedies-for-discolored-teeth-teeth-whitening
- https://www.myimagedental.com/blog/whiten-teeth-at-home-one-day/
- https://www.youtube.com/watch?v=S8kPjMd8akI
- https://www.urmc.rochester.edu/news/publications/health-matters/diy-teeth-whitening-too-good-to-be-true
- https://www.medicalnewstoday.com/articles/322421
- https://prairiegardendental.com/effective-homemade-teeth-whitening-solutions/
- https://kesslerdental.net/blog/ways-to-whiten-teeth-naturally-at-home/