You can naturally whiten your teeth at home using several proven methods. Mix baking soda with water to create a gentle whitening paste, or combine it with 3% hydrogen peroxide for enhanced results. Oil pulling with coconut oil helps remove surface stains, while crunchy vegetables and calcium-rich foods strengthen enamel. Limit acidic ingredients and follow proper application times to protect your teeth. Understanding the science behind these remedies will help you achieve ideal results safely.
Key Takeaways
- Mix baking soda with water to create a gentle whitening paste, applying twice weekly with circular motions for two minutes.
- Use a diluted 3% hydrogen peroxide solution as a mouth rinse for 30-60 seconds to safely whiten teeth.
- Eat crunchy vegetables like celery and carrots, which naturally scrub teeth while promoting saliva production.
- Practice oil pulling with coconut oil for 15-20 minutes daily to reduce plaque and gradually whiten teeth.
- Consume dairy products regularly, as their calcium content strengthens enamel and creates protective barriers against stains.
The Science Behind Natural Teeth Whitening
While many people turn to natural teeth whitening remedies as alternatives to professional treatments, the underlying chemistry closely mirrors that of conventional whitening agents. Natural oxidation processes break down stain molecules into smaller, less pigmented fragments, targeting chromogens that cause tooth discoloration.
When you use natural whitening agents, active molecules penetrate your enamel’s pores to reach deeper stains in the dentin layer. Maintaining proper pH balance is crucial since acidic substances can harm tooth enamel. However, you’ll need to be cautious about enamel demineralization, especially with acidic remedies. Professional treatments using hydrogen peroxide bleaching deliver more reliable and faster results than natural alternatives.
These substances can increase enamel porosity, creating a temporary whitening effect but potentially weakening your tooth structure. The effectiveness of natural whitening depends on three key factors: how well the agent penetrates, its concentration of active ingredients, and how long you expose your teeth to it.
Baking Soda Methods for Whiter Teeth
To safely whiten your teeth with baking soda, mix it with water until you’ve created a smooth, thick paste that won’t damage your enamel.
You’ll want to apply this mixture with gentle, circular motions using a soft-bristled toothbrush for no more than two minutes.
For best results, use this method no more than twice per week alongside your regular fluoride toothpaste, and avoid combining baking soda with acidic ingredients like lemon juice or vinegar. Consider adding hydrogen peroxide to your baking soda paste for enhanced whitening effects. This natural remedy is gentle on enamel compared to many commercial whitening products.
Safe Mixing Methods
Creating an effective baking soda whitening paste requires precise measurements and proper mixing techniques to guarantee safe application. Start with one teaspoon of baking soda and gradually add 1-2 teaspoons of water until you achieve a smooth, non-gritty consistency.
You’ll want to make sure the baking soda dissolves completely to prevent abrasive particles from damaging tooth enamel. For best results, combine the baking soda with water or mild toothpaste, avoiding acidic ingredients that could harm your teeth. Use this mixture no more than once every two weeks to protect your enamel. Consider using a fluoride toothpaste alongside this method to maintain cavity protection.
The paste shouldn’t be too thick or dry, as this increases the risk of enamel abrasion. When mixing, stir thoroughly until you’ve achieved a uniform consistency that spreads easily. You can adjust the water quantity as needed, but the final texture should be gentle enough for safe application on teeth.
Daily Application Tips
For ideal whitening results with baking soda, you’ll need to follow specific application techniques that protect your enamel while maximizing stain removal.
Start by creating a fresh paste using equal parts baking soda and water just before each brushing session. Apply the mixture using gentle, circular motions with a soft-bristled toothbrush for two minutes. Results may be visible in two to three weeks with consistent application.
For enhanced whitening power, try combining baking soda with hydrogen peroxide solution instead of water.
Maintain a consistent baking soda application schedule of twice daily, matching your regular brushing routine. Use light pressure to prevent enamel wear, and make certain you’re reaching all tooth surfaces.
After brushing, rinse thoroughly with water or mouthwash to remove any residue. Remember to clean your toothbrush completely after each use to prevent abrasive buildup.
For best results, complement these brushing techniques with your regular fluoride toothpaste to maintain proper oral health.
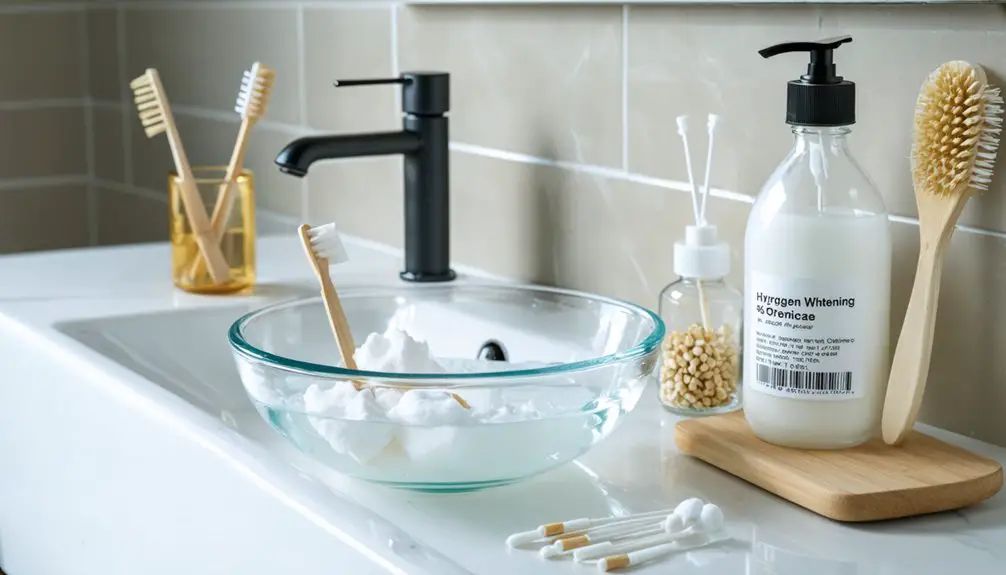
Safe Uses of Hydrogen Peroxide
While hydrogen peroxide can effectively whiten teeth, its safe use requires strict adherence to concentration guidelines and proper application methods.
For home use, you’ll want to stick to products containing 3% or less hydrogen peroxide to protect your oral health. If using it as a mouth rinse, dilute 3% hydrogen peroxide with equal parts water and limit exposure to 30-60 seconds. The process works by oxidizing surface stains to help brighten tooth enamel. Dental professionals recommend supervision to ensure optimal results and prevent potential damage.
Never exceed recommended application times of 1-2 minutes per session, once or twice weekly. Watch for signs of sensitivity or gum irritation, which indicate you should stop treatment immediately.
For best results and safety, choose ADA-approved products and consult your dentist before starting any whitening regimen, especially if you have existing dental issues like cavities or enamel erosion.
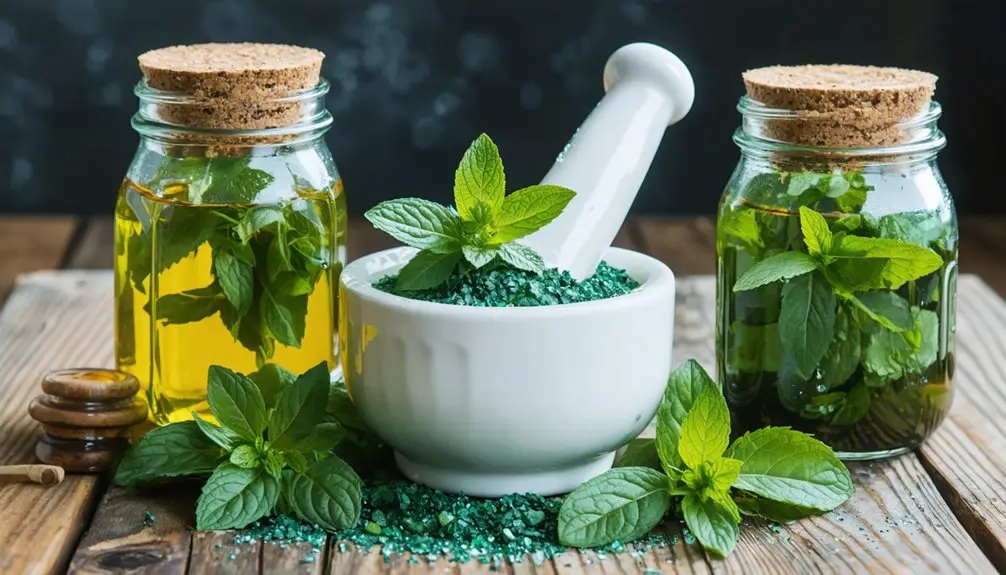
Oil Pulling Techniques and Benefits
Although oil pulling has gained popularity as a natural oral care remedy, this ancient practice requires specific techniques to maximize its potential benefits.
Oil pulling, while trendy as a natural dental practice, demands proper technique to fully harness its therapeutic potential.
You’ll want to swish coconut, sesame, or olive oil in your mouth for 15-20 minutes while breathing through your nose and maintaining an upright position. Don’t swallow the oil – spit it into the trash when done.
While research shows oil pulling can reduce oral bacteria counts, scientific evidence doesn’t support claims of significant teeth whitening or cavity prevention.
You may notice some improvement in bad breath and gum health due to its antimicrobial properties.
Consider oil pulling as a complementary practice to your regular oral care routine, not a replacement for brushing, flossing, or professional dental visits.
Dietary Changes for Brighter Teeth
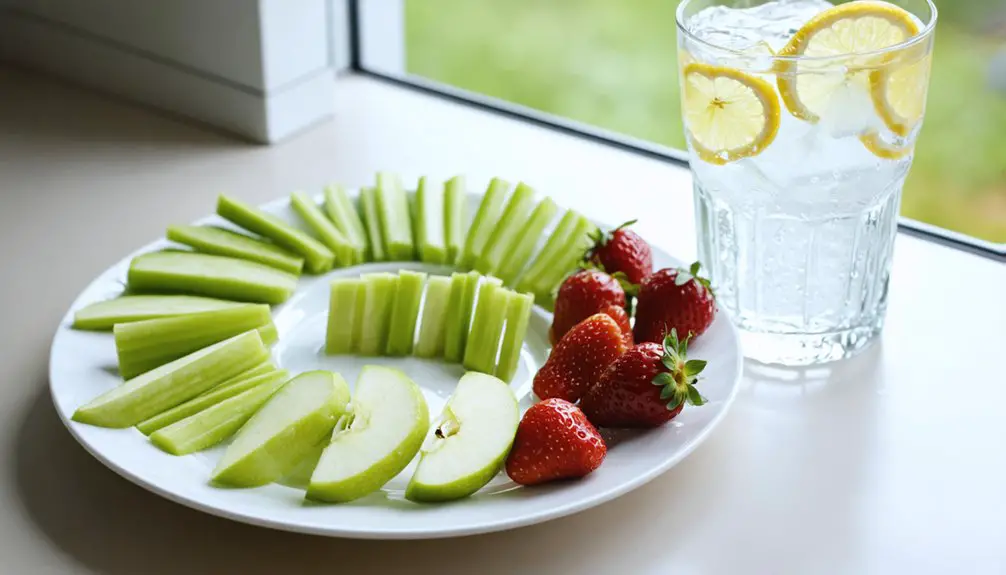
You’ll find numerous foods that naturally combat tooth stains, including malic acid-rich strawberries and crunchy produce like apples and celery that mechanically scrub your teeth while stimulating cleansing saliva production.
Water consumption throughout the day helps rinse away staining compounds and maintains ideal oral pH balance for whiter teeth.
For the brightest smile, choose beverages like milk and plain water over staining drinks like coffee, tea, and red wine, while incorporating teeth-strengthening dairy products into your daily diet.
Foods That Fight Stains
Beyond brushing and professional treatments, specific dietary choices can greatly impact the brightness of your teeth. Cruciferous vegetables like broccoli and cauliflower provide mechanical cleaning through their fibrous texture while delivering minerals that strengthen enamel against stains. Their extensive chewing requirement stimulates saliva production, naturally cleansing your teeth.
Fruits containing natural enzymes offer additional whitening benefits. Strawberries’ malic acid and pineapples’ bromelain help break down plaque and surface stains.
Dairy products create protective barriers with their calcium content, while crunchy vegetables like celery and carrots physically scrub teeth clean. For additional stain prevention, incorporate nuts and seeds, which help exfoliate teeth surfaces through their abrasive textures.
Raw onions’ sulfur compounds can form protective barriers against future staining.
Water’s Whitening Benefits
While many people seek expensive whitening treatments, drinking adequate water serves as a fundamental cornerstone for maintaining brighter teeth. Water benefits extend beyond basic hydration, as it actively washes away staining particles and dilutes acids that can damage your enamel. When you drink fluoridated water, you’re strengthening your teeth’s resistance to discoloration.
Hydration importance can’t be overstated for dental whiteness. Proper water intake stimulates saliva production, your mouth’s natural cleaning system. By choosing water over sugary beverages, you’ll prevent new stains from forming while supporting your enamel’s natural brightness.
Additionally, staying well-hydrated guarantees your teeth maintain prime mineralization, which helps preserve their white appearance. For enhanced results, rinse with water immediately after consuming staining foods or acidic drinks.
Best Beverages For Teeth
Building on water’s whitening benefits, specific beverages can actively enhance your teeth’s natural brightness through their unique chemical compositions and enzymatic properties.
For ideal results, incorporate pineapple juice’s bromelain and strawberry’s malic acid into fruit smoothie recipes that naturally combat stains. You’ll find additional whitening power in dairy-based drinks, which strengthen enamel through calcium and phosphorus while neutralizing harmful acids.
Create vegetable juice blends using celery, carrots, and broccoli to stimulate saliva production and naturally cleanse teeth.
While apple and diluted citrus juices offer whitening properties, use them moderately to protect enamel. Consider adding small amounts of baking soda to your beverages for enhanced plaque removal, but maintain controlled portions to prevent excessive abrasion of tooth surfaces.
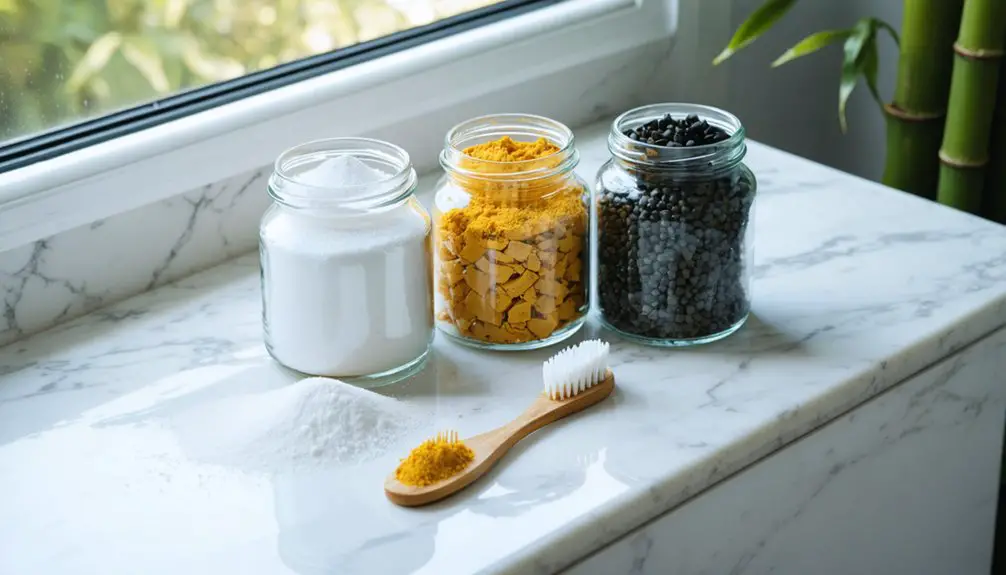
Common Kitchen Ingredients as Whitening Agents

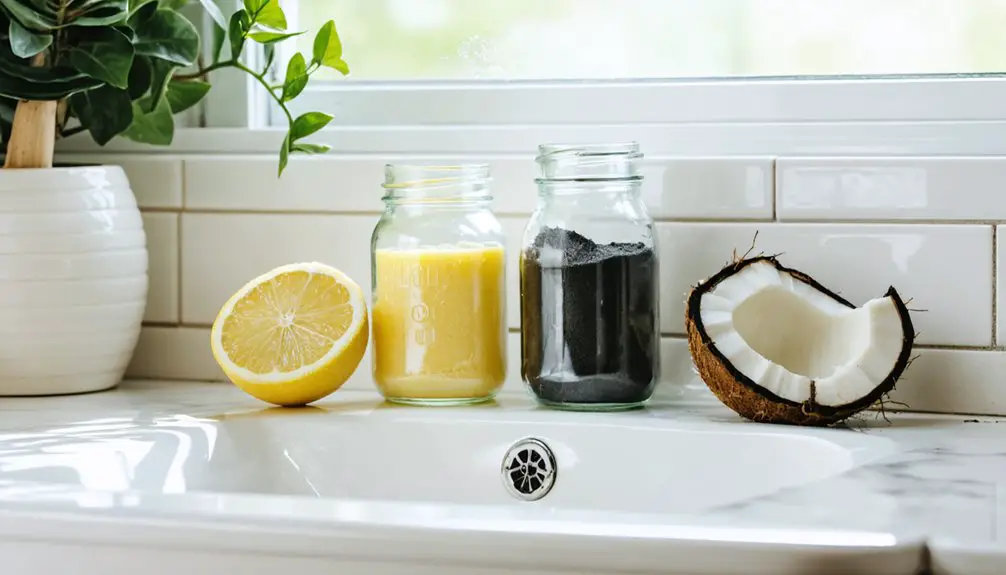
Several common kitchen ingredients have gained popularity as natural alternatives for teeth whitening, each offering distinct mechanisms of action. Activated charcoal physically binds to surface stains through mild abrasion, while baking soda functions as a gentle abrasive that’s particularly effective when combined with hydrogen peroxide. You’ll find these whitening agents in many commercial toothpaste formulations.
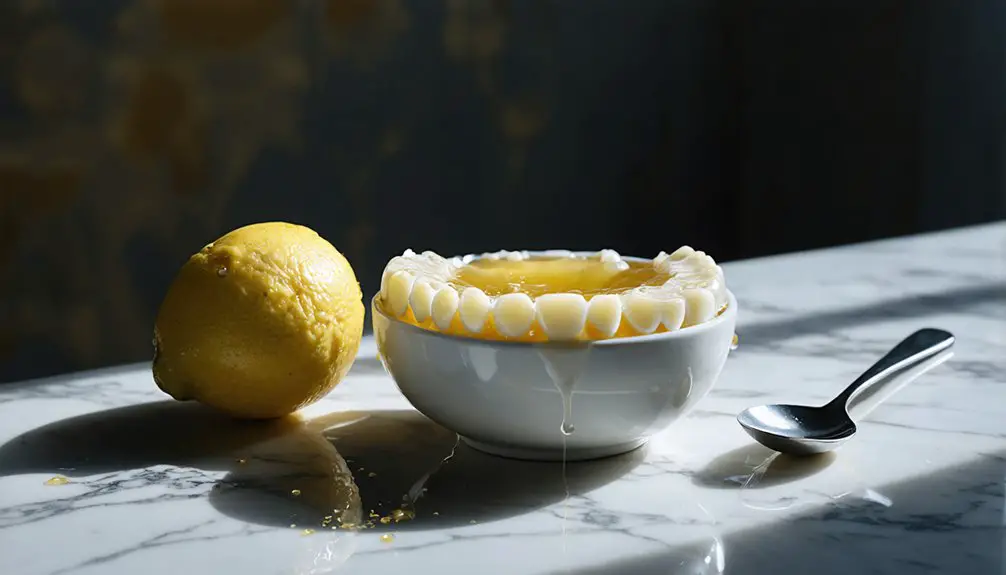
While strawberries contain natural oxidizers that may provide mild bleaching effects, you’ll want to limit their use due to acid content.
Coconut oil can improve appearance through mechanical plaque removal during oil pulling. However, avoid using lemon juice or citrus-based remedies, as their high acidity can permanently damage your enamel.
For ideal results, use baking soda-based methods, as they’re both effective and relatively safe when applied properly.
Preventing Further Tooth Discoloration
Once you’ve achieved your desired level of tooth whiteness, maintaining that brightness requires a thorough prevention strategy.
Maintaining your bright smile isn’t a one-time effort – it requires dedication to preventive care and consistent oral hygiene practices.
You’ll need to focus on consistent oral hygiene practices while being mindful of your toothpaste selection and whitening frequency.
Make it a habit to brush with fluoride toothpaste using a soft-bristled brush, and don’t forget to floss daily.
When consuming staining beverages like coffee or wine, use a straw to minimize contact with your teeth.
Rinse your mouth with water after meals, especially when eating highly pigmented foods.
For additional protection, chew sugar-free gum to stimulate saliva production, and maintain a balanced diet rich in crunchy fruits and vegetables.
If you use tobacco products, quitting will greatly reduce your risk of tooth discoloration and improve your overall oral health.
Best Practices for Home Whitening Safety
While home teeth whitening can effectively brighten your smile, following proper safety protocols is crucial to prevent complications and achieve ideal results.
Before starting any treatment, consult your dentist to confirm it’s suitable for your dental condition, especially if you’re pregnant or have existing sensitivities.
When selecting products, choose those with ADA approval and follow the manufacturer’s instructions precisely.
Don’t exceed recommended application times, and immediately discontinue use if you experience severe sensitivity or gum irritation.
For best home whitening precautions, use custom-fitted trays when possible and avoid unverified products with unclear directions.
Remember that product selection tips from your dentist are invaluable – they can recommend appropriate concentrations and monitor your progress.
Take breaks between treatments if sensitivity occurs, and maintain regular dental check-ups throughout your whitening journey.
Frequently Asked Questions
How Long Does It Take to See Results From Natural Teeth Whitening Methods?
Most people see initial results within 7-14 days. You’ll notice teeth whitening timelines vary with natural remedies’ effectiveness, but you’ll typically achieve noticeable brightening after 2-4 weeks of consistent application.
Can Pregnant Women Safely Use Home Teeth Whitening Remedies?
You can safely use mild whitening alternatives like baking soda paste and eating crunchy fruits during pregnancy. Maintain good dental hygiene, but avoid peroxide-based products due to safety concerns.
Will Natural Whitening Methods Work on Dental Crowns or Veneers?
Alas, you’ll find crown whitening and veneer care don’t respond to natural methods. Your artificial dental materials can’t lighten like natural teeth – you’ll need professional treatment or replacement instead.
How Do Natural Remedies Compare to Professional Teeth Whitening Costs?
You’ll save considerably with natural remedies, which cost nearly nothing compared to professional whitening’s $300-$1,000 price tag, though you’ll need more time and consistent application for milder results.
Does Teeth Sensitivity From Natural Whitening Methods Become Permanent?
While you might feel concerned, teeth sensitivity from natural remedies isn’t permanent. You’ll typically experience temporary discomfort that subsides within days to weeks after stopping your whitening treatment.
References
- https://www.berkeleyhillsdentist.com/brighten-your-smile-naturally-berkeley-home-remedies-for-teeth-whitening/
- https://www.hyannisdental.com/blog/brighten-your-smile-naturally-6-simple-ways-to-whiten-teeth-at-home/
- https://www.lwdentist.com/diy-teeth-whitening-what-works-and-what-to-avoid/
- https://www.healthline.com/nutrition/whiten-teeth-naturally
- https://www.armandhammer.com/en/articles/how-to-whiten-teeth-with-baking-soda
- https://cosmeticdentistryofsa.com/the-science-behind-teeth-whitening/
- https://sandlakedental.com/blog/understanding-the-science-behind-teeth-whitening/
- https://pmc.ncbi.nlm.nih.gov/articles/PMC10024105/
- https://www.watforddentaloffice.ca/understanding-teeth-whitening-the-science-and-process/
- https://pmc.ncbi.nlm.nih.gov/articles/PMC4058574/