Professional teeth whitening at home works when you match the right peroxide-based system to your specific tooth condition, tray fit, and wear schedule. Before you begin, you’ll need a dental checkup to rule out cavities, cracks, or restorations that compromise results. Custom trays with controlled gel application outperform strips and natural remedies every time. Managing sensitivity, limiting staining habits, and following a maintenance schedule preserves your results long-term. Everything you need to do this correctly is ahead.
Key Takeaways
- Before whitening, schedule a dental checkup to address cavities, cracks, or restorations that could be compromised by peroxide-based gels.
- Custom trays with peroxide-based gels deliver the most effective, evidence-backed results compared to strips or natural remedies like charcoal.
- Complete initial treatment within two to four weeks, wearing trays 30 minutes twice daily or 8–10 hours overnight.
- Manage sensitivity by using sensitive toothpaste before treatment and pausing whitening for one to two days if discomfort peaks.
- Maintain results by avoiding staining foods, quitting tobacco, and scheduling periodic whitening every two to six months long-term.
Is Your Mouth Ready for Teeth Whitening?
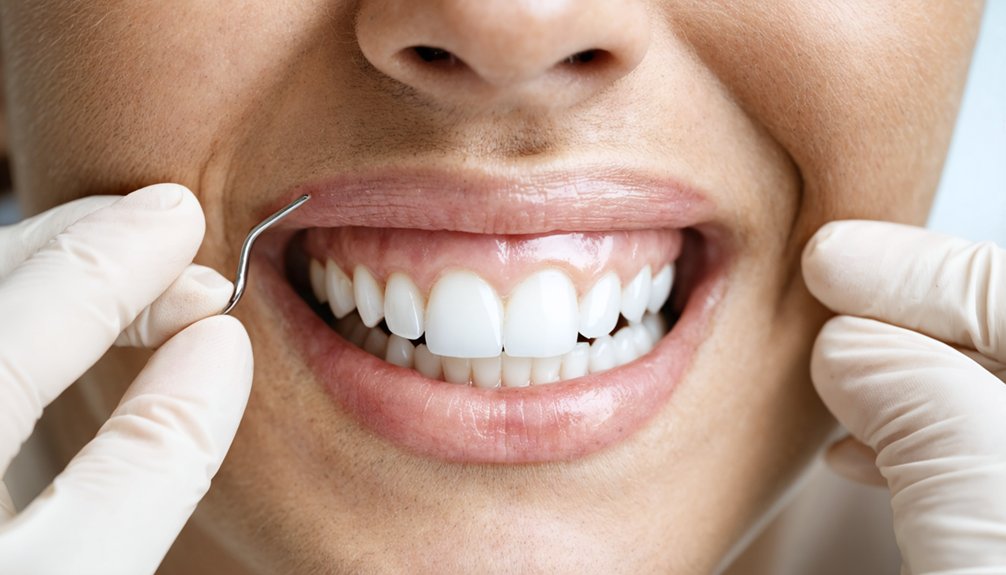
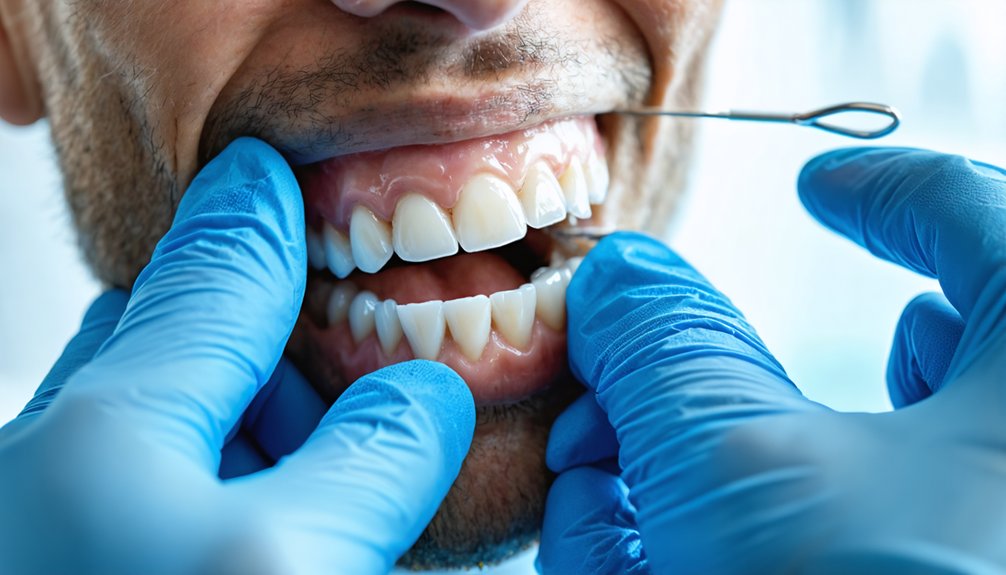
Before reaching for any whitening product, you’ll need to confirm your mouth is in a condition that can safely tolerate bleaching agents. Schedule a dental checkup first to identify any cavities, cracks, or existing restorations that could complicate treatment.
Before whitening, your mouth must be clinically ready—cavities, cracks, and restorations demand attention first.
Peroxide penetrates compromised enamel readily, risking pulp irritation if structural issues go unaddressed.
Your mouth pH and saliva flow also directly affect whitening outcomes. An acidic oral environment weakens enamel, making it more vulnerable to bleaching agents.
Adequate saliva flow buffers pH and helps neutralize peroxide before it causes soft tissue damage.
Confirm your teeth are free of crowns or veneers, as whitening agents only alter natural tooth structure.
Treating these preconditions isn’t optional—it’s the clinical foundation for safe, effective results.
Whitening Strips, Trays, or Gels : Which One Actually Works?
Once you’ve confirmed your mouth is ready for bleaching, the next decision is choosing the right delivery system—and not all options perform equally. Forget natural remedies and alternative treatments like charcoal or oil pulling—they lack peroxide-based chemistry and can’t penetrate dental hard tissues to remove intrinsic staining.
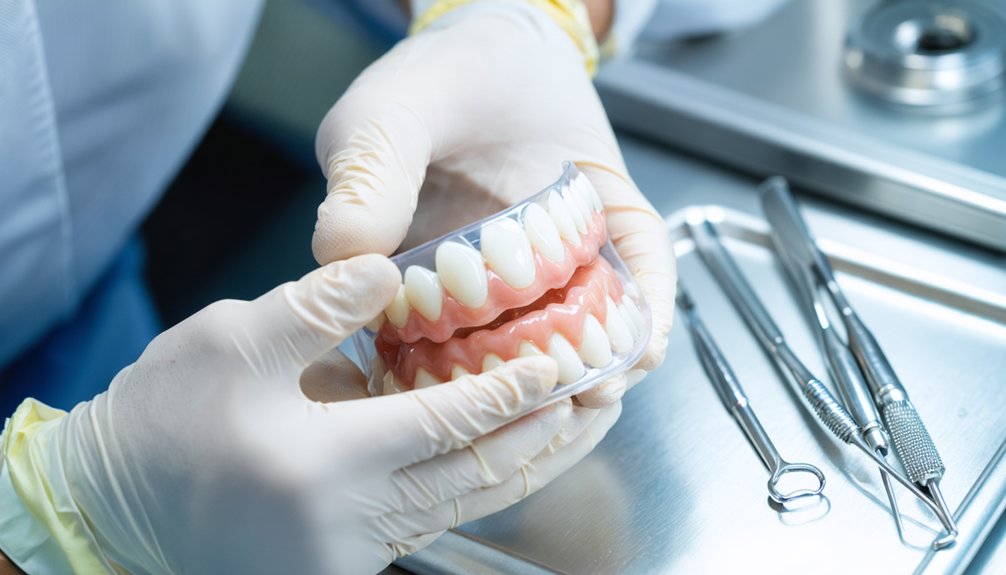
Your three evidence-backed options are whitening strips, semi-custom trays, and dentist-fabricated custom trays. Strips offer convenience but deliver inconsistent gel contact. Semi-custom trays improve coverage yet still allow gel migration. Custom trays, loaded with lower-concentration carbamide or hydrogen peroxide gel, represent the gold standard—they maximize contact, minimize waste, and let you control application precisely.
If you want predictable, measurable results, custom trays with professional-grade bleaching gel are your most clinically defensible choice.
How to Apply Whitening Gel Without Damaging Your Gums
To apply whitening gel correctly, place a small drop halfway up the inner front surface of each tooth compartment in the tray without spreading it. You’ll want to dry your teeth with tissues before inserting the tray, as moisture reduces gel efficiency and slows results.
Once the tray’s seated, wipe any gel that seeps over the brim onto your gums immediately using a finger or tissue to prevent irritation.
Gel Placement Techniques
Proper gel placement separates effective whitening from a treatment that irritates or burns your gum tissue. Gel consistency and tray fit directly determine whether bleach contacts enamel or migrates onto soft tissue.
Follow this precise protocol:
- Place a small drop of gel halfway up the inner front surface of each tooth compartment — never spread it.
- Seat the tray firmly, then immediately wipe any gel seeping over the tray brim using a finger or clean tissue.
- Target only the front 6–8 teeth, as posterior teeth aren’t visible and don’t require treatment.
Aim for approximately 0.5ml per arch. Overdosing gel increases gum exposure without improving results. Controlled, minimal application keeps your whitening process both effective and tissue-safe.
Removing Excess Gel
Three things happen when you seat the tray: gel distributes across enamel, air escapes, and excess material migrates toward the gingival margin. That overflow isn’t harmless — prolonged gum contact with peroxide causes inflammation and discomfort.
Immediately after seating, run a clean fingertip or folded tissue along the gum line to lift any gel that’s breached the tray edge. Work systematically from molar to molar, applying light pressure. Don’t let it sit.
Excess gel removal also protects treatment integrity. Gel displaced onto soft tissue isn’t whitening anything — it’s wasting product and creating risk.
After each session, prioritize tray cleaning by rinsing it under cool water and brushing gently with a soft toothbrush to prevent residue buildup and bacterial contamination between uses.
How Long Should You Whiten Your Teeth at Home?
Your daily wear time depends on the gel type your dentist prescribes—daytime formulas require 30 minutes morning and evening, while nighttime formulas stay in for 8–10 hours during sleep.
You’ll typically complete your initial treatment in two weeks, though heavily stained teeth may need up to four weeks for ideal results.
Once you’ve reached your target shade, maintain it by whitening one night every two months in year one, scaling back to every four months in year two, and every six months thereafter.
Daily Treatment Time Limits
When whitening your teeth at home, daily treatment time depends on the product formulation you’re using. Exceeding recommended limits increases whitening side effects like sensitivity and gingival irritation. Follow these evidence-based guidelines:
- Daytime gels: Wear for 30 minutes in the morning and 30 minutes in the evening, as directed by your dental provider.
- Nighttime gels: Use 10% carbamide peroxide formulations for 8–10 hours while sleeping.
- Whitening strips: Apply daily for one to two weeks for measurable results.
Note that dental insurance rarely covers cosmetic whitening, so staying within daily time limits protects both your oral health and your financial investment by avoiding complications that require professional intervention.
Precision in application is your strongest tool.
Total Treatment Duration
Most home whitening regimens run for two weeks, though heavily stained teeth may require up to four weeks of consistent treatment. Track your progress weekly and adjust duration based on visible results rather than assumptions.
Once you’ve completed the initial regimen, establish a maintenance schedule: one whitening session every two months during year one, every four months in year two, and every six months thereafter.
Since dental insurance rarely covers cosmetic whitening, understanding your total whitening cost upfront helps you plan realistically.
Custom tray systems typically deliver the most cost-effective long-term value because you only repurchase the gel.
Avoiding premature treatment termination is critical — incomplete regimens waste product and money. Commit fully to the prescribed duration to achieve and sustain measurable, lasting results.
Long-Term Maintenance Schedule
Completing your initial two-week regimen marks the beginning of a long-term commitment, not the finish line. Sustaining your results requires a structured maintenance schedule tied directly to your oral hygiene routine and stain prevention habits.
Follow this evidence-based schedule:
- Year one: Whiten one night every two months to counteract gradual pigment accumulation.
- Year two: Reduce sessions to one night every four months as enamel stabilizes.
- Year three onward: One whitening night every six months maintains your baseline shade effectively.
Between sessions, prioritize stain prevention by limiting coffee, tea, and red wine. Use sensitive toothpaste consistently and brush 60 minutes after consuming staining foods.
This schedule keeps you in control of your results without overexposing your teeth to peroxide unnecessarily.
Tooth Sensitivity During Whitening : What’s Normal and What’s Not?
Tooth sensitivity during whitening is common, but knowing where the line falls between normal and concerning helps you stay in control of your treatment. Temporary sensitivity occurs as peroxide penetrates tooth enamel and reaches the pulp, triggering mild nerve responses. This typically resolves within 24–48 hours after each session.
What’s not normal: persistent sharp pain, significant gum health deterioration, or sensitivity lasting beyond two days. These signals indicate overuse or ill-fitting trays requiring immediate attention.
To manage expected sensitivity, use desensitizing toothpaste before and throughout treatment. If discomfort peaks, pause for one day and apply sensitive toothpaste directly inside your tray overnight.
One to two rest nights are usually sufficient before safely resuming your whitening regimen without compromising your results.
Foods and Habits That Undo Your Teeth Whitening Results
Protecting your whitening results requires the same discipline as the treatment itself. Every post-treatment choice either preserves or compromises your investment.
Three habits accelerate discoloration faster than any whitening agent can reverse:
- Consuming staining agents — coffee, tea, red wine, and colorful sauces chemically bond to enamel within minutes of contact.
- Surrendering to sugar cravings — candy and sodas erode enamel, creating porous surfaces that absorb pigment more readily.
- Unchecked alcohol intake — wine and dark mixers deposit chromogens directly onto treated teeth.
Drink staining beverages through a straw, brush 60 minutes after acidic foods, and quit tobacco entirely. Nicotine and tar are irreversible staining agents that no whitening protocol can outpace.
How to Maintain Your Teeth Whitening Results Long-Term
Once you’ve completed your whitening regimen, sustaining results demands a structured maintenance schedule rather than reactive touch-ups. In year one, perform one whitening night every two months. Reduce to every four months in year two, then every six months thereafter. This protocol preserves brightness without overexposing enamel to peroxide.
Check whether your dental insurance covers periodic cleanings, as professional scaling removes surface staining that home maintenance can’t fully address. Consistent cleanings reinforce your whitening investment.
If you have cosmetic bonding or other restorations, recognize they won’t respond to bleaching agents, so color-matching touch-ups may require a provider consultation.
Combine maintenance whitening with daily sensitive toothpaste, straw use for staining beverages, and calcium-rich dietary choices to protect enamel integrity and extend your results reliably.
Frequently Asked Questions
Can Teeth Whitening Treatments Affect Existing Dental Crowns or Veneers?
Whitening treatments won’t alter your crowns or veneers due to dental material compatibility limitations. You’re at crown discoloration risk from color mismatches, as bleaching agents only affect natural tooth structure, leaving restorations unchanged.
What Is the Recommended Amount of Whitening Gel per Arch?
Want ideal results without waste? You should apply approximately 0.5ml of whitening gel per arch. Mastering precise application techniques guarantees you’re using enough to maximize effectiveness while preventing unnecessary gum irritation from excess product.
Should Teeth Be Dried Before Inserting the Whitening Tray?
Yes, you should dry your teeth with tissues before inserting your tray. Reducing dental hydration guarantees ideal tray fitting and prevents moisture from diluting the gel, which would compromise whitening efficiency and slow your results.
Which Peroxide Agents Actually Penetrate Dental Hard Tissues to Remove Stains?
Powerfully penetrating past protective enamel, both carbamide peroxide and hydrogen peroxide achieve deep peroxide penetration into dental hard tissues. You’ll experience effective stain removal as these agents actively target both extrinsic and intrinsic discoloration at the molecular level.
How Often Should Whitening Maintenance Be Performed After the First Year?
After year one, you’ll shift your maintenance schedule to every four months. By year three and beyond, you’ll whiten every six months—sustaining long-term results without overexposing teeth to unnecessary bleaching cycles.
References
- https://www.healthpartners.com/blog/safe-teeth-whitening/
- https://www.youtube.com/watch?v=qbUYI4CcW0E
- https://www.healthline.com/nutrition/whiten-teeth-naturally
- https://www.youtube.com/watch?v=qGkzrHzJUBU
- https://health.clevelandclinic.org/how-to-whiten-teeth
- https://www.urmc.rochester.edu/news/publications/health-matters/diy-teeth-whitening-too-good-to-be-true
- https://www.gq.com/story/how-to-whiten-teeth-at-home
- https://www.dentaly.org/us/teeth-whitening/
- https://www.robertsolowdds.com/wp-content/uploads/2017/09/Teeth_Whitening_InsDirections_on_use_of_professional_bleaching_gel_and_whitening_trays.pdf
- https://www.ada.org/resources/ada-library/oral-health-topics/whitening