Whitening trays give you a straightforward, proven path to a noticeably brighter smile without the cost of in-office procedures. They work by holding a peroxide-based gel against your enamel, breaking down stain molecules from coffee, wine, and smoking. Custom trays outperform over-the-counter options, delivering results in as little as seven days. Managing sensitivity, maintaining good oral hygiene, and avoiding staining foods keeps your results lasting longer—and there’s far more to uncover ahead.
Key Takeaways
- Custom whitening trays outperform over-the-counter options by holding bleaching gel closer to enamel, delivering results within 7 to 14 days.
- A dental exam confirms candidacy, ensuring healthy enamel and identifying restorations that may affect whitening outcomes.
- Apply a small amount of gel into clean, dry trays and wear them consistently for measurable weekly progress.
- Manage sensitivity by reducing wear time during flare-ups, as peroxide-related discomfort typically resolves after brief treatment pauses.
- Maintain results by limiting staining beverages, brushing twice daily, and scheduling touch-up treatments every few months.
What Are Whitening Trays and How Do They Work?
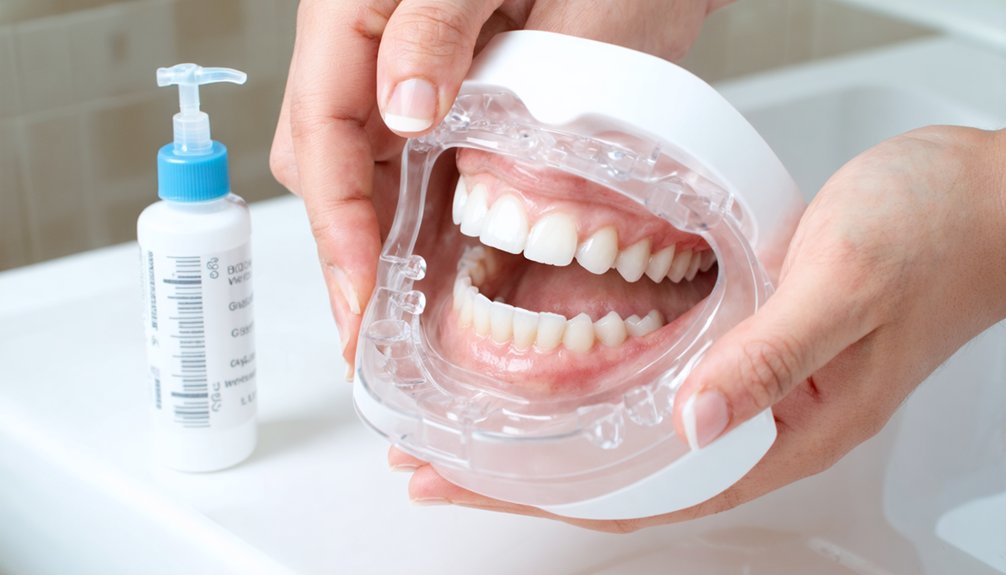
Whitening trays are dental devices designed to hold bleaching agents, typically hydrogen peroxide or carbamide peroxide, in direct contact with your tooth surfaces.
Once positioned, the bleaching agent penetrates your enamel and oxidizes stain molecules, breaking down discoloration from coffee, tea, wine, and smoking.
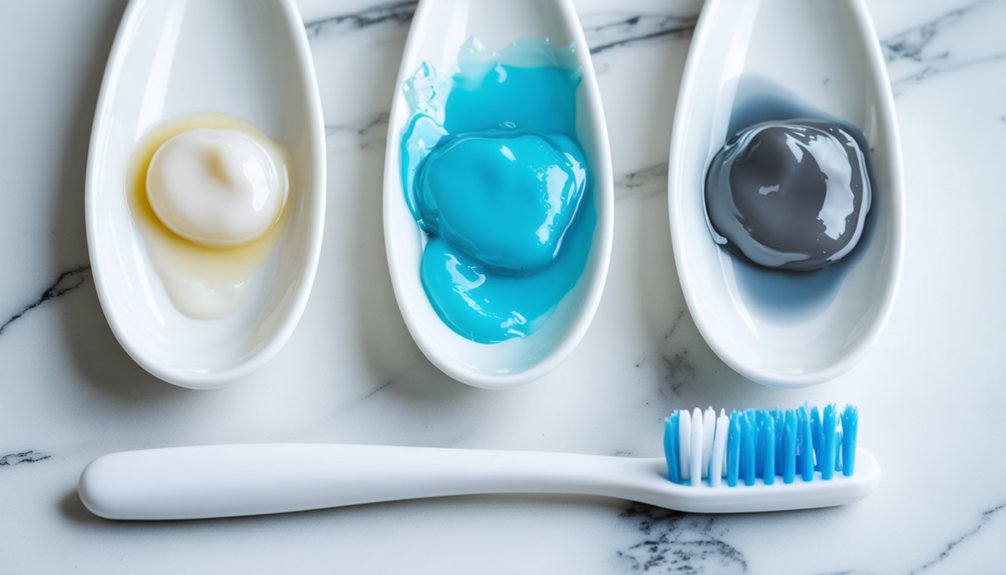
Understanding whitening gel types matters because higher-concentration formulas deliver faster results, while lower-concentration options reduce sensitivity risk.
Higher-concentration whitening gels work faster, but lower-concentration formulas protect against sensitivity—your goals determine the right choice.
You control the outcome by selecting the gel strength that fits your tolerance and goals.
Tray materials also influence effectiveness considerably.
Custom-fitted dental trays use precise molds to maximize gel retention against every tooth surface, while over-the-counter versions offer a generic fit with reduced contact.
Choosing the right combination of gel and tray material directly determines how efficiently and safely your whitening treatment progresses.
Who Is a Good Candidate for Whitening Trays?
Determining whether you’re a good candidate for whitening trays starts with a dental examination, where your dentist confirms that your enamel is healthy and free of untreated cavities or gum disease.
This dental health assessment is essential before beginning any bleaching protocol.
Ideal whitening tray candidates typically present with extrinsic stains from coffee, tea, wine, or smoking, as these respond most effectively to peroxide-based gels.
If you have intrinsic discoloration from medications or trauma, results may be more limited.
You’ll also want to confirm that any existing restorations, like crowns or veneers, won’t interfere with your expected outcome, since bleaching agents don’t affect synthetic materials.
Taking control of this process means understanding your dental baseline before committing to treatment.
Custom vs. Over-the-Counter Whitening Trays
When choosing between custom and over-the-counter whitening trays, fit and effectiveness are the factors that matter most.
Custom trays, fabricated by your dentist from precise impressions, hold the bleaching gel closer to your enamel and deliver stronger, faster results than generic store-bought versions.
However, if cost and convenience drive your decision, over-the-counter kits offer a more affordable, accessible entry point—though you’ll likely trade speed and potency for simplicity.
Fit and Effectiveness
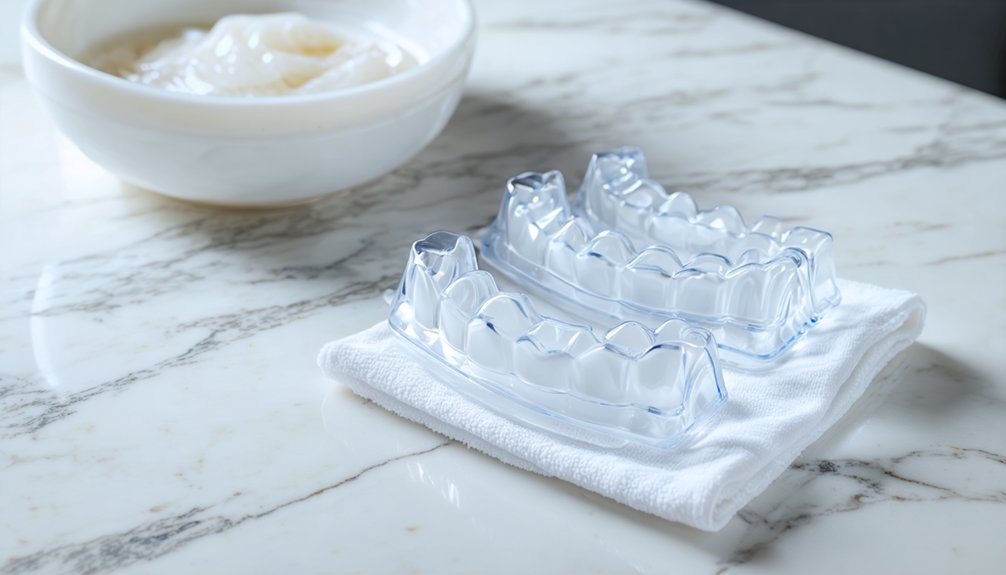
The fit of your whitening tray directly controls how well the bleaching gel stays in contact with your enamel — and that contact is what drives results.
Custom-fitted trays, fabricated from precise dental impressions, optimize both tray comfort and gel retention by conforming exactly to your arch’s contours. That snug seal keeps the active peroxide compound working against every tooth surface throughout the full wear session.
Over-the-counter trays can’t replicate that precision. Their generic shape allows gel to shift, thin out, or leak onto your gums, which reduces effectiveness and increases irritation risk.
If you’re investing time in a whitening protocol, a poor fit actively works against you. Custom trays aren’t just more comfortable — they’re measurably more efficient at delivering consistent, controlled results.
Cost and Convenience
Custom trays cost more upfront — typically several hundred dollars through a dental office — but that investment covers precise fabrication, professional-grade gel, and a reusable device you can reload for touch-ups over time.
When you run a true cost analysis, that reusability makes the per-treatment expense competitive with repeated over-the-counter purchases.
Over-the-counter kits, priced between $20 and $60, seem economical initially, but convenience factors shift when you consider their slower results and frequent repurchasing cycle.
You’ll also sacrifice gel retention and fit precision, which directly impacts whitening efficiency.
If you want reliable, measurable outcomes with minimal wasted effort, custom trays give you greater control over the process.
Your time, comfort, and long-term results justify the higher starting cost.
Why Tray Fit Determines Your Whitening Results
A properly fitted whitening tray isn’t just a comfort consideration — it’s the single most important factor in whether your treatment actually works. When your tray fits precisely, the gel stays in direct, consistent contact with your enamel, maximizing oxidation of stain molecules.
A poor fit lets gel migrate onto your gums, causing irritation while reducing the concentration at the tooth surface.
Custom-fitted trays also improve tray longevity, holding their shape across weeks of repeated use without warping or degrading. Tray comfort matters too — if wearing the tray feels tolerable, you’ll complete full sessions consistently, compounding your results over time.
Custom-fitted trays hold their shape for weeks — and comfortable trays mean completed sessions, which means real results.
Don’t underestimate fit as a minor detail. It directly controls gel retention, treatment effectiveness, and your overall safety throughout the whitening process.
How to Use Whitening Trays Step by Step
Before you begin treatment, you’ll need to confirm your trays are clean, dry, and free of any previous gel residue.
Load a small, precise amount of whitening gel into the front-facing inner surface of each tray, avoiding overfilling to prevent gum irritation.
Once you’ve seated the trays firmly over your teeth, wear them for the duration your dentist or product instructions specify.
Then remove, rinse, and clean them thoroughly after each session.
Preparing Your Whitening Trays
Getting your whitening trays ready correctly sets the foundation for effective, consistent results. Before each session, rinse your trays thoroughly to remove any residue from previous use — this is one of the most important tray cleaning tips you can follow.
Dry them completely before adding the gel, since moisture dilutes the bleaching agent and weakens its contact with your enamel.
For whitening gel application, place a small, precise dot of gel into each tooth compartment — overfilling causes leakage onto your gums and increases irritation risk. You don’t need excess gel to accelerate results; proper placement does the work.
Seat the tray firmly against your teeth, then remove any gel that seeps past the tray edges immediately using a clean cloth or cotton swab.
Daily Application Steps
Once your trays are prepped and loaded, following a consistent daily routine is what drives real, measurable results.
Precise whitening gel application and disciplined tray maintenance tips determine how quickly you’ll see measurable shade changes.
Follow these steps each session:
- Insert trays carefully, pressing them firmly against your teeth to maximize gel-to-enamel contact without trapping air pockets.
- Wear trays for the dentist-recommended duration—typically 30 minutes to a few hours—based on your gel’s concentration level.
- Rinse trays thoroughly after removal, brushing away residual gel immediately to prevent bacteria buildup and extend tray lifespan.
You control the outcome. Skipping sessions or cutting wear time short delays results.
Stay consistent, track your progress weekly, and adjust only under professional guidance.
How Long Until You See Real Results With Whitening Trays?
How long you wait for real results depends on the type of tray you’re using and how consistently you apply it. Don’t fall for whitening myths promising immediate results overnight. Realistic treatment expectations matter here.
Professional custom trays typically deliver noticeable changes within 7 to 14 days, while over-the-counter options may take up to 4 weeks. Most users spot early shifts after just a few days of regular use.
Long term effects depend heavily on lifestyle adjustments you’re willing to make, such as limiting coffee, tea, and red wine. Sensitivity solutions like lower-concentration gels or shorter wear times help you stay consistent without discomfort.
Factor in cost considerations when choosing between professional and store-bought trays. Follow your dentist’s maintenance tips to protect and extend every shade you’ve gained.
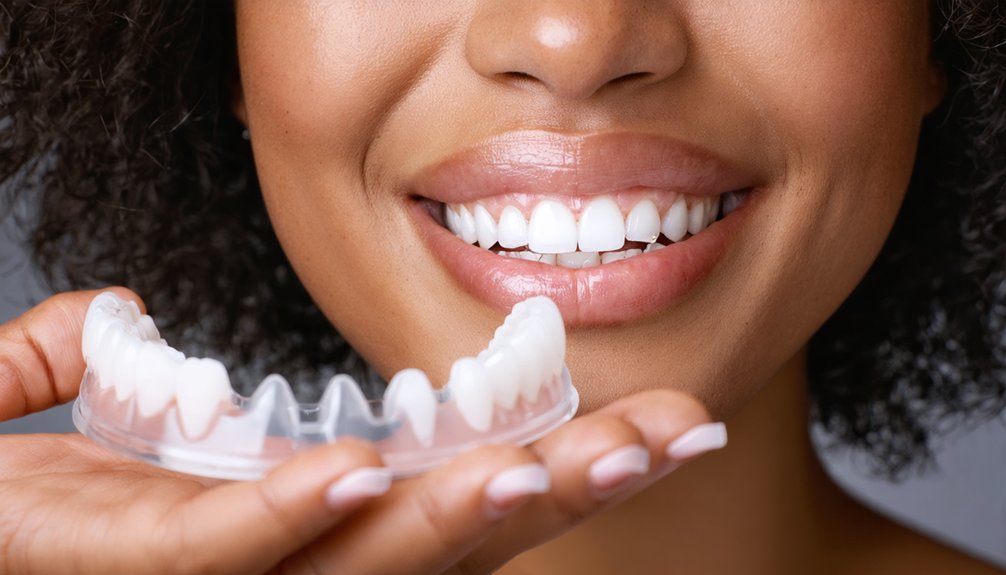
How Many Shades Whiter Can Whitening Trays Actually Get You?
Shade improvement is one of the most practical benchmarks you can use to measure whitening tray performance. Setting accurate shade expectations helps you avoid whitening myths and make informed decisions about your treatment approach.
Professional-grade trays typically deliver measurable, controlled results:
Professional-grade whitening trays don’t guess — they deliver measurable, controlled results you can actually see and track.
- Professional dentist trays can brighten your teeth by 3 to 8 shades after completing the full treatment course.
- Over-the-counter trays produce modest improvements due to weaker gel concentrations and inconsistent contact with enamel.
- Intrinsic stains respond more slowly than surface discoloration, meaning deeper marks require extended or professional-level treatment.
Understanding these distinctions puts you in control. You’ll set realistic targets, choose the right tray type, and avoid disappointment from unverified promises.
Tooth Sensitivity and Gum Irritation: What to Expect
Tooth sensitivity and gum irritation are the two most common side effects you’ll encounter during a whitening tray treatment, and knowing what drives them helps you manage both effectively.
Peroxide compounds penetrate enamel and temporarily stimulate nerve endings, producing that sharp, cold-triggered tooth sensitivity you’ll likely notice within the first few days. It’s transient and typically resolves once you pause or complete treatment.
Gum irritation, however, stems directly from poor tray fit — when gel leaks onto soft tissue, it causes localized chemical burns. You can control this by using custom-fitted trays, applying only the recommended gel volume, and wiping excess gel immediately after insertion.
Reducing wear time during high-sensitivity periods won’t eliminate progress; it simply lets tissue recover before your next session.
What Foods and Habits Ruin Your Whitening Tray Results

Once your whitening treatment delivers results, your daily habits determine how long those results last.
Staining drinks like coffee, tea, and red wine redeposit chromogens directly onto freshly bleached enamel, accelerating discoloration faster than before treatment.
Smoking compounds the damage further, while poor brushing and flossing habits allow surface stains to build up unchecked between touch-up sessions.
Staining Drinks To Avoid
Whitening trays can only do so much if your daily habits are actively undoing the results. One of the biggest whitening myths is that treatment alone compensates for continued exposure to staining beverages. It doesn’t. What you drink directly affects how long your results last.
These drinks actively stain enamel and compromise your whitening investment:
- Coffee and tea deposit tannins onto enamel, accelerating discoloration even after recent whitening sessions.
- Red wine combines tannins and chromogens, making it one of the most aggressive staining beverages available.
- Dark sodas introduce both acidic erosion and pigmentation, weakening enamel while simultaneously darkening it.
Limiting or eliminating these drinks during and after treatment keeps your results intact and extends the longevity of every whitening session you complete.
Smoking Ruins Whitening Results
Beverages aren’t the only threat to your whitening results. Smoking actively destroys your progress by depositing tar and nicotine deep into enamel, creating stubborn nicotine stains that resist even professional-grade bleaching agents.
Unlike surface stains from food or drink, smoking effects penetrate the enamel layer aggressively, accelerating discoloration faster than whitening trays can counteract it.
If you’re investing time and money into a whitening treatment, continuing to smoke fundamentally cancels that investment. Each cigarette reintroduces the same compounds your bleaching gel is working to eliminate.
You’re fighting a losing battle.
Quitting or greatly reducing smoking during your treatment cycle isn’t optional if you want lasting results — it’s a prerequisite for protecting the progress you’ve already made.
Poor Oral Hygiene Habits
Even the best whitening tray system can’t overcome consistently poor oral hygiene. Poor dental hygiene accelerates stain reabsorption, undermines gum health, and wastes every dollar you invest in treatment.
Plaque buildup creates a porous surface that traps pigments faster than peroxide can eliminate them. You’re fundamentally whitening a compromised foundation.
Take control by eliminating these habits immediately:
- Skipping brushing before tray use — plaque buildup blocks gel contact with enamel, reducing whitening penetration
- Neglecting flossing — interdental debris compromises oral care and creates new staining sites between teeth
- Irregular cleaning routines — inconsistent hygiene disrupts gum health and accelerates surface discoloration between treatment sessions
Your whitening results are only as strong as the oral care routine supporting them.
Daily Habits That Keep Your Whitening Results Lasting Longer
Once you’ve completed your whitening treatment, daily habits determine how long your results actually last.
Applying smart whitening maintenance tips and targeted lifestyle adjustments gives you direct control over your smile’s longevity.
Limit coffee, tea, and red wine consumption, or rinse your mouth immediately after drinking them.
Brush twice daily and floss consistently to prevent stain-causing plaque from accumulating on enamel surfaces.
Use a whitening toothpaste to reinforce your results between touch-up sessions.
Schedule touch-up treatments every few months using the additional gel your dentist provides.
Attend regular professional cleanings to remove surface deposits before they deepen.
Avoid smoking entirely, as tobacco staining reverses whitening results faster than most other habits.
Discipline in these areas directly preserves the investment you’ve made in your smile.
Frequently Asked Questions
Can Whitening Trays Be Used Safely During Pregnancy or Breastfeeding?
You shouldn’t use whitening trays during pregnancy or breastfeeding due to significant safety concerns around peroxide exposure. Consult your dentist to explore alternative options that protect both you and your baby during this critical period.
Are Whitening Trays Effective on Dental Crowns, Veneers, or Implants?
Whitening trays won’t alter crowns effectiveness or change veneers limitations—they’re unaffected by peroxide. You’ll only lighten your natural enamel, so consult your dentist to strategically match restorations with your newly brightened smile.
How Should Whitening Trays Be Stored When Not in Use?
Store your whitening trays in their protective case, away from heat and direct sunlight. Proper storage and consistent whitening tray care keep them pristine, ensuring they’re always ready to deliver flawless, confident results when you need them most.
Can Children or Teenagers Safely Use Teeth Whitening Trays?
You shouldn’t let children or teenagers use whitening trays without consulting a dentist first. Their developing enamel heightens teeth sensitivity risks, and strict age guidelines exist to protect younger patients from potential long-term dental complications.
Does Teeth Whitening Gel Expire, and How Long Does It Last?
Yes, whitening gel does expire—don’t assume it’ll last forever. You’ll notice expiration indicators like discoloration or watery consistency. Gel effectiveness typically peaks within 12–24 months, so you should always check the manufacturer’s date before use.
References
- https://www.macatawasmiles.com/dental-blog/benefits-of-take-home-whitening-trays/
- https://www.whiteandbright.com.au/post/do-teeth-whitening-trays-really-work-pros-and-cons
- https://teethwhiteningacademy.ca/5-benefits-of-using-teeth-whitening-trays-for-best-results/
- https://www.advanceddentalprof.com/how-teeth-whitening-trays-work/
- https://elegantdentistry.net/teeth-whitening-trays-guide-for-a-brighter-smile-elegant-dentistry/
- https://ryanmccalldds.com/blog/a-comprehensive-guide-to-take-home-dental-whitening-trays
- https://stubbsfamilydds.com/2016/01/3-advantages-to-take-home-teeth-whitening-trays/
- https://xamango.org/article/the-benefits-of-teeth-whitening-trays-and-the-top-5-to-try-in-2024
- https://www.dentistcolumbusnc.com/blog/the-benefits-of-at-home-teeth-whitening-trays/
- https://www.kirklanddentalexcellence.com/blog/cosmetic-dentist/teeth-whitening-trays-work/