After Invisalign, you’ll get the most even whitening results by waiting until all attachments are fully removed before starting any treatment. Attachments block peroxide agents from reaching enamel uniformly, causing patchy discoloration that’s difficult to correct. Your ideal window is during the final 4–6 weeks of treatment or immediately after completion. Use ADA-approved formulas like Opalescence PF at 10%–15% carbamide peroxide, and manage sensitivity with Sensodyne pre-application. The full protocol covers everything you need for lasting, clinical-grade results.
Key Takeaways
- Wait until all Invisalign attachments are fully removed before whitening to ensure even peroxide contact across the entire enamel surface.
- The optimal whitening window is during the final 4–6 weeks of treatment or immediately after completing Invisalign.
- Use ADA-approved products like Opalescence PF with 10%–15% carbamide peroxide to balance whitening efficacy and sensitivity control.
- Apply Sensodyne to sensitive areas for 10 minutes before and after whitening sessions to minimize discomfort and protect enamel.
- Avoid coffee, wine, tea, and cola post-whitening, and schedule quarterly professional cleanings to maintain lasting results.
When Is It Safe to Start Whitening After Invisalign?
Timing your whitening treatment correctly is critical to achieving even, consistent results. You must wait until all Invisalign attachments are fully removed before initiating any whitening protocol. Active attachments block peroxide agents from penetrating enamel uniformly, producing visible spot discoloration.
Whitening before attachments are removed causes uneven results—wait for full removal before starting any treatment.
The ideal window is the final 4–6 weeks of treatment or immediately post-completion, once full enamel surface exposure is confirmed.
Schedule dental consultations before purchasing any whitening product to verify your readiness and receive concentration-specific recommendations. Your dentist will assess enamel integrity and flag any sensitivity concerns.
During this phase, maintain strict dietary restrictions—eliminate coffee, red wine, tea, and cola to prevent competing stain accumulation.
The American Dental Association confirms hydrogen peroxide whiteners are clinically safe and effective once orthodontic treatment concludes, giving you a precise, evidence-backed starting point.
Why Whitening With Attachments Still On Causes Uneven Results
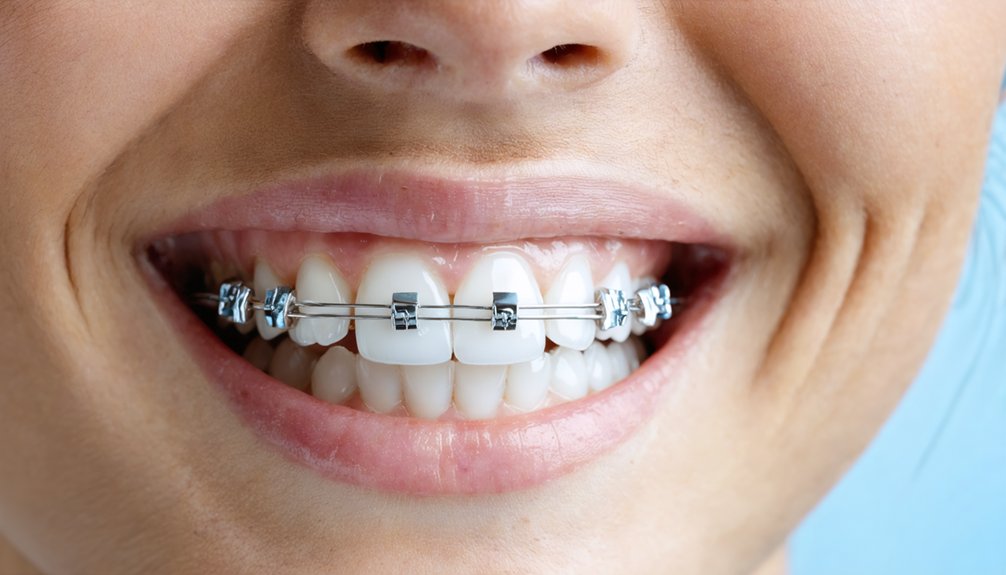
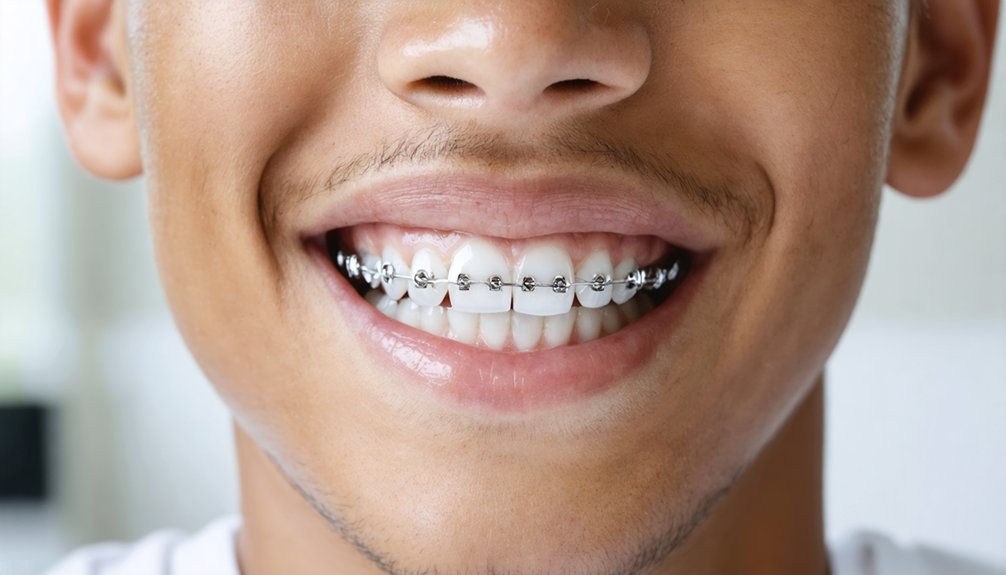
When your attachments are still bonded to your teeth, they physically block whitening agents from reaching the enamel beneath them. This leaves those areas untreated.
As the surrounding enamel lightens and the blocked spots don’t, you’ll develop a patchy, uneven appearance that’s difficult to correct afterward.
Waiting until your orthodontist fully removes all attachments guarantees the whitening agent contacts every surface uniformly, eliminating the risk of spot discoloration.
Attachments Block Whitening Agents
Invisalign attachments physically block whitening agents from reaching the underlying enamel, creating isolated zones where peroxide gel can’t penetrate. These composite resin buttons adhere directly to your tooth surface, shielding specific enamel sections from chemical exposure.
When you whiten mid-treatment, the exposed areas brighten while attachment-covered zones remain unchanged, producing a visibly uneven, spot-like pattern post-removal.
Beyond discoloration inconsistency, applying whitening agents around active attachments increases your risk of gum irritation from gel seeping into unintended areas. Repeated misapplication also accelerates enamel erosion, weakening tooth structure unnecessarily.
You’re essentially compromising both safety and aesthetic outcomes simultaneously.
Waiting until attachments are fully removed ensures complete enamel exposure across every surface, allowing whitening agents to work uniformly. That’s the only reliable path to consistent, controlled results.
Spot Discoloration Develops Underneath
Spot discoloration doesn’t just result from attachments blocking agents on the surface—it develops through a more insidious mechanism beneath the visible enamel zones.
When whitening agents contact exposed enamel while attachment-covered areas remain shielded, differential oxidation occurs. The treated zones lighten while protected areas retain their original shade, creating permanent-looking contrast patches.
You can’t reverse this through dental flossing or routine hygiene alone. The underlying enamel remineralization process also becomes disrupted—whitened zones undergo altered mineral density compared to untreated sections, compounding the visual inconsistency.
These aren’t surface stains you can polish away; they’re structural shade mismatches embedded within enamel layers.
Waiting until attachments are fully removed eliminates this risk entirely, ensuring uniform agent penetration across every tooth surface without creating irreversible tonal discrepancies.
Full Removal Ensures Even Results
Removing all attachments before whitening isn’t just a precaution—it’s a structural requirement for achieving uniform enamel exposure across every tooth surface. Attachments create physical barriers that block peroxide agents from penetrating the enamel beneath them. The result isn’t subtle—it’s clinically visible spot discoloration that compromises your oral health and undermines the entire whitening process.
Once attachments are fully removed, every surface receives consistent agent contact, producing the even shade your treatment was designed to support. You’re also better positioned to manage dietary restrictions during this final phase, eliminating staining agents while whitening progresses uniformly.
The ADA confirms hydrogen peroxide whiteners perform most effectively on unobstructed enamel. Full removal isn’t optional if precision and control over your outcome are your priorities.
How to Choose Between Professional and At-Home Whitening
Once your attachments are removed and you’re ready to whiten, you’ll need to decide between professional in-office treatment and at-home options.
Professional whitening delivers the fastest, most controlled results, with custom trays ensuring even gel distribution and minimal gum irritation.
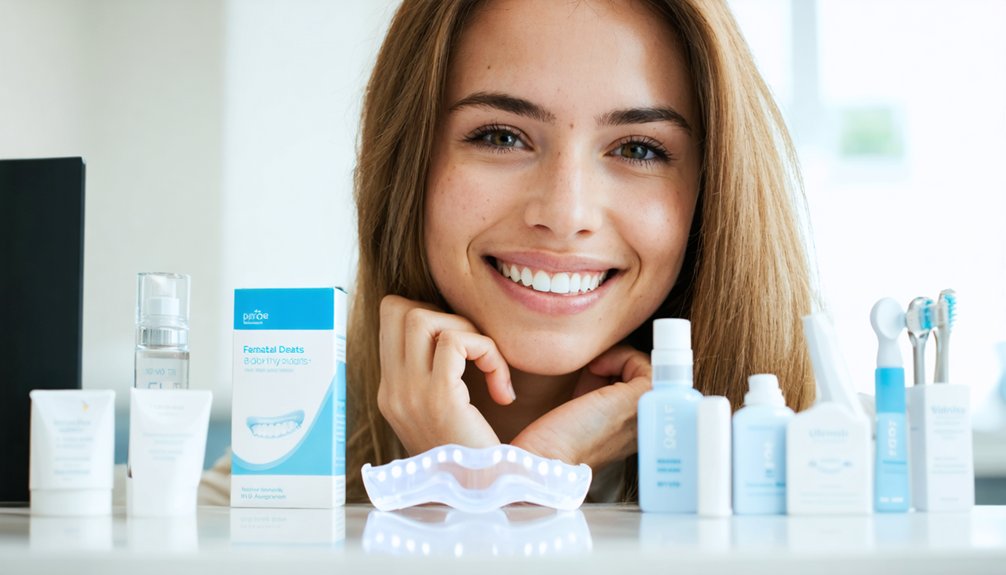
If you prefer at-home methods, dentist-approved products like Opalescence PF or custom tray kits offer effective alternatives.
Though over-the-counter strips may be available, they may yield less consistent outcomes without clinical supervision.
Professional Whitening Benefits
After Invisalign treatment concludes, choosing between professional and at-home whitening depends on your desired speed of results, sensitivity tolerance, and budget.
Professional in-office whitening delivers the fastest, most controlled outcomes, using high-concentration hydrogen peroxide activated by specialized light systems. You’ll achieve several shades of improvement in a single session, with your dentist managing sensitivity risks in real time.
Professional treatment also accounts for variables you can’t easily control at home, including saliva production, which dilutes whitening agents and compromises contact time. Your dentist mitigates this through isolation techniques.
Additionally, if you’ve maintained dietary restrictions during Invisalign, professional whitening maximizes that effort with consistent, even enamel coverage.
For patients prioritizing precision and efficiency over cost, professional whitening remains the clinically superior post-Invisalign option.
At-Home Whitening Options
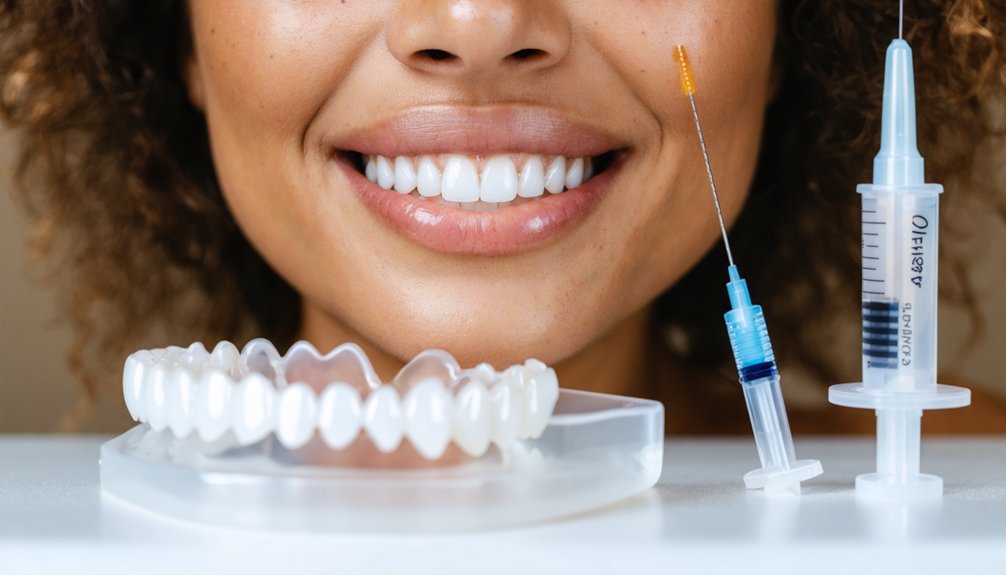
At-home whitening offers a practical, cost-effective alternative when professional treatment isn’t accessible or budget allows for a slower, self-managed approach. Custom trays from your dentist provide superior coverage and minimize gum exposure compared to over-the-counter strips.
If you choose strips, verify all attachments are fully removed first—whitening myths often overlook this critical step, leading to uneven enamel shading.
Products like Opalescence PF integrate safely within aligner trays during late-stage treatment, giving you controlled, measurable results.
Maintaining rigorous dental hygiene throughout the process is non-negotiable; brush thoroughly before each application to maximize gel-to-enamel contact.
Use lower concentrations—10% to 15%—to reduce sensitivity risk.
Always select dentist-verified products; not all over-the-counter gels are formulated to protect enamel integrity during extended whitening protocols.
The Best Whitening Products for Post-Invisalign Teeth
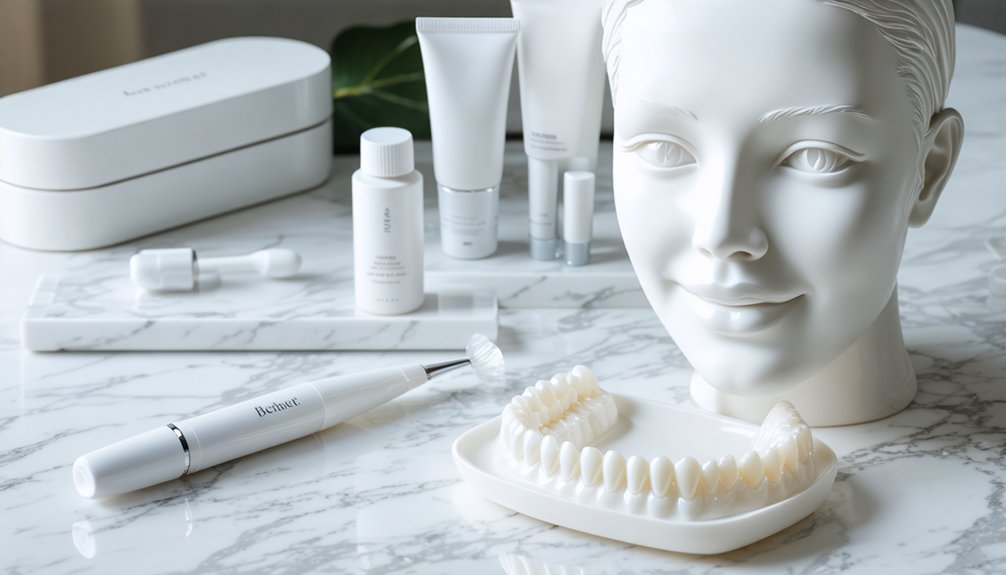
Choosing the right whitening product after Invisalign comes down to 3 key factors: concentration strength, application method, and dentist verification. Don’t fall for whitening myths suggesting that higher concentrations always yield better results—excessive strength increases sensitivity without improving outcomes.
Dentist-verified options like Opalescence PF are specifically formulated for post-orthodontic use, delivering even enamel coverage without compromising structural integrity.
For concentration, 10%–15% carbamide peroxide balances efficacy with sensitivity management. Custom trays from your dentist ensure precise gel distribution, eliminating uneven application risks associated with over-the-counter strips.
Check whether your dental insurance covers professional whitening consultations, as some plans include post-orthodontic cosmetic evaluations.
Prioritize ADA-approved products, follow prescribed application durations, and document your shade progression to maintain clinical control over your whitening outcomes.
How to Reduce Tooth Sensitivity While Whitening
Even the most carefully selected whitening product can trigger sensitivity if you don’t manage enamel response proactively. Uncontrolled sensitivity increases your risk of discontinuing treatment prematurely, leaving results incomplete.
Apply Sensodyne directly to sensitive areas for 10 minutes before whitening sessions. This potassium nitrate-based formulation desensitizes dentinal tubules, reducing nerve stimulation during peroxide exposure. Don’t rinse it off before applying strips or trays.
Use lower concentration formulas—10% or 15% carbamide peroxide—to minimize enamel stress without compromising efficacy.
If gum recession is present, avoid overfilling trays, as excess gel contact accelerates tissue irritation.
Pre-existing tooth decay must be treated before whitening begins; peroxide penetrates compromised enamel unpredictably, worsening damage.
Post-session, reapply Sensodyne and leave it on for several minutes to restore surface comfort and enamel integrity.
How to Apply Whitening Treatments for Even Results
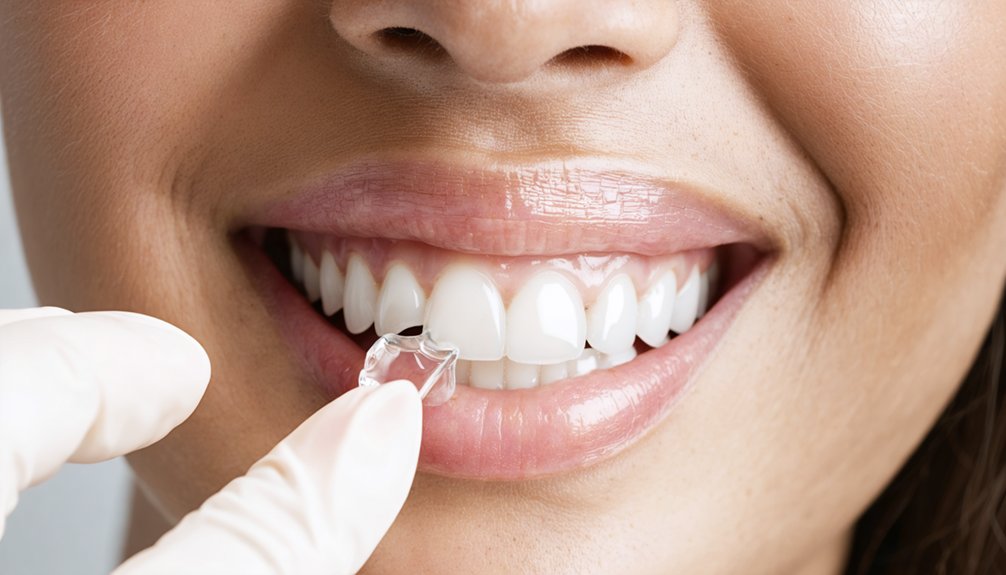
Proper application technique determines whether your whitening results appear uniform or patchy across the tooth surface. Before inserting your tray, brush thoroughly and verify your teeth are dry—moisture dilutes the gel and reduces penetration.
Dry teeth absorb whitening gel more effectively—moisture dilutes the formula and undermines the results you’re working toward.
Precise gel application matters: deposit a small dot of gel into each tooth compartment, avoiding overfilling, which pushes material onto gingival tissue and causes irritation. Tray fitting must be snug against every tooth surface to maintain consistent contact with the whitening agent.
After seating the tray, remove any expressed gel immediately with a clean finger or tissue. Leave trays on for the duration your dentist prescribed—typically 15–20 minutes for higher concentrations.
Following each session, brush your teeth and rinse the tray to eliminate residual gel and prevent uneven redeposition.
Daily Habits That Protect Your Whitening Results
Sustaining your whitening results depends on consistent daily habits that prevent extrinsic stain accumulation and enamel degradation. Remove aligners before consuming anything other than water, and reinsert them only after brushing and flossing thoroughly. Disciplined flossing routines eliminate interproximal biofilm that traps chromogenic compounds, directly protecting enamel integrity between sessions.
Your diet tips should prioritize minimizing chromogenic substances—coffee, red wine, tea, and cola accelerate post-whitening discoloration. When eliminating these entirely isn’t realistic, rinse immediately with water to dilute pigment contact time.
Brush with a non-abrasive fluoride toothpaste rather than whitening formulas if sensitivity persists. Clean aligners daily to prevent bacterial accumulation and clouding. These targeted behaviors collectively extend your whitening outcomes, maintaining clinical-level results through disciplined, evidence-based oral hygiene protocols.
How to Keep Your Teeth White After Invisalign
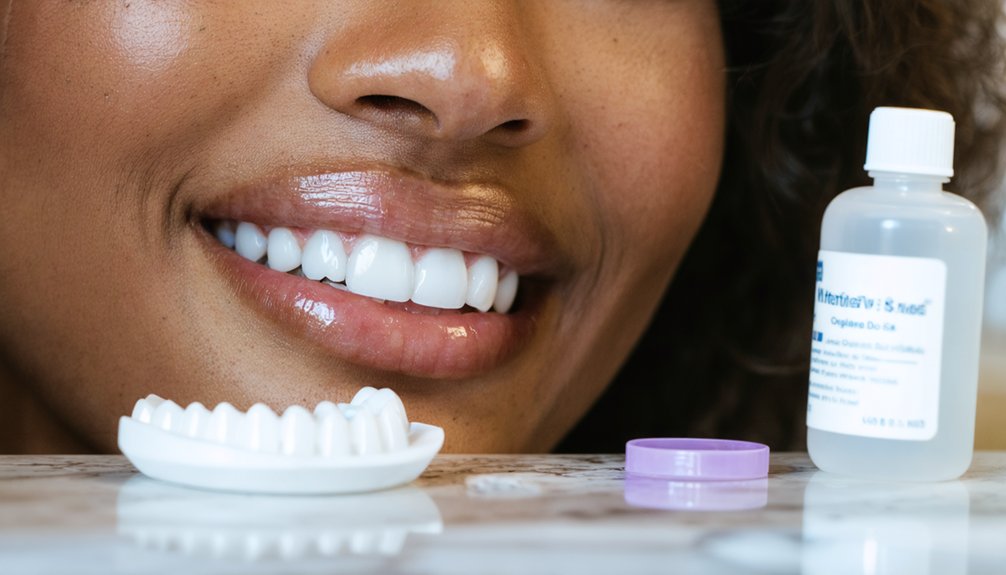
Protecting whitened enamel after Invisalign requires shifting from reactive stain management to proactive maintenance protocols. You’ve achieved best shade results—now systematic habits preserve them.
Maintaining whitened enamel demands proactive habits—not reactive fixes—to preserve your optimal shade results long-term.
Execute these four protocols consistently:
- Avoid chromogenic substances—coffee, red wine, and cola deposit tannins directly onto enamel, reversing whitening outcomes within weeks.
- Perform dental flossing nightly—interproximal plaque accumulation accelerates stain bonding between contact points where strips can’t reach.
- Apply fluoride rinses post-brushing—fluoride strengthens enamel’s crystalline structure, reducing porosity that allows pigment penetration.
- Schedule quarterly professional cleanings—clinical debridement removes calcified deposits before surface discoloration becomes structural.
Your Vivera retainer also functions as a delivery tray for maintenance whitening sessions, extending results without additional clinical appointments.
Consistency determines longevity.
Frequently Asked Questions
Can Teeth Whitening Affect the Fit of Vivera Retainers?
Whitening effects won’t compromise your retainer fit if you follow proper protocols. Whiten at night for up to 8 hours, then wear your Vivera retainers during the day to maintain an ideal seal.
How Long Do Post-Invisalign Whitening Results Typically Last?
Like a freshly painted wall, your results fade with exposure. You’ll typically maintain whitening longevity for 6–12 months. Manage dental sensitivity with lower concentrations, avoid staining foods, and schedule periodic touch-ups to sustain control over your results.
Does Insurance Ever Cover Whitening Treatments Following Invisalign Completion?
Dental insurance typically won’t cover whitening coverage, as insurers classify it as cosmetic. You’ll need to verify your plan’s exclusions directly, explore FSA options, or negotiate in-office pricing with your provider post-Invisalign completion.
Can Whitening Worsen Existing Enamel Damage From Orthodontic Treatment?
Possibly prolonged pain plagues prepped teeth — yes, whitening can worsen existing enamel damage. You’ll heighten enamel sensitivity if you skip lower concentrations. Prioritize whitening safety by using dentist-recommended 10–15% formulas and Sensodyne to protect compromised enamel effectively.
Are Whitening Results Different for Teens Versus Adults After Invisalign?
Yes, teen vs. adult whitening effectiveness differs—your younger enamel’s higher porosity means teens absorb agents faster but risk greater sensitivity. You’ll achieve ideal, controlled results by using lower concentrations and following dentist-recommended protocols post-Invisalign.
References
- https://optimaldentalcenter.com/teeth-whitening-options-after-invisalign/
- https://www.reddit.com/r/Invisalign/comments/15b0bqm/any_tips_on_whitening_after_invisalign/
- https://www.dsmcosmeticdentist.com/whiten-teeth-during-invisalign-treatment/
- https://theivory.dental/dentist-news/can-i-whiten-my-teeth-during-invisalign-treatment
- https://signatureorthodontics-pd.com/teeth-whitening-with-invisalign/
- https://ormondorthodontics.com/blog/ultimate-guide-to-whitening-teeth-after-invisalign/
- https://www.invisalign.com/resources/oral-health/teeth-whitening-guide
- https://intercom.help/enlightensmiles/en/articles/10174812-can-patients-use-the-enlighten-gels-in-the-invisalign-trays-or-other-clear-aligners