You can make your own natural whitening toothpaste by blending 2–3 tablespoons of melted coconut oil with 1/3 cup of baking soda until a smooth paste forms. Add a few drops of peppermint essential oil for flavor, then store it in a sealed glass jar. These ingredients work biochemically to lift surface stains without stripping enamel minerals. There’s much more to know about ingredients, safe frequency, and protecting your enamel long-term.
Key Takeaways
- Melt 2-3 tablespoons of coconut oil, blend with 1/3 cup baking soda until a smooth paste forms, then store in a glass jar.
- Add peppermint or wintergreen essential oils to your base recipe for improved flavor and enhanced antibacterial effectiveness.
- Include xylitol in your formula to add natural sweetness without promoting the decay-causing bacteria regular sugar encourages.
- Use food-grade activated charcoal or 3% hydrogen peroxide for stronger whitening, but limit application to twice weekly maximum.
- Store your homemade toothpaste sealed, away from moisture, and regularly check for texture or smell changes to ensure freshness.
Why Natural Ingredients Whiten Teeth Without Harsh Chemicals
When you strip away the synthetic additives found in commercial toothpastes, natural ingredients reveal a surprisingly effective whitening mechanism rooted in basic chemistry and biology.
You’re working with gentle abrasives like baking soda and calcium carbonate that physically lift surface stains without aggressive chemical intervention. Natural enzymes from fruit sources accelerate stain removal through targeted biochemical reactions.
Coconut oil’s antibacterial properties simultaneously support broader oral health while maintaining proper pH balance throughout treatment.
Ingredient synergy amplifies whitening effectiveness beyond what isolated compounds achieve alone. Unlike conventional products that compromise biocompatibility, chemical free formulas align with your body’s natural processes.
Consumer awareness is shifting toward understanding these mechanisms, empowering you to make informed choices that deliver measurable results without sacrificing long-term enamel integrity or systemic health considerations.
Pantry Staples and Specialty Ingredients for Every Recipe
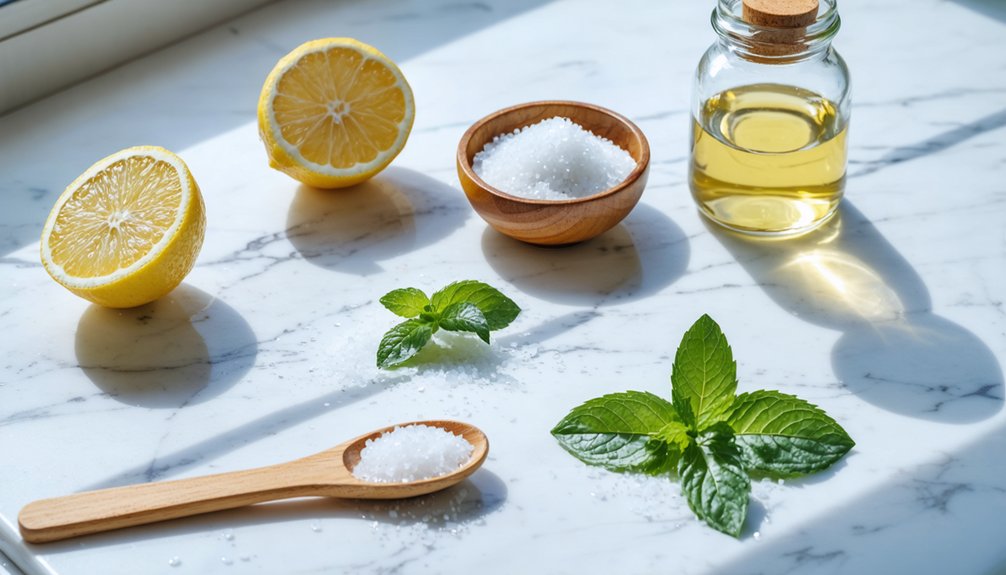
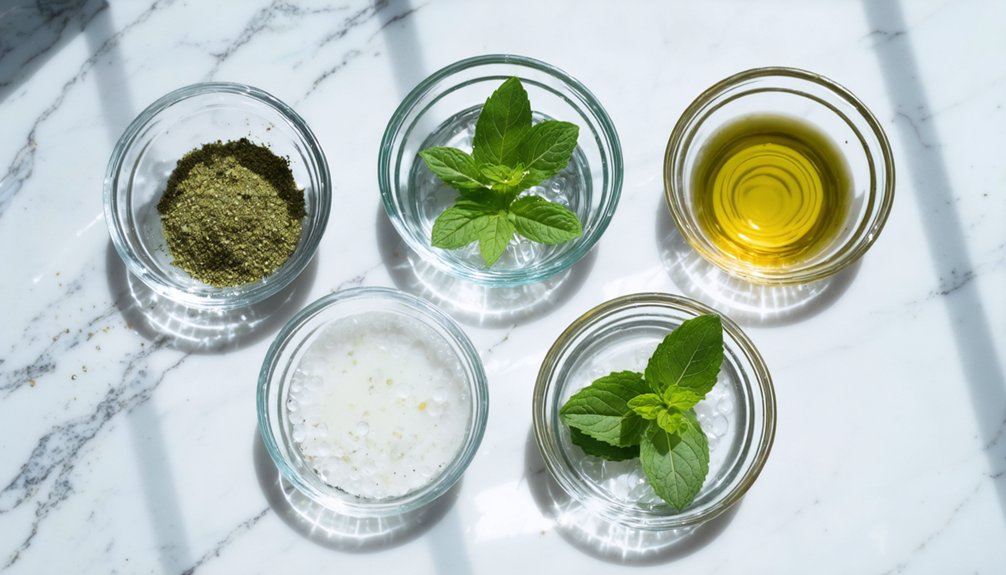
Six core ingredients form the foundation of virtually every natural whitening toothpaste recipe you’ll encounter, and you likely already have most of them in your kitchen.
Pantry accessibility makes this process remarkably straightforward: baking soda, coconut oil, and activated charcoal handle the heavy lifting for stain removal and bacterial reduction.
Calcium carbonate provides gentle mineral abrasion, while xylitol delivers sweetness without feeding decay-causing bacteria.
Ingredient sourcing matters more than you’d think. Opt for food-grade activated charcoal, virgin coconut oil, and pharmaceutical-grade hydrogen peroxide when your recipe calls for whitening boosters.
MCT oil, essential oils like peppermint or wintergreen, and apple cider vinegar round out your toolkit.
Knowing exactly what enters your mouth puts you firmly in control of your oral health outcomes.
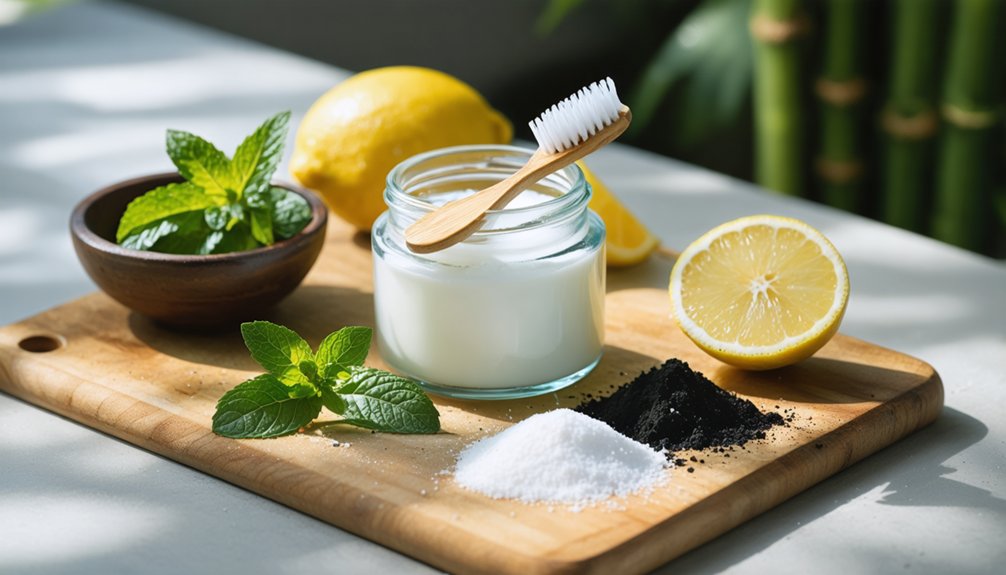
The Basic Coconut Oil and Baking Soda Whitening Recipe
Now that your ingredients are assembled, you’re ready to put them to work in the simplest and most beginner-friendly formula available. Melt 2-3 tablespoons of coconut oil, then blend in 1/3 cup of baking soda until a smooth, consistent paste forms. Store your finished formula in a glass jar to preserve integrity.
Coconut oil benefits include antimicrobial action through lauric acid, which disrupts bacterial membranes without synthetic chemicals.
Baking soda properties deliver mild abrasive whitening by mechanically lifting surface stains while neutralizing acid-producing bacteria through its alkaline pH. Together, these two ingredients create a biocompatible, low-toxicity formula you’ve formulated yourself.
Add peppermint, spearmint, or wintergreen essential oils for flavor. You control every ingredient, every concentration, and every application.
How to Make a Hydrogen Peroxide Whitening Paste
Hydrogen peroxide elevates your whitening routine through genuine oxidative chemistry. Its bleaching mechanism breaks down chromogenic compounds embedded within enamel, delivering results that surface abrasives alone can’t achieve.
Among whitening paste variations, this formula remains scientifically validated.
Your formula:
- 1 tablespoon baking soda
- Few drops 3% hydrogen peroxide
Combine both ingredients until a consistent paste forms. Brush gently for 1-2 minutes using circular motions, then rinse thoroughly with water to neutralize remaining peroxide activity.
Critical boundaries: Limit application to twice weekly maximum. Exceeding this frequency compromises enamel integrity over time.
The hydrogen peroxide benefits here extend beyond aesthetics — you’re actively oxidizing bacterial biofilm simultaneously.
You control the frequency, you control the outcome.
How to Use Activated Charcoal Natural Whitening Formulas Safely
Activated charcoal works through adsorption — binding surface stains and discoloration directly onto its porous structure rather than bleaching enamel chemically.
For whitening effectiveness without compromise, dip your wet toothbrush directly into activated charcoal powder and brush gently using circular motions for two minutes. Brushing technique matters greatly here — aggressive scrubbing accelerates enamel erosion, undermining long-term results.
Safety precautions require you to limit application frequency to once or twice weekly maximum. Overuse causes irreversible enamel damage, eliminating the benefits of natural alternatives entirely.
Use activated charcoal once or twice weekly maximum — overuse causes irreversible enamel damage that no whitening benefit can justify.
For ingredient sourcing, select food-grade or pharmaceutical-grade activated charcoal derived from coconut shells, which offers superior purity. Rinse thoroughly afterward.
Enamel protection remains your priority — consistency within recommended limits delivers results without sacrificing structural integrity.
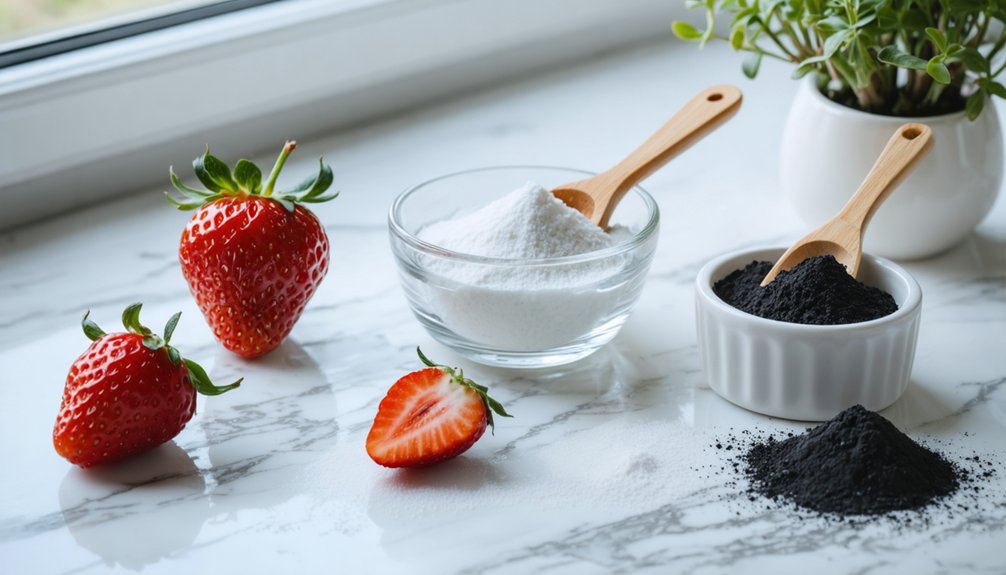
Strawberry Paste, Apple Cider Vinegar Rinse, and Oil Pulling Explained
Strawberries contain malic acid, a natural enzyme that breaks down surface stains. When you combine one or two ripe berries with a teaspoon of baking soda, you’ve created a bioactive paste that gently lifts discoloration without harsh synthetic chemicals.
Apple cider vinegar, diluted at a 1:3 ratio with water and swished for no more than 30 seconds, works as a mild antimicrobial rinse. However, you’ll need to follow it immediately with a water rinse to neutralize its acidity and protect your enamel.
Oil pulling with a tablespoon of coconut oil—swished for 10 to 15 minutes daily—draws out bacteria and supports oral microbiome balance through the oil’s natural antimicrobial lauric acid content.
Strawberry And Vinegar Benefits
When it comes to fruit-based whitening, a paste made from 1-2 ripe strawberries blended with one teaspoon of baking soda delivers enzymatic action that breaks down surface stains — but you’ll want to limit application to five minutes, once weekly, since malic acid can erode enamel with prolonged exposure.
Understanding strawberry benefits means recognizing both their power and their limitations.
Apple cider vinegar effects on enamel demand equal respect. Dilute it at a 1:3 ratio with water, swish for no longer than 30 seconds, then rinse immediately.
Vinegar’s acetic acid dissolves mineral deposits and surface discoloration, but extended contact accelerates enamel erosion.
Both ingredients work through acidity — that’s precisely why timing and frequency aren’t suggestions; they’re non-negotiable boundaries protecting your long-term dental integrity.
Oil Pulling Technique Explained
Beyond acid-based methods, oil pulling offers a fundamentally different mechanism — one that works through lipid attraction rather than chemical erosion.
You’re leveraging fat-soluble chemistry to draw bacteria and surface debris away from enamel rather than stripping it.
To practice this technique, swish one tablespoon of coconut oil throughout your mouth for 10–15 minutes.
Don’t swallow — the oil accumulates toxins during the process. Spit it out, then rinse thoroughly with water.
The oil pulling benefits extend beyond whitening; you’re also reducing bacterial load and supporting gum health simultaneously.
The coconut oil advantages come from its lauric acid content, which carries documented antimicrobial properties.
Daily repetition produces the most consistent results, making this a sustainable, enamel-safe addition to your natural oral care routine.
How Often Should You Use Natural Whitening Toothpaste?

Knowing how often to use natural whitening toothpaste is just as important as knowing how to make it.
Natural frequency matters because overuse can compromise enamel integrity, trigger sensitivity concerns, and reverse your progress. For abrasive formulas containing activated charcoal or hydrogen peroxide, limit application to twice weekly.
Overuse weakens enamel and stalls progress — limit abrasive whitening formulas to just twice weekly.
Gentler coconut oil-based pastes work safely for daily use when ingredient ratios are properly balanced.
You’ll want to monitor your teeth’s response carefully. If sensitivity increases, reduce frequency immediately.
Store your formula in a sealed glass jar to preserve effectiveness and prevent contamination. User experiences consistently show that strategic, measured application outperforms aggressive daily use.
Whitening safety depends on respecting your enamel’s limits. Consistency with appropriate intervals delivers better effectiveness comparison results than intensity ever will.
Enamel Mistakes to Avoid With Every Method
Protecting your enamel starts with understanding the mistakes that quietly erode it over time. Even natural ingredients can trigger enamel degradation when misused. You control the outcome by avoiding these critical errors:
- Brushing too aggressively with abrasive agents like activated charcoal or baking soda
- Ignoring whitening frequency limits, using treatments daily instead of 1-2 times weekly
- Skipping the water rinse after acidic ingredients like vinegar or strawberry paste
- Dismissing early enamel sensitivity as normal rather than a warning signal
- Mixing multiple abrasive methods in the same week without recovery time
Your enamel doesn’t regenerate once damaged. Respect the limits each method carries, monitor sensitivity responses, and rotate formulas strategically.
Precision with natural ingredients protects your long-term dental integrity while still delivering results.
Frequently Asked Questions
Can Natural Whitening Toothpaste Safely Replace My Regular Fluoride Toothpaste Completely?
You shouldn’t completely replace fluoride toothpaste, as fluoride benefits your tooth enamel by actively preventing decay and remineralization loss. Natural options complement your routine beautifully, but they don’t replicate fluoride’s scientifically proven protective mechanisms.
Are Homemade Whitening Recipes Safe for Children and Teenagers to Use?
These recipes could absolutely wreck a child’s developing enamel! You must avoid homemade whitening on kids’ sensitive teeth — ingredient safety isn’t guaranteed. Consult a pediatric dentist before introducing any DIY whitening formulas for teenagers.
Will Natural Whitening Methods Work on Dental Crowns, Veneers, or Implants?
Natural whitening methods won’t lighten your crowns, veneers, or implants—they’re non-porous materials unaffected by bleaching agents. Prioritize crown maintenance and veneer care by using gentle, biocompatible formulas that prevent staining rather than attempting whitening restoration.
Can Pregnant or Breastfeeding Women Safely Use These Homemade Whitening Formulas?
While natural feels safer, you shouldn’t use these homemade whitening formulas during pregnancy or breastfeeding. Consult your healthcare provider first, as even safe ingredients like coconut oil may impact your oral health and your baby’s wellbeing.
How Should Leftover Homemade Whitening Toothpaste Be Properly Stored and Disposed?
Store your leftover formula using proper storage tips: seal it in a glass jar, refrigerate it, and use it within two weeks. For disposal methods, you’ll rinse small amounts down the drain safely.
References
- https://www.whitesandsdentistry.com/blog/natural-homemade-toothpaste
- https://www.youtube.com/watch?v=AmThu8V3ga8
- https://prairiegardendental.com/effective-homemade-teeth-whitening-solutions/
- https://wellnessmama.com/natural-home/whitening-toothpaste/
- https://www.colgate.ie/oral-health/teeth-whitening/how-to-make-your-own-teeth-whitening-paste-0315
- https://www.youtube.com/watch?v=A1PZyv2BT44
- https://blog.paleohacks.com/whitening-toothpaste/
- https://www.carefreedental.com/resources/24-your-teeth/119-homemade-toothpaste-recipes-using-natural-ingredients-to-whiten-your-teeth
- https://www.youtube.com/watch?v=dNfgVXlLdWw
- https://www.tanzaniteskincare.com/homemade-natural-toothpaste-for-teeth-whitening