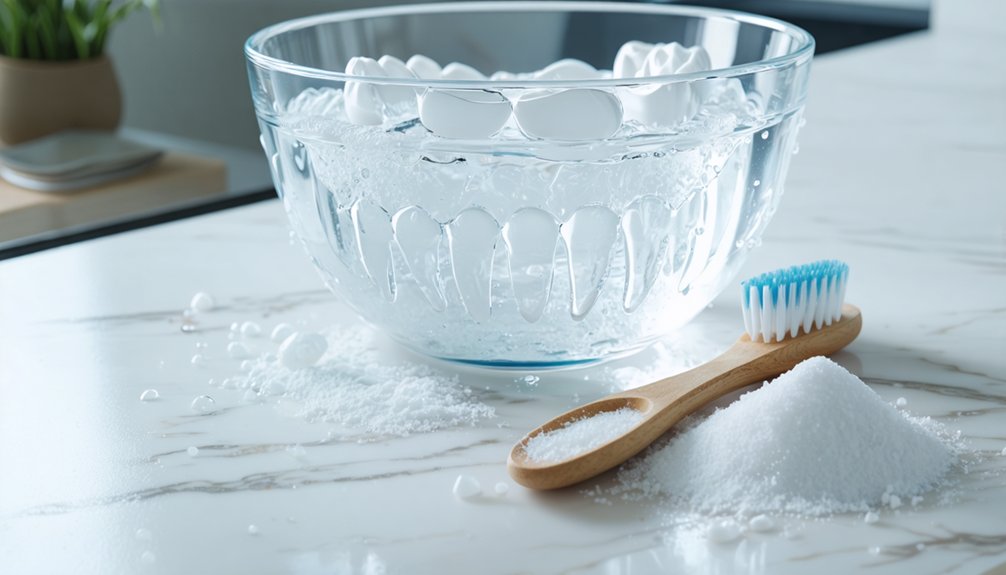
After each use, rinse your whitening trays immediately with cool water, then gently brush them with mild soap and a soft-bristle toothbrush. Pat them dry and store them in their case with the lid slightly open. Deep clean weekly using effervescent tablets or a diluted white vinegar soak for 30 minutes. Avoid hot water and abrasive toothpaste, as both degrade the tray material. Keep exploring to protect your investment and maximize every whitening session.
Key Takeaways
- Rinse whitening trays immediately after use with cool water, then brush them with mild soap to remove gel and bacteria.
- Avoid hot water and abrasive toothpaste, as these can warp the tray material or cause surface scratches.
- Deep clean trays weekly using effervescent tablets or a white vinegar-water soak for approximately 30 minutes.
- Pat trays completely dry before storing them in a slightly open case in a cool, dry location.
- Replace trays if you notice visible distortion, cracks, persistent discoloration, poor fit, or odor after cleaning.
Why Dirty Whitening Trays Slow Down Your Results
Dirty whitening trays don’t just look unpleasant—they actively undermine the treatment you’re paying for. When you neglect tray maintenance, bacterial biofilm accumulates on the surface, creating a barrier between the whitening gel and your enamel.
Neglected trays breed bacterial biofilm—a hidden barrier blocking whitening gel from ever reaching your enamel.
That barrier directly compromises whitening effectiveness, meaning you’re investing time and money for diminished returns.
Tray bacteria also introduce harmful microorganisms into your mouth during each session, increasing your risk of gum irritation and infection.
Plaque and tartar deposits compound the problem further by blocking gel contact with your teeth.
Controlling your cleaning frequency is the simplest way to protect your results. Clean your trays after every use, and you eliminate the variables that silently sabotage your whitening progress.
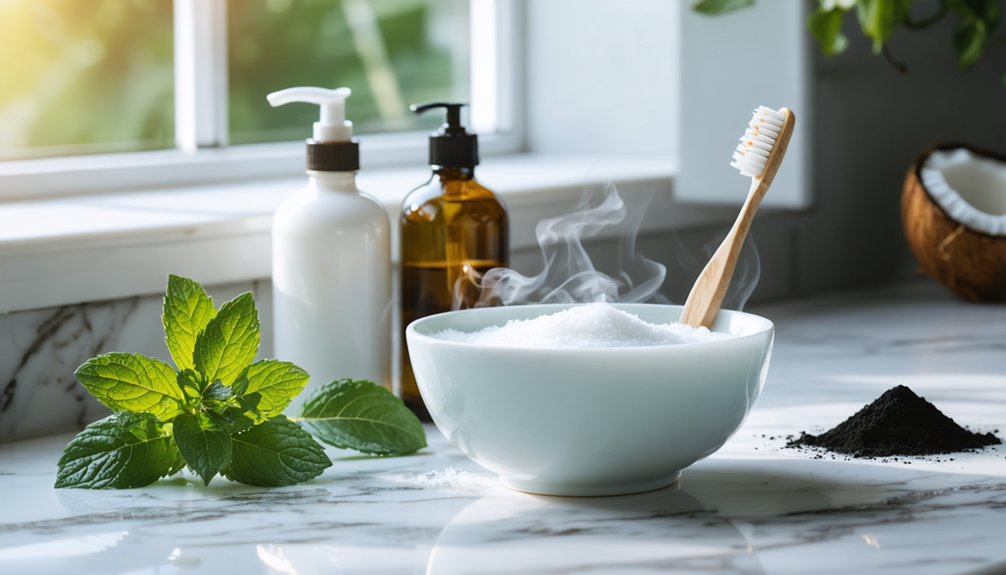
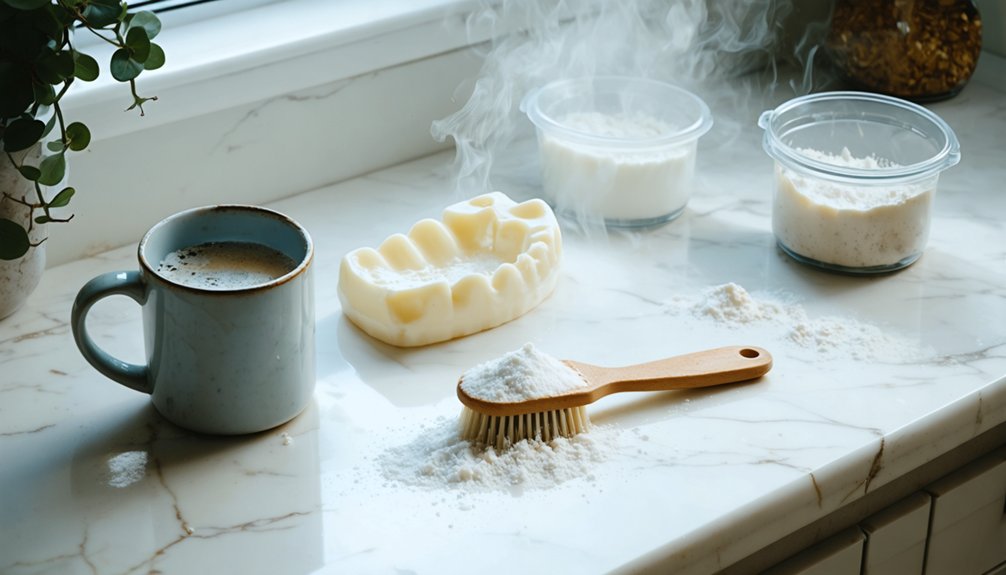
Tools and Products You Need To Clean Whitening Trays
Getting your trays genuinely clean comes down to having 4 core tools on hand: a soft or medium-bristle toothbrush, mild non-perfumed soap or dish soap, cool water, and effervescent cleansing tablets for periodic deep cleans. These cleaning supplies cover both daily maintenance and deeper bacterial removal.
For targeted maintenance tips, keep a Q-tip nearby to reach tight corners and ridge lines where plaque accumulates. White vinegar, baking soda, and diluted hydrogen peroxide serve as chemical alternatives when tablets aren’t available.
Avoid toothpaste entirely — its abrasive formula scratches tray surfaces, creating grooves that trap bacteria.
Store everything accessible near your sink. Having the right tools within reach removes friction from your routine, making consistent cleaning more likely and protecting the structural integrity of your trays long-term.
How To Clean Your Whitening Trays After Every Use
After each use, rinse your trays immediately with cool or room-temperature water to remove residual gel before it sets.
Using a soft-bristled toothbrush, apply a small amount of mild, non-perfumed soap and brush both the inside and outside surfaces thoroughly.
Rinse the trays completely to eliminate all soap residue, then pat them dry with a soft cloth or tissue before storing.
Rinse Trays Immediately
One of the simplest yet most effective steps in whitening tray maintenance is rinsing them immediately after removal. Cool or warm water works best — never hot, as heat warps the tray’s structure. Immediate rinsing prevents whitening gel from hardening, reducing buildup and simplifying your cleaning frequency requirements.
Hold each tray under running water, ensuring you flush both the inner and outer surfaces thoroughly. This quick step removes residual gel before it adheres, preserving the tray’s fit and clarity. Delayed rinsing allows gel to calcify, requiring more aggressive cleaning later.
Incorporating immediate rinsing into your post-use routine takes under a minute but greatly extends tray longevity. It’s a non-negotiable maintenance habit that directly supports every subsequent cleaning step you’ll perform.
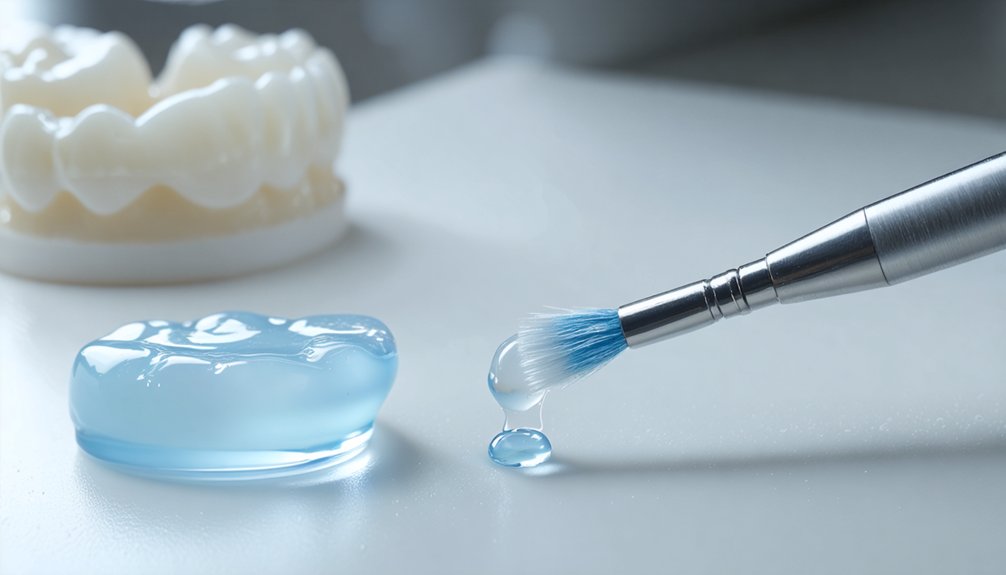
Brush With Mild Soap
Brushing your whitening trays with mild soap after rinsing removes residual gel, bacteria, and surface debris that water alone can’t fully eliminate. Mild soap benefits include breaking down protein-based deposits and calcium buildup without degrading the tray material.
Apply a small drop of non-perfumed dish soap or hand soap directly onto a wet toothbrush before scrubbing.
Toothbrush selection matters considerably here. Choose a soft or medium-bristle toothbrush dedicated solely to tray cleaning. Firm bristles create micro-abrasions that trap bacteria over time.
Scrub both the interior and exterior surfaces using gentle, circular motions. Avoid toothpaste entirely, as its abrasive compounds scratch the tray surface.
After brushing, rinse thoroughly under cool water to eliminate all soap residue before storage or reinsertion.
Rinse And Dry Thoroughly
Thorough rinsing removes soap residue that can irritate gum tissue or degrade tray material over repeated exposures. Hold each tray under cool or room-temperature running water, rotating it to guarantee complete coverage across all surfaces and margins.
Hot water warps thermoplastic material permanently, so temperature control is non-negotiable.
Among the best drying techniques, patting trays with a soft tissue or lint-free cloth minimizes residual moisture without mechanical stress. Air-drying briefly before proper storage further reduces bacterial proliferation.
Store trays in their provided case with the lid slightly open, positioning them in a cool, dry location away from direct sunlight and heat sources. Moisture retention inside a sealed case accelerates microbial growth, compromising both tray integrity and your oral health outcomes.
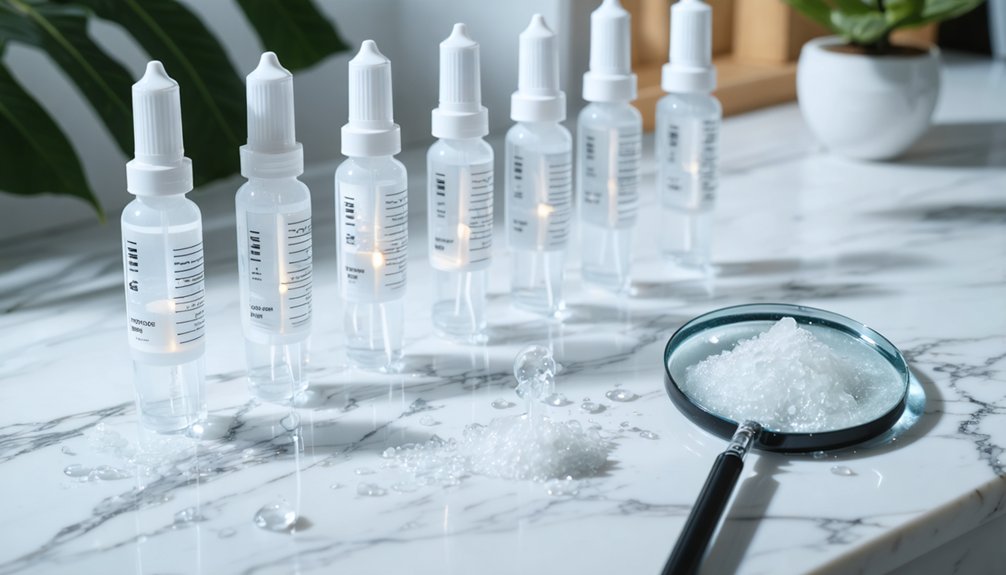
Deep Cleaning Methods That Remove Stubborn Buildup
When daily rinsing and brushing fail to remove stubborn stains or calcium deposits, deep cleaning methods restore your trays to a hygienic baseline.
These effective solutions target buildup that routine maintenance misses:
- Effervescent tablets — Submerge trays in a tablet-dissolved solution for 20 minutes, breaking down microbial residue and discoloration efficiently.
- White vinegar and water — Soak trays in equal parts solution for 30 minutes to dissolve mineral deposits without chemical harshness.
- Hydrogen peroxide diluted with water — A 30-minute soak neutralizes bacteria and lifts embedded stains from tray surfaces.
After any deep clean, rinse trays thoroughly with cool water before reinserting.
Deploy these methods as needed, not on a fixed schedule, to preserve tray integrity.
How Often Should You Deep Clean Your Whitening Trays?
You should deep clean your whitening trays when you notice visible discoloration, stubborn odor, or calcified buildup that routine brushing can’t remove.
A structured schedule—typically one to two deep cleans per week using effervescent tablets, hydrogen peroxide, or white vinegar solutions—keeps bacterial growth and staining in check.
Each method varies in strength and application time, so matching the right approach to your tray’s condition guarantees effective cleaning without material degradation.
Signs You Need Deep Cleaning
Knowing when to deep clean your whitening trays is just as important as the cleaning itself. Recognizing deep cleaning indicators early prevents plaque buildup signs from compromising your trays’ effectiveness and hygiene.
Watch for these three clear triggers:
- Visible discoloration or cloudiness — Your trays appear yellowed or hazy despite regular rinsing, signaling embedded stain accumulation.
- Detectable odor — A persistent unpleasant smell indicates bacterial colonization that routine brushing hasn’t eliminated.
- Sticky or rough texture — A tacky surface or visible white deposits confirm active plaque buildup signs requiring immediate intervention.
When any of these appear, initiate a targeted deep clean using effervescent tablets, a vinegar soak, or hydrogen peroxide solution.
Don’t wait for buildup to worsen.
Recommended Deep Cleaning Schedule
Even with consistent daily maintenance, your whitening trays need periodic deep cleaning to eliminate buildup that routine brushing can’t address.
Your cleaning frequency should include a deep clean at least once weekly using effervescent cleansing tablets or a 30-minute vinegar-water soak.
If you’re using trays daily, increase deep cleaning sessions to twice weekly. Hydrogen peroxide diluted with water works effectively for stubborn staining, while baking soda paste targets surface discoloration between scheduled soaks.
These maintenance tips keep bacterial growth and calcium deposits under control.
After each deep clean, inspect your trays carefully for remaining plaque or tartar. Adjust your schedule based on usage intensity — heavier use demands more frequent intervention.
Consistency in your deep cleaning schedule directly extends tray lifespan and whitening effectiveness.
Deep Cleaning Methods Compared
Each deep cleaning method varies in strength, application time, and suitability for different levels of buildup, so matching the right method to your situation determines how often you’ll need to intervene.
Understanding deep cleaning benefits means selecting the method that targets your specific issue:
- Effervescent tablets — Soak for 20 minutes; ideal for routine maintenance and moderate buildup, best used weekly.
- White vinegar solution — Soak for 30 minutes; dissolves stubborn stains and calcium deposits effectively, use bi-weekly.
- Hydrogen peroxide dilution — Soak for 30 minutes; targets bacterial accumulation and discoloration, apply as needed.
Controlling your cleaning frequency around these options prevents overuse, which can degrade tray material, while ensuring buildup never compromises hygiene or whitening performance.
Adjust based on usage intensity and visible tray condition.
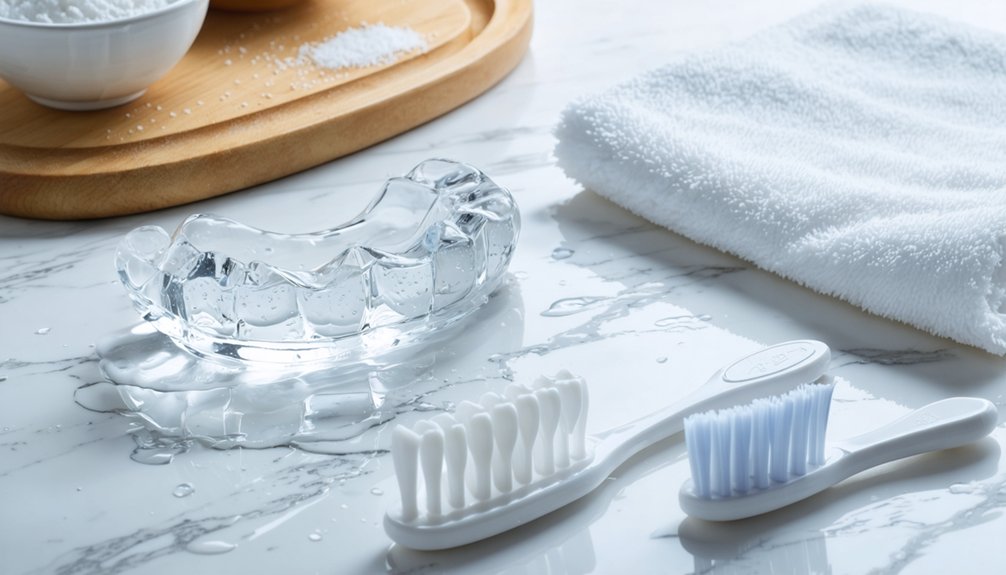
How To Dry and Store Your Whitening Trays
After cleaning your whitening trays, proper drying and storage are essential to prevent bacterial growth and maintain tray integrity.
Pat each tray dry using a tissue, soft cloth, or kitchen roll — these drying techniques minimize residual moisture that fosters microbial growth.
Don’t leave trays air-drying in open, humid environments.
For storage tips, place your trays in their provided case, keeping the lid slightly open to allow airflow.
Store the case in a cool, dry location, away from direct sunlight and heat sources, both of which can warp the tray material.
Avoid storing trays in bathrooms where humidity fluctuates.
Never refrigerate your trays.
Consistent, controlled storage conditions directly extend tray lifespan and preserve their structural fit, ensuring peak whitening performance every use.
Common Cleaning Mistakes That Damage Whitening Trays
Certain cleaning habits, though well-intentioned, directly compromise the structural integrity and longevity of your whitening trays.
Adjusting your cleaning frequency and following evidence-based maintenance tips prevents irreversible damage.
Avoid these three critical mistakes:
- Using hot water — Heat warps the tray’s thermoplastic material, permanently distorting its custom fit and rendering it ineffective.
- Scrubbing with abrasive toothpaste — Microscopic abrasives create surface scratches that harbor bacteria and accelerate discoloration, undermining your hygiene efforts.
- Improper storage after cleaning — Sealing damp trays in a closed case promotes bacterial growth; always pat dry thoroughly before storing with the lid slightly open.
Controlling these variables guarantees your trays perform consistently throughout your whitening protocol.
Signs Your Whitening Trays Need Replacing
Even with diligent cleaning, whitening trays degrade over time and signal when replacement is necessary. Monitoring tray lifespan helps you maintain treatment effectiveness and avoid oral health complications.
Watch for these replacement indicators:
- Visible distortion – Warping or misshaping compromises fit and gel distribution.
- Cracks or tears – Structural damage creates sharp edges that irritate gum tissue.
- Persistent discoloration – Staining that survives deep cleaning indicates material degradation.
- Poor fit – Looseness or tightness suggests the tray no longer conforms to your dental structure.
- Persistent odor – Smell that remains after thorough cleaning signals bacterial infiltration within the material.
Inspect your trays regularly. Replace them immediately when you identify any of these signs to protect both your results and oral health.
Frequently Asked Questions
Can I Clean My Whitening Trays in a Dishwasher?
You shouldn’t clean your whitening trays in a dishwasher. Dishwasher safety isn’t compatible with tray materials—high heat warps the plastic. Instead, use cool water and a soft toothbrush to maintain their shape and effectiveness.
Sharing whitening trays isn’t safe. Despite the theory that cleaning eliminates risks, whitening tray hygiene can’t fully prevent bacterial transfer. Sharing risks include cross-contamination and infection transmission. You should always use your own dedicated trays exclusively.
How Long Do Whitening Trays Typically Last Before Needing Replacement?
With proper care, your whitening trays’ tray lifespan typically spans one to two years. Watch for replacement signs like warping, discoloration, or poor fit—they’ll signal it’s time to consult your dental professional for new trays.
Can Whitening Trays Be Repaired if They Crack or Warp?
You can’t effectively repair cracked or warped trays due to tray material considerations—the thermoplastic integrity’s compromised. Your only viable repair options are professional replacement, ensuring precise fit and treatment efficacy remain unaffected by structural damage.
Does Teeth Sensitivity Affect How Often I Should Clean Trays?
Sensitivity causes don’t directly alter your cleaning frequency. You should still clean trays after every use. However, if sensitivity persists, you’ll want to consult your dentist, as residual gel buildup on poorly cleaned trays can intensify discomfort.
References
- https://smilestories.co/how-to-clean-teeth-whitening-trays/
- https://www.jacksonavedental.com/post/how-to-clean-whitening-trays-dos-don-ts
- https://www.youtube.com/watch?v=dEvMaw5rANM
- https://ryanmccalldds.com/blog/a-comprehensive-guide-to-take-home-dental-whitening-trays
- https://www.acdcdds.com/wp-content/uploads/2023/06/ACDC-Bleaching-Tray-Instructions.pdf
- https://www.youtube.com/watch?v=GSdhrhYVLzA
- https://www.arborviewdentalgroup.com/how-can-yellow-stains-be-removed-from-ceramic-teeth-whitening-trays/
- https://restoredentalco.com/post-op/at-home-teeth-whitening-instructions-and-maintenance/
- https://www.thanasasdds.com/blog/how-to-clean-and-care-for-teeth-whitening-trays/