You can create effective teeth whitening gel by combining 3% hydrogen peroxide with baking soda in precise ratios. Mix the ingredients gradually until achieving a smooth, non-gritty consistency suitable for dental trays. Apply the gel for 30-60 minute sessions over 10-14 days, monitoring for sensitivity. While this DIY approach can yield professional-grade results, proper safety protocols and precise measurements are essential for ideal whitening outcomes.
Key Takeaways
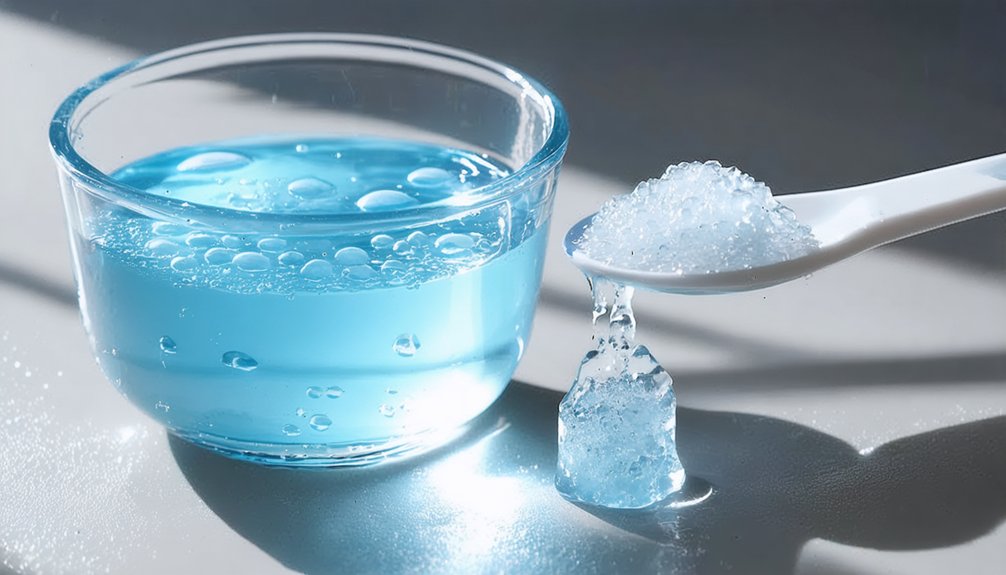
- Mix one teaspoon of baking soda with 3% hydrogen peroxide gradually until a smooth, non-gritty gel consistency forms.
- Apply small amounts of freshly made whitening gel to dental trays, ensuring even coverage for each visible tooth.
- Use custom-fitted trays for 30-60 minutes per session, not exceeding 2 hours, for optimal results and minimal sensitivity.
- Continue daily treatments for 10-14 days while monitoring tooth sensitivity and gum irritation.
- Apply petroleum jelly to protect gums and stop treatment immediately if significant sensitivity occurs.
Understanding the Science Behind Hydrogen Peroxide Whitening
While teeth whitening has become increasingly popular, understanding the chemical mechanisms behind hydrogen peroxide’s bleaching action is essential for safe and effective treatment.
The process relies on H2O2’s unique chemical reactions, where it breaks down into water and reactive oxygen species upon contact with your teeth. These oxygen molecules target chromogenic compounds, initiating stain removal through oxidation. Studies show that proper instructions and guidance lead to optimal whitening outcomes.
Hydrogen peroxide’s decomposition releases active oxygen that attacks stain molecules, breaking them down through powerful oxidative reactions.
When H2O2 penetrates your enamel and dentin, it breaks down both surface and deep-seated stains by fragmenting their molecular structures. Your saliva’s natural enzymes help catalyze these reactions, while factors like heat and light can enhance the whitening process. The ADA recommends using products with 3.5% concentration or less for safe at-home whitening treatments.
The oxidation chemistry specifically targets conjugated double bonds in stain molecules, converting colored compounds into colorless ones by altering their chemical composition.
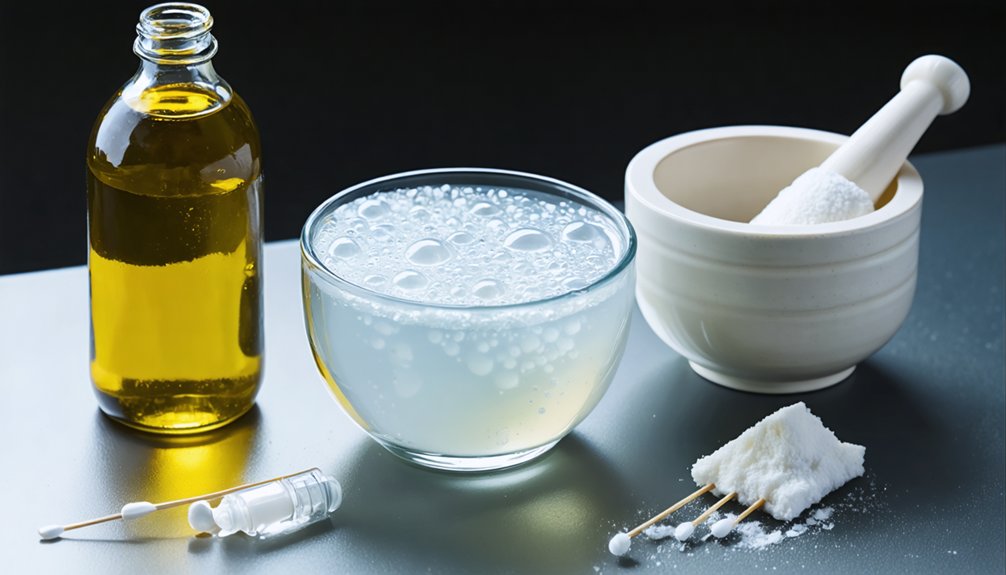
Required Materials and Safety Equipment
You’ll need several key tools to create teeth whitening gel safely, including precise measuring instruments, applicator syringes, and peroxide-resistant storage containers.
To protect yourself during preparation, you must use nitrile gloves, protective eyewear, and a respirator when handling concentrated peroxide solutions.
Your workspace should be well-ventilated and equipped with proper dental trays, application tools, and pH testing equipment to guarantee consistent, safe formulation. The gel concentration should be carefully monitored since hydrogen peroxide strength significantly impacts both whitening effectiveness and tooth sensitivity. Carbamide peroxide 15% can be used as an alternative whitening agent with equal effectiveness.
Essential Tools and Supplies
Creating a safe and effective homemade teeth whitening gel requires specific tools, materials, and safety equipment. You’ll need precise measuring instruments and application tools to achieve proper gel consistency and guarantee safe treatment delivery.
- Dental-grade syringes or applicator tubes for accurate gel dispensing and controlled application
- Custom-fitted or universal dental trays to maintain even contact between gel and teeth surfaces
- Storage containers to preserve peroxide ingredients and maintain gel stability
- Timing device to monitor treatment duration and prevent overexposure
- Essential cleaning supplies including soft-bristled toothbrush, dental floss, and rinse materials
When preparing your teeth whitening materials, keep all components organized in a clean workspace.
Store your supplies in a cool, dark place to maintain ingredient efficacy and guarantee consistent results across treatments.
Always verify the integrity of application tools before each use.
Similar to commercial products, maintaining the standard 30-minute treatment time is crucial for achieving optimal whitening results while preventing enamel damage.
The concentration of hydrogen peroxide should match professional standards of 25% strength to ensure effective whitening capabilities.
Protection and Safety Gear
Because hydrogen peroxide can cause irritation and tissue damage, proper safety equipment is crucial when preparing and applying homemade teeth whitening gel.
You’ll need disposable nitrile or latex gloves to protect your hands, protective eyewear to guard against splashes, and a mask when handling concentrated solutions. Verify you’re working in a well-ventilated area.
For protective barriers during application, you’ll need petroleum jelly to shield the lips and custom-fitted trays or gingival protectors to prevent gel from contacting soft tissues. Since dental professionals can use concentrations up to 40%, extra caution is needed when handling stronger solutions.
Exposure to high concentrations can lead to severe burns if proper protection is not used.
If you’re working with patients, implement a rubber dam for additional gum protection.
Remember to maintain strict hand hygiene protocols before and after gel application to prevent contamination.
Keep first aid supplies nearby, including eyewash solution and clean water for immediate rinsing if accidental contact occurs.
Step-by-Step Mixing Instructions
Three essential steps must be followed when mixing a safe, effective teeth whitening gel at home.
First, gather clean mixing tools and combine one teaspoon of baking soda with 3% hydrogen peroxide in proper mixing ratios. Consulting a dental professional before starting any whitening regimen is strongly recommended.
Second, carefully add the peroxide in small increments until achieving ideal ingredient proportions for a smooth, non-gritty consistency.
Third, mix thoroughly in a clean bowl until the gel forms. Maintain application time of the gel to no longer than 2 minutes to prevent damage to teeth.
- Use only 3% hydrogen peroxide concentration to prevent chemical burns
- Add peroxide drops gradually while stirring to control texture
- Mix fresh batches each time – never store unused portions
- Maintain equal parts peroxide and water for rinse options
- Verify no granules remain in the final gel mixture
Proper Application Techniques and Timing
When applying your homemade whitening gel, place a small drop (1/4 to 1/5cc) on the inner front surface of your clean, dry tray for each visible tooth, avoiding excess that could irritate gums.
You’ll need to monitor treatment duration based on gel concentration – start with 30-60 minute sessions initially to assess tooth sensitivity before potentially increasing wear time.
If you experience any discomfort or gum irritation, reduce frequency or duration of treatments and consider using protective gum barriers during application.
Safe Application Steps
To guarantee ideal whitening results and minimize potential discomfort, proper application of homemade teeth whitening gel requires meticulous preparation and precise technique. Following safe application tips guarantees prime results while protecting your oral health. These essential techniques maximize effectiveness while minimizing sensitivity risks.
- Brush and floss thoroughly, then dry teeth completely with tissue to guarantee maximum gel contact.
- Apply pea-sized amounts of hydrogen peroxide gel per tooth area using precise applicator tools.
- Insert properly fitted trays carefully, guaranteeing snug contact without gaps.
- Maintain recommended wear time of 15-30 minutes, avoiding extended exposure.
- Remove promptly after treatment, rinse thoroughly, and clean trays with cold water.
Remember to test fit trays before applying gel and protect your gums by wiping away any excess immediately.
Monitor for sensitivity during initial applications, adjusting duration as needed.
Optimal Treatment Duration
Successfully achieving ideal whitening results requires precise adherence to recommended treatment durations and application protocols.
When using hydrogen peroxide concentrations between 3% and 12%, begin with a 30-minute to 1-hour application for your first session. You’ll need to maintain daily treatments for 10 to 14 days to achieve noticeable whitening effectiveness.
Apply the gel using custom-fitted trays to guarantee even distribution across your teeth’s surfaces. Don’t exceed 2 hours per session, even if you experience minimal sensitivity.
Remove excess gel promptly after treatment and rinse thoroughly. Your whitening results should become visible within the first week, with maximum effects appearing between 2 to 4 weeks.
For ideal treatment duration, you’ll need periodic touch-ups every few months to maintain your desired level of whiteness.
Monitoring Tooth Sensitivity
Careful monitoring of tooth sensitivity remains essential during any at-home whitening treatment to prevent discomfort and potential complications.
For effective sensitivity management, track your symptoms daily and adjust treatment protocols accordingly.
- Apply whitening gel in thin, even layers using properly fitted trays to minimize gum irritation.
- Limit treatment duration and frequency, allowing adequate recovery time between sessions.
- Rinse thoroughly after each application to remove residual peroxide.
- Use desensitizing toothpaste to block nerve signals and seal exposed dentin.
- Avoid temperature extremes and acidic foods during your whitening regimen.
If you experience severe or prolonged sensitivity, discontinue treatment and consult a dental professional.
Remember that symptom tracking helps identify your personal sensitivity threshold, enabling you to optimize treatment timing while maintaining comfort and safety.
Safety Precautions and Best Practices
While teeth whitening at home can be effective, following proper safety protocols is vital to prevent adverse effects and achieve ideal results.
You’ll need to use hydrogen peroxide concentrations of 3% or lower for enamel protection and sensitivity management. Apply protective barriers like petroleum jelly to shield your gums from contact with the whitening gel, and verify your dental trays fit properly to prevent soft tissue exposure.
Limit treatments to once or twice weekly, following manufacturer-specified duration times strictly. After each session, rinse thoroughly and maintain proper oral hygiene with non-abrasive fluoride toothpaste.
It’s important to consult your dentist before starting any whitening regimen, as they’ll assess your dental health and provide personalized guidance on concentration levels and application frequency suited to your needs.
Addressing Sensitivity and Side Effects
Understanding the mechanisms behind tooth sensitivity and side effects helps maximize the safety of your whitening regimen. When hydrogen peroxide penetrates your enamel and dentin, it can temporarily expose nerve endings, leading to discomfort. For effective sensitivity management, monitor your body’s response and adjust treatment accordingly.
- Stop whitening immediately if you experience significant pain or sensitivity
- Use desensitizing toothpaste containing potassium nitrate before and during treatment
- Apply fluoride treatments to promote enamel remineralization
- Reduce frequency and duration of applications if side effects occur
- Consider lower peroxide concentrations for gentler whitening
If you have pre-existing conditions like thin enamel or exposed dentin, consult your dentist before starting treatment. They can recommend appropriate concentrations and custom-fitted trays to minimize gum irritation and guarantee ideal results while maintaining comfort.
Maintenance and Long-Term Results
Achieving lasting tooth whitening results requires proper maintenance and storage protocols for both your whitening gel and application equipment.
Store your hydrogen peroxide gel in a cool, dark place to prevent degradation, and make sure containers remain tightly sealed after each use. Your whitening frequency will depend on personal habits and staining factors, typically requiring maintenance sessions every few years for those without significant staining behaviors.
To maximize treatment effectiveness, brush and floss before applications, and maintain thorough oral hygiene afterward.
Clean your whitening trays with cool water and a soft brush post-use. You’ll need to monitor your gel’s condition for signs of degradation, such as yellowing or altered smell.
For ideal long-term results, avoid stain-causing substances and implement periodic touch-up treatments based on your individual needs.
When to Seek Professional Help

Although homemade teeth whitening can be effective, certain symptoms and conditions necessitate professional dental intervention.
While DIY whitening methods can work well, some dental conditions and warning signs require treatment from a qualified dentist.
Watch for signs of sensitivity lasting more than a few days, gum issues like swelling or burns, and uneven discoloration that doesn’t resolve. If you experience severe reactions or have pre-existing dental work, don’t continue with DIY treatments.
- Persistent tooth sensitivity interfering with daily activities
- Gum inflammation accompanied by pain or bleeding
- Development of oral sores or ulcers after treatment
- Uneven whitening results or patches
- Severe changes in tooth translucency or enamel appearance
You’ll need immediate professional evaluation if you’re pregnant, have untreated cavities, or experience allergic reactions to peroxide.
Frequently Asked Questions
Can Hydrogen Peroxide Whiten Dental Crowns or Veneers?
No, hydrogen peroxide won’t whiten your dental crowns or veneers since they’re made of non-bleachable materials. For crown longevity and veneer maintenance, avoid peroxide treatments that could damage restoration bonds.
How Long Should I Wait Between Whitening Sessions to Prevent Damage?
Like nurturing a delicate garden, you’ll need to space your whitening sessions wisely. Wait 6-12 months between at-home treatments and 12-18 months for professional sessions to protect your enamel health.
Will Hydrogen Peroxide Remove White Spots or Calcium Deposits on Teeth?
Hydrogen peroxide won’t remove white spots or calcium deposits on your teeth. While it can whiten stains through oxidation, it doesn’t address structural enamel defects or mineralized deposits. You’ll need professional treatment.
Can I Mix Hydrogen Peroxide With Lemon Juice for Better Results?
Don’t mix these ingredients – you’ll risk severe enamel damage. Despite claims about lemon juice benefits, combining it with hydrogen peroxide won’t improve whitening effectiveness and can permanently harm your teeth.
Does Eating Certain Foods Affect the Whitening Process While Using Peroxide?
Particularly pungent foods powerfully affect peroxide whitening. You’ll need to avoid acidic, dark-colored, and tannin-rich foods during treatment, as they’ll compromise results and increase sensitivity through dietary impacts.
References
- https://www.trysnow.com/blogs/news/is-hydrogen-peroxide-safe-for-teeth
- https://pmc.ncbi.nlm.nih.gov/articles/PMC9915942/
- https://www.medicalnewstoday.com/articles/326148
- https://www.healthline.com/health/hydrogen-peroxide-teeth-whitening
- https://www.urmc.rochester.edu/news/publications/health-matters/diy-teeth-whitening-too-good-to-be-true
- https://pmc.ncbi.nlm.nih.gov/articles/PMC4058574/
- https://www.lwdentist.com/diy-teeth-whitening-what-works-and-what-to-avoid/
- https://www.ada.org/resources/ada-library/oral-health-topics/whitening
- https://www.hollywoodwhitening.com/en/blog/hydrogen-peroxide-for-teeth-whitening-how-does-it-work/
- https://www.gentledental.com/resources/articles/hydrogen-peroxide-teeth-whitening


