In-office teeth whitening delivers fast, visible results in a single 60-to-90-minute appointment. Your dentist starts by cleaning your teeth and recording your current shade. Protective barriers shield your gums and lips before a professional-strength peroxide gel gets applied to your teeth and activated with an LED light. You’ll typically go through three to four timed cycles for ideal whitening. Keep exploring to uncover exactly how each step works to maximize your results.
Key Takeaways
- Teeth are cleaned and a shade guide records your current tooth color before any whitening gel is applied.
- Protective barriers, including Vitamin E, a cheek retractor, and a gum dam, shield soft tissues from peroxide exposure.
- High-concentration peroxide gel (15–43%) is applied to front tooth surfaces and activated using an LED blue light.
- Treatment involves three to four cycles of 15–16 minutes each, with fresh gel applied after every cycle for deeper stain removal.
- Post-treatment sensitivity resolves within 24–48 hours; avoid staining foods and use enamel-safe toothpaste to maintain results.
What Actually Happens During an In-Office Whitening Appointment
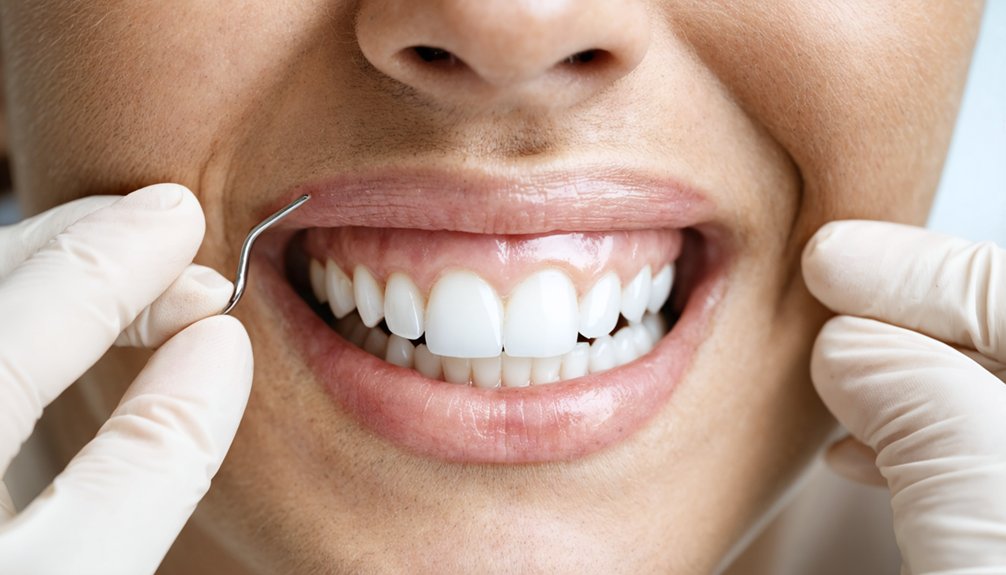
When you sit down for an in-office whitening appointment, the process follows a structured sequence designed to protect your soft tissues and maximize gel penetration. Your teeth are cleaned first, and your current shade is recorded.
Vitamin E or Vaseline protects your lips, while a cheek retractor holds soft tissues away from the whitening agent. A light-cured gum barrier shields your gingival tissue before any gel touches your teeth.
Before whitening gel is applied, your lips, cheeks, and gums are carefully protected from exposure.
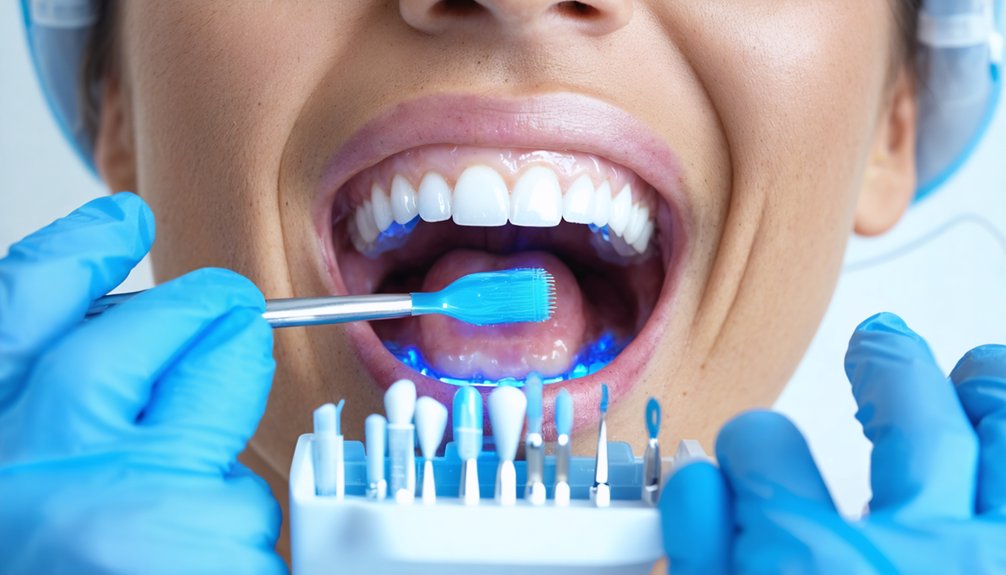
Peroxide gel, typically 15–43% concentration, is then applied across your front teeth and activated using an LED light for 10–30 minutes per cycle. You’ll typically complete three cycles, with fresh gel applied each time.
Post-treatment, a fluoride agent supports patient comfort, and your final shade confirms bleaching efficacy against your baseline record.
What Your Dentist Does Before the Gel Goes On
Before the whitening gel touches your teeth, your dentist cleans and polishes them to remove plaque and tartar, ensuring the bleaching agent penetrates the enamel evenly.
Your current tooth shade gets recorded using a shade guide, giving both you and your dentist a measurable baseline for tracking results.
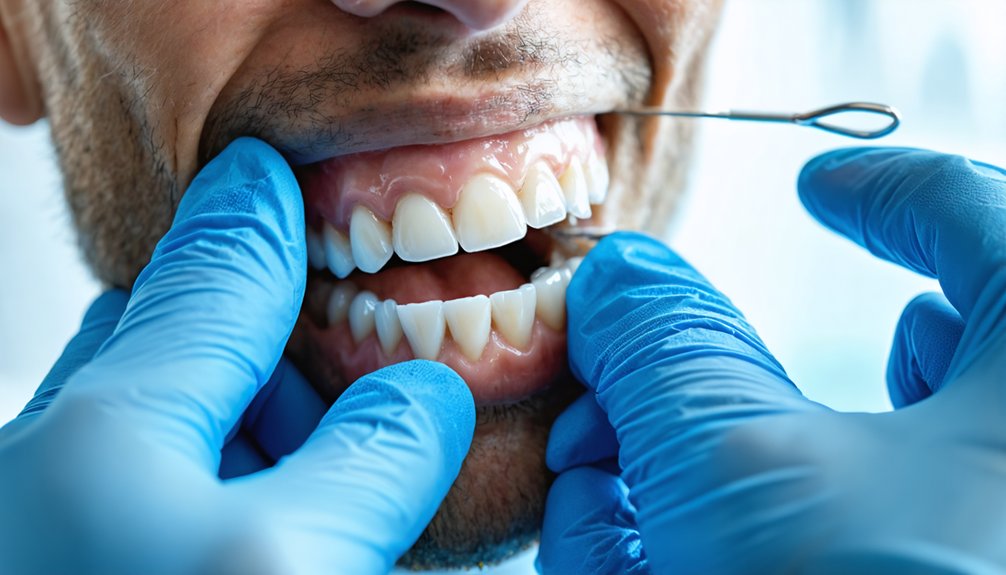
Your dentist then applies protective barriers—including a cheek retractor, cotton rolls, and a light-cured gum dam—to shield your soft tissues from the peroxide gel.
Cleaning and Polishing Teeth
Cleaning and polishing your teeth is the first thing your dentist does before applying any whitening gel. This step removes plaque and tartar buildup that would otherwise block the bleaching agent from penetrating your enamel evenly.
Without proper dental hygiene preparation, you’d get inconsistent results regardless of gel concentration. Your dentist uses a professional cleaning tool or prophy paste to polish each tooth surface, ensuring direct contact between the whitening gel and enamel.
This preparation phase directly controls how effectively the peroxide works during treatment.
Once cleaning is complete, your dentist records your current shade using a calibrated shade guide. This baseline measurement lets you track your teeth whitening progress objectively, giving you a precise before-and-after comparison when treatment concludes.
Recording Current Tooth Shade
Your dentist records your current tooth shade using a calibrated shade guide before applying any whitening gel. This shade measurement establishes your baseline, giving you a concrete reference point for evaluating post-treatment results.
The guide contains standardized color samples ranging from bright white to deep yellow. Your dentist matches these samples against your natural teeth under consistent lighting conditions, ensuring accurate color consistency across your records.
This step isn’t optional—it’s your clinical proof of progress. Without a documented starting shade, you can’t objectively measure how many shades lighter your teeth have become.
Your dentist logs this baseline in your chart, and you’ll reference the same guide after treatment to confirm measurable, verifiable improvement.
Applying Protective Barriers
Three protective barriers go into place before any whitening gel touches your teeth. First, your dentist applies Vitamin E or Vaseline to your lips, preventing dehydration and irritation.
Next, a cheek retractor holds your cheeks, lips, and tongue completely away from the treatment zone, giving your dentist precise control over the application techniques that follow.
The most critical barrier is the gum dam—a light-cured resin your dentist paints across your gum line from premolar to premolar. Once hardened with a curing light, it shields your soft tissue from peroxide exposure.
Cotton rolls reinforce isolation beneath your lips. After these protective barriers are secured, no pink tissue should remain exposed, confirming your mouth is fully prepared for gel application.
How the Gum Barrier Keeps Your Soft Tissue Safe
One of the most critical steps in in-office whitening is protecting your soft tissues from the peroxide gel. Your dentist applies a light-cured resin barrier along your gumline, spanning from premolar to premolar.
Once cured, this hardened dam delivers essential gum barrier benefits by preventing concentrated peroxide from contacting sensitive gingival tissue.
Soft tissue protection doesn’t stop there. A cheek retractor holds your lips, cheeks, and tongue clear of the treatment zone, while cotton rolls provide additional isolation.
After full application, no pink tissue should remain exposed.
This layered approach gives you precise control over where the whitening agent works — strictly on enamel surfaces, never on the surrounding tissue that’s vulnerable to chemical irritation.
How the Whitening Gel Gets Applied to Your Teeth
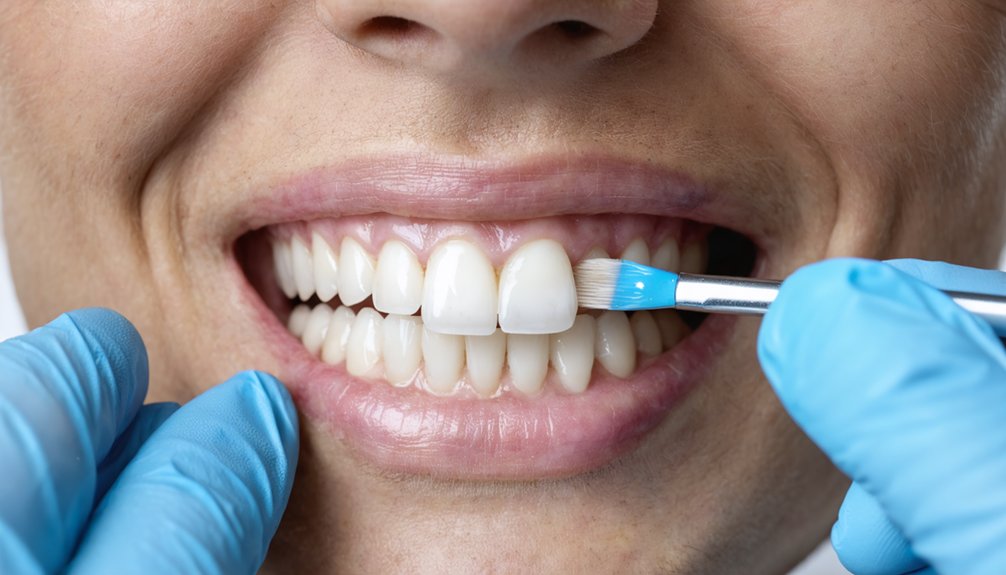
Once your soft tissues are fully protected, the dentist moves directly to gel application. A peroxide-based gel, typically ranging from 15% to 43% concentration, gets applied exclusively to the front surfaces of your teeth—from premolar to premolar.
The application technique involves depositing a small dot of gel onto each tooth using a syringe, then spreading it evenly with a microbrush.
Gel consistency matters here; it’s formulated to stay in place without migrating onto protected tissue.
Unlike take-home trays, this in-office method applies gel directly to enamel surfaces, maximizing contact and effectiveness.
You’ll remain reclined while the dentist confirms even, complete coverage before advancing to the activation phase.
What the UV Light Actually Does to Your Teeth
After the gel is applied, the dentist activates it using a curing light or LED blue light positioned directly over your teeth. This light doesn’t whiten your teeth on its own—it accelerates the whitening process by energizing the peroxide molecules in the gel.
Once activated, those molecules break apart into oxygen radicals that penetrate your enamel and dentin, targeting discolored compounds and breaking their chemical bonds.
The UV light effects work by intensifying the gel’s oxidation reaction, allowing it to work faster than it would at room temperature alone.
The UV light intensifies the gel’s oxidation reaction, accelerating results far beyond what room temperature alone could achieve.
You’ll remain reclined during this phase, which typically runs 10 to 30 minutes per cycle. The light maximizes the gel’s efficiency, giving you more controlled, measurable results within a single appointment.
Why Most In-Office Treatments Run Three to Four Cycles
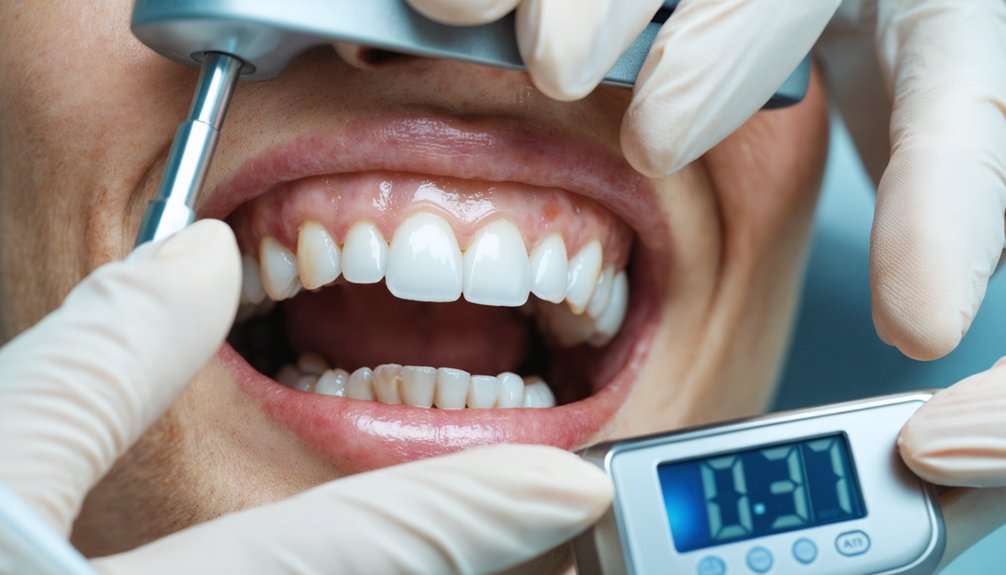
When you undergo in-office whitening, your dentist typically completes three to four cycles of gel application, each lasting approximately 15 minutes, because a single application doesn’t maximize the bleaching potential of the peroxide.
After each cycle, the depleted gel gets suctioned off and replaced with a fresh application to sustain the chemical reaction against tooth stains.
This structured approach guarantees you achieve the most effective shade improvement possible within a single appointment.
Cycle Frequency Explained
Most in-office whitening treatments run three to four cycles because a single extended application isn’t as effective as multiple shorter ones. Each cycle typically lasts 15 to 16 minutes, and cycle duration directly influences treatment effectiveness.
As the peroxide gel works, it becomes saturated and loses potency. Removing spent gel and applying a fresh coat restores bleaching power, giving you consistent, controlled results throughout the session.
After each cycle, your clinician suctions away the old gel, reapplies a new layer, and reactivates the light source. This systematic approach targets deeper staining without overexposing your enamel.
If your initial shade requires more correction, a fourth cycle using a higher-concentration gel is an option. You control how far the treatment progresses based on your whitening goals.
Optimal Whitening Results
Three to four cycles strike the ideal balance between efficacy and enamel safety, which is why most clinicians structure in-office treatments this way. Each cycle removes deeper stain layers progressively, maximizing whitening longevity without compromising enamel integrity.
Your results depend on three key factors:
- Cycle count – Three cycles handle most cases; a fourth 35% gel cycle addresses stubborn discoloration.
- Gel concentration – Higher peroxide percentages accelerate results but require precise application and timing.
- Post treatment maintenance – Avoiding staining foods, using enamel-safe toothpaste, and scheduling touch-ups preserve your outcome long-term.
You’re not leaving results to chance when you understand what drives each cycle.
Structured treatment means predictable, measurable improvement you can track from your initial shade recording to your final result.
Does In-Office Whitening Hurt: and How Long Does It Take?
How much discomfort you’ll experience during in-office whitening depends largely on your tooth sensitivity and the concentration of peroxide gel used. Higher peroxide concentrations—ranging from 15% to 43%—can trigger sensitivity concerns, particularly if your enamel is already compromised.
To address comfort measures, your dentist applies a protective gum barrier, uses cheek retractors, and may administer a fluoride or desensitizing agent post-treatment.
The procedure itself typically runs 60 to 90 minutes. Treatment involves three to four cycles, each lasting 15 to 16 minutes, during which the peroxide gel is activated by an LED or curing light.
Between cycles, the gel is suctioned off and reapplied. Post-treatment sensitivity usually resolves within 24 to 48 hours.
Frequently Asked Questions
How Much Does a Typical In-Office Teeth Whitening Treatment Cost?
You’ll typically spend $300–$1,000 on in-office teeth whitening, depending on cost factors like location and provider expertise. Your treatment options, including Zoom or power bleaching, directly influence the final price you’ll pay.
How Long Do In-Office Whitening Results Actually Last Before Fading?
The ball’s in your court—results typically last 1–3 years. Whitening maintenance tips like avoiding staining foods and factors affecting longevity, including habits and oral hygiene, determine how long you’ll maintain your brighter smile.
Can In-Office Whitening Damage Existing Dental Crowns or Veneers?
Whitening won’t damage your crowns or veneers, but you’ll notice they don’t lighten like natural teeth. Watch for crown sensitivity post-treatment. Veneer durability remains unaffected, though color mismatches may occur if surrounding teeth brighten considerably.
Is In-Office Whitening Safe During Pregnancy or While Breastfeeding?
Like a storm cloud over a sunny day, safety concerns shadow in-office whitening during pregnancy or breastfeeding. You should avoid it, as risks remain unstudied. Explore alternative options like improving dental hygiene instead.
How Soon After Whitening Can I Eat Normally Again?
You can eat normally within 24-48 hours post-treatment. During this window, you’ll want to manage teeth sensitivity by making careful food choices—avoid hot, cold, or staining foods, and opt for lukewarm, non-pigmented options instead.
References
- https://www.bunkerhilldentistry.com/2024/06/17/in-office-teeth-whitening-procedure/
- https://www.youtube.com/watch?v=kS-MtfyGB8M
- https://www.robertsolowdds.com/wp-content/uploads/2017/09/Teeth_Whitening_InsDirections_on_use_of_professional_bleaching_gel_and_whitening_trays.pdf
- https://www.youtube.com/watch?v=IE1P9O3myWw
- https://hamilton-smiles.com/professional-teeth-whitening-a-step-by-step-guide/
- https://www.usa.philips.com/c-m-pe/teeth-whitening/zoom-in-office
- https://www.ada.org/resources/ada-library/oral-health-topics/whitening
- https://enspiredental.com/2025/what-to-expect-after-in-office-teeth-whitening-treatment/
- https://www.aspendental.com/dental-services/cosmetic-dentistry/teeth-whitening/