Your timeline determines everything when it comes to whitening your teeth before a big event. With two or more weeks, you can complete professional in-office whitening and recover from sensitivity. With one week, strips or trays are still viable. Under 72 hours, skip unproven natural remedies and focus on whitening pens, polishing toothpaste, and smart presentation strategies like blue-toned lip color and natural lighting. Every minute counts, and the right approach for your situation makes all the difference.
Key Takeaways
- In-office whitening delivers the most dramatic results in a single appointment, making it the best option with two or more weeks to spare.
- Whitening strips or trays require at least one week to show effective results; avoid starting them last minute.
- Whitening pens offer safe, quick cosmetic brightening when only hours remain before your event.
- Use blue-toned lip color and natural lighting to optically enhance tooth brightness without any whitening treatment.
- Avoid pigmented foods, coffee, and acidic drinks for 48–72 hours post-treatment to preserve whitening results.
How Much Time Do You Actually Have?
The timeline you’re working with determines every decision that follows. If you have two weeks or more, you can pursue professional in-office whitening and allow sensitivity to fully subside before the event.
With one week, you’re managing a tighter window that still permits treatment but limits your ability to repeat it.
One week is enough to act, but not enough to recover and try again.
Under 72 hours, your options narrow sharply.
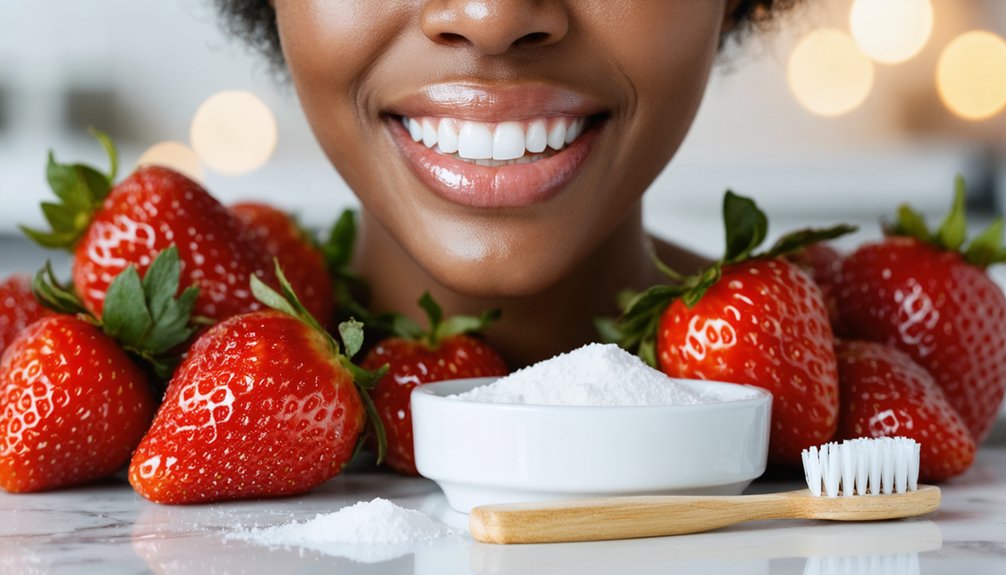
Set aside teeth whitening myths suggesting natural remedies like charcoal or oil pulling can deliver fast, dramatic results—they can’t. These approaches lack the clinical evidence and peroxide-based mechanism required for meaningful whitening on a short timeline.
Identify your exact date, then count backward. That number dictates whether you pursue professional treatment, an accelerated at-home protocol, or same-day cosmetic strategies.
Precision here prevents wasted effort and disappointing results.
Fastest Whitening Options for a Tight Timeline
When time is short, three options stand out as the fastest ways to meaningfully whiten your teeth: professional in-office whitening, at-home peroxide strips or trays, and whitening pens. Skip the teeth whitening myths and natural remedies like oil pulling or lemon juice—they don’t deliver measurable results fast enough to matter before an event.
Here’s how each option performs under pressure:
- In-office whitening delivers the most dramatic results in a single appointment.
- Peroxide strips or trays work effectively when started at least one week out.
- Whitening pens offer a quick cosmetic brightening for last-minute touch-ups.
- Whitening toothpaste lifts light surface stains but won’t close significant gaps.
Choose based on your timeline and how much control you want over the outcome.
Can You Whiten Teeth the Day Before an Event?
Whitening your teeth the day before an event is possible, but it carries real risks, including heightened sensitivity, gum irritation, and uneven results that won’t have time to stabilize.
If you’re working with a one-day buffer, safer options include a whitening pen, a polishing toothpaste, or a single short strip session rather than a full professional-strength treatment.
Should sensitivity develop, use a potassium nitrate-based toothpaste, avoid temperature extremes, and skip any additional whitening products to prevent compounding the irritation.
Day-Before Whitening Risks
Although it may seem like a last-minute fix, whitening your teeth the day before a big event carries real risks that can leave you worse off than when you started. Last-minute treatments can compromise enamel health and trigger sensitivity that peaks during your event.
Key risks include:
- Heightened sensitivity that makes eating, drinking, or smiling uncomfortable
- Gum irritation from overexposure to peroxide-based formulas
- Uneven results if surface buildup wasn’t removed beforehand
- No whitening effect on dental veneers, crowns, or restorations, creating visible color mismatches
You won’t have time to correct these outcomes before your event.
Controlling your results means planning ahead—not reacting at the last minute when your options are limited and the stakes are high.
Safer Last-Minute Options
If you’ve already reached the day before your event, your safest options are limited but still useful. Focus on dental hygiene measures that polish without irritating: use a whitening toothpaste to lift minor surface stains, then rinse with a nonalcoholic mouthwash for brightness without sensitivity risk.
Prioritize stain prevention above all else. Avoid coffee, tea, red wine, and dark sauces for the remaining hours leading up to your event. Rinse with water immediately after eating or drinking anything pigmented.
On the day itself, choose blue-toned lip color to create the optical effect of whiter teeth in photos. Favor natural daylight over yellow-tinted artificial lighting. These strategies won’t change your tooth color, but they’ll maximize the appearance of what you already have.
Managing Sensitivity Afterward
Sensitivity after whitening can linger for 24–48 hours, which is exactly why whitening the day before an event isn’t recommended. Despite teeth whitening myths suggesting otherwise, enamel preservation depends on giving your teeth recovery time.
Manage post-whitening sensitivity effectively with these steps:
- Use fluoride toothpaste immediately after treatment to support enamel remineralization
- Avoid hot, cold, and acidic foods for at least 48 hours to prevent aggravating nerve exposure
- Skip additional whitening products during this window since combining treatments increases enamel damage risk
- Take over-the-counter pain relievers if sensitivity becomes uncomfortable, following standard dosage directions
Controlling your results means controlling your recovery timeline. Build in at least two weeks before your event so sensitivity resolves completely and your whitening results stabilize before you’re in front of the camera.
Professional vs. At-Home Whitening Before an Event
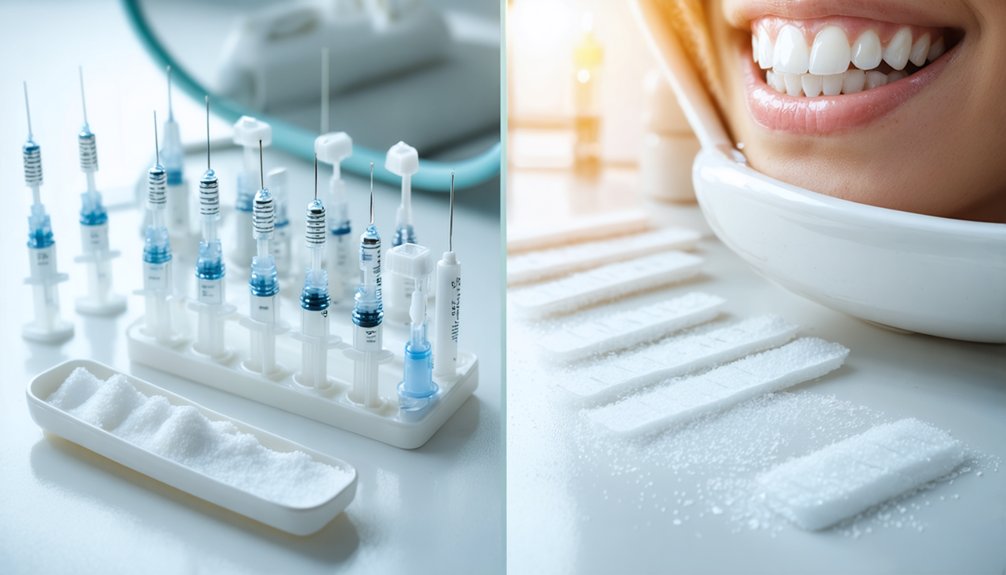
When time is tight, choosing between professional and at-home whitening comes down to your timeline and sensitivity tolerance. In-office treatment delivers the fastest, most controlled results, often visibly brightening teeth in a single session.
However, if you have a dental veneer, note that neither method will alter its color, so mismatched shading can become more noticeable post-treatment.
At-home strips or trays work well with at least one to two weeks of lead time. They’re more affordable but require strict adherence to instructions to avoid enamel damage from overuse or improper application. Don’t stack products to accelerate results.
If your event is within 48 hours, skip new treatments entirely and rely on same-day strategies like whitening toothpaste and blue-toned lip color instead.
How to Manage Sensitivity After Whitening
Whitening often comes with a trade-off: noticeable sensitivity that can linger for 24–48 hours after treatment. Tooth sensitivity spikes when whitening gel temporarily opens enamel pores, exposing underlying dentin.
Whitening gel temporarily opens enamel pores—and sensitivity is the price you pay for a brighter smile.
You can control the discomfort and protect your results with deliberate steps:
- Use a potassium nitrate toothpaste before and after treatment to block nerve signals and reduce tooth sensitivity.
- Shorten gel exposure time if sensitivity becomes sharp—less contact time lowers irritation without eliminating results.
- Avoid temperature extremes—cold water, ice, and hot beverages amplify sensitivity during the recovery window.
- Take an OTC pain reliever like ibuprofen if discomfort disrupts eating or sleep.
Sensitivity is temporary. Manage it strategically, and you’ll preserve both your comfort and your whitening results heading into the event.
What to Eat and Avoid After Whitening
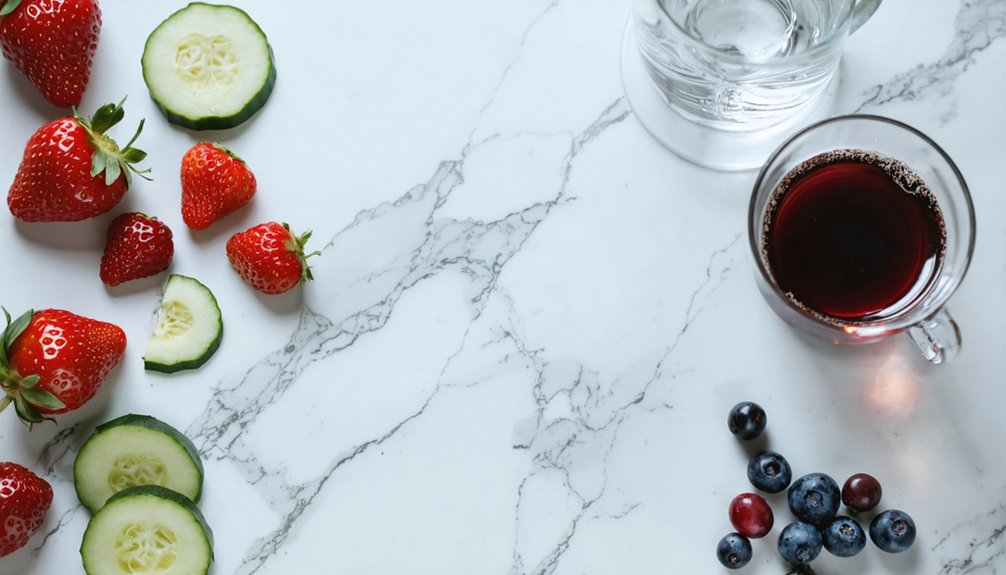
After whitening, your enamel pores remain temporarily open, making teeth considerably more vulnerable to staining for the next 48–72 hours. Strict diet restrictions during this window protect your results directly.
Avoid coffee, tea, red wine, dark sodas, berries, red sauces, curry, soy sauce, balsamic vinegar, and beets — all high-pigment staining foods that penetrate vulnerable enamel rapidly.
Also eliminate acidic foods and citrus, which compound sensitivity and increase stain absorption. Stop smoking or vaping entirely during this period.
What you can eat: white or light-colored foods such as chicken, fish, rice, eggs, and plain yogurt.
Drink water exclusively, using a straw when possible. Rinse with water immediately after every meal to minimize contact between pigmented residue and your enamel surface.
How to Make Your Teeth Look Whiter on Event Day
On event day, skip additional whitening treatments and instead focus on quick, low-risk appearance boosts like using whitening toothpaste in the morning for a mild polishing effect.
Rinsing with water after meals can help prevent new surface stains. You can also use blue-toned lip color, which contrasts against your teeth and makes them appear noticeably brighter in photos.
For photo settings, favor natural daylight over yellow-tinted artificial lighting, since warm-toned light amplifies the appearance of yellowing and dulls your results.
Same-Day Appearance Boosts
Even if you skipped every whitening treatment on the calendar, a few targeted strategies can make your teeth look noticeably brighter on event day. Forget dental myths about natural remedies like activated charcoal or lemon juice—these last-minute tactics can damage enamel without delivering results.
Instead, focus on what actually works:
- Use whitening toothpaste in the morning for a mild polishing effect
- Rinse with water immediately after eating or drinking to prevent fresh staining
- Choose blue-toned lip color, which creates optical contrast that makes teeth appear whiter in photos
- Position yourself in natural daylight for photos and avoid yellow-tinted lighting, which dulls tooth brightness
These aren’t shortcuts—they’re precision adjustments that give you measurable control over your appearance when time has run out.
Photo-Friendly Lighting Tips
Lighting is one of the most underestimated variables in how your teeth photograph. Natural daylight produces the most accurate, flattering tooth color — position yourself facing the light source rather than away from it.
Avoid yellow-toned indoor lighting, which amplifies warmth and makes teeth appear duller. Cool-white or blue-toned light enhances brightness without any treatment.
If you’ve had cosmetic veneers or dental bonding, lighting matters even more — certain spectrums can expose shade mismatches between restorations and natural teeth.
Shoot in open shade outdoors for even, neutral illumination. On-camera flash can flatten and wash out natural gradients, so opt for ambient light when possible.
These aren’t minor adjustments — controlled lighting decisions can visually outperform last-minute whitening products when executed correctly.
Whitening Mistakes That Hurt Your Results
When it comes to emergency whitening, a few critical mistakes can undo your results before the event even arrives. Avoid these errors to protect your outcome:
- Mixing products: Combining strips, gels, and trays simultaneously accelerates enamel erosion without improving results.
- Exceeding wear times: Longer doesn’t mean whiter—it means increased sensitivity and tissue damage.
- Ignoring restorations: Dental veneers and crowns don’t respond to peroxide, creating uneven color mismatches.
- Whitening on the day of the event: Sensitivity peaks immediately after treatment, making it uncomfortable and unpredictable.
You’re working against a deadline, so precision matters. Follow product instructions exactly, don’t stack treatments, and build in a 48–72 hour buffer.
Controlled execution protects both your enamel and your final results.
What to Do in the Days After Your Event
Once your event has passed, your whitening results still need active protection. Continue avoiding coffee, tea, red wine, dark sodas, and heavily pigmented foods for at least 48–72 hours post-treatment. These substances penetrate temporarily sensitized enamel faster than usual.
Maintain consistent dental hygiene by brushing twice daily with fluoride toothpaste and flossing once daily. Use a nonalcoholic mouthwash to reduce discoloration risk without irritating treated enamel. Rinse with water after every meal.
Don’t combine cosmetic procedures or layer whitening products chasing faster results—overuse damages enamel and increases sensitivity. If you plan future whitening sessions, space them appropriately and schedule a professional cleaning beforehand.
You’ve invested time and effort into your results; disciplined post-event maintenance is what actually preserves them long-term.
Frequently Asked Questions
Does Teeth Whitening Work the Same on Crowns and Veneers?
Whitening doesn’t work on a dental crown or veneer whitening treatments—these restorations won’t respond to peroxide. You’ll only lighten your natural teeth, potentially creating mismatched shades, so consult your dentist before proceeding.
Should You Get a Dental Cleaning Before Whitening for an Event?
Yes, you should schedule a dental cleaning before whitening. It removes plaque buildup, maximizes your results, and reduces whitening sensitivity risk. Check your dental insurance coverage first, as cleanings are often included in preventive benefits.
Can You Mix Different Whitening Products to Speed up Results?
You shouldn’t mix homemade remedies or over-the-counter options to accelerate results—even though it’s tempting. Combining whitening products damages enamel and increases sensitivity, ultimately delaying your event-ready smile rather than speeding it up.
Does Lighting or Lip Color Affect How White Teeth Appear in Photos?
Yes, both affect your results. You’ll maximize tooth brightness by choosing blue-toned lip gloss matched to your skin tone and shooting in natural daylight—yellow-tinted lighting neutralizes whiteness, while warm-toned lip gloss undermines the contrast you’re controlling for.
Should Gum Disease Be Treated Before Undergoing a Whitening Procedure?
Yes, you should treat gum disease before whitening. Gum health directly impacts whitening safety—high-strength peroxide can aggravate inflamed tissue, increasing irritation and risk. Address any active gum issues with your dentist first to guarantee a controlled, effective outcome.
References
- https://themintdental.com/teeth-whitening-before-a-big-event/
- https://austincreekdental.com/blog/how-to-whiten-your-teeth-before-a-special-event/
- https://dentistryforyouokc.com/teeth-whitening-mistakes-to-avoid-before-a-big-event/
- https://www.springfielddentist.net/blog/teeth-whitening-for-events/
- https://www.gillisdental.com/blog/2022/05/24/how-close-to-an-event-should-i-whiten-needham/
- https://smilepath.com.au/blogs/blog/instant-teeth-whitening-tips
- https://learn.thedentalprotocol.com/guide/how-to-whiten-teeth-fast
- https://www.thesecrettrends.com/blog/teeth-whitening-before-a-wedding-or-big-event-the-complete-timeline-guide/
- https://lunddental.com/teeth-whitening/emergency-teeth-whitening-before-events/
- https://www.md.co.uk/blog/teeth-whitening-before-wedding-or-big-event