When treating medication stains, you’ll get the best results by acting fast. Rinse the stain immediately with cool water, then apply targeted treatments based on the stain type. Use dish soap and vinegar for syrup stains, isopropyl alcohol for dye residues, sodium thiosulfate for iodine, and ammonia with detergent for mercurochrome. Always check your fabric’s care label before applying any product. Each stain type has its own removal strategy worth exploring further.
Key Takeaways
- Rinse medication stains immediately with cool water, flushing from the back of the fabric for one to two minutes to prevent permanent bonding.
- Always check fabric care labels and test stain removers on hidden areas before applying treatments to avoid irreversible damage.
- Use dish soap mixed with vinegar for syrup-based stains, or blot isopropyl alcohol onto stubborn dye residues for effective removal.
- Soak stained white fabrics in sodium perborate and warm water for 30 minutes, then rinse thoroughly with cool water afterward.
- Treat iodine stains with sodium thiosulfate and ammonia, while mercurochrome stains respond well to liquid detergent mixed with ammonia solution.
Rinse Medication Stains With Cool Water First
Removing medication stains successfully starts with one critical first step: rinsing the affected fabric immediately under cool running water. Act within minutes of the stain occurring. Cool water prevents medication residues from bonding deeper into the fibers, while hot water accelerates that process and sets the stain permanently.
Position the fabric so water flows through the back of the stain, pushing residue outward rather than inward. This stain flushing technique dislodges fresh chemical compounds before they penetrate the weave.
Continue cool water rinsing for one to two minutes, applying light pressure as needed.
Don’t skip this step or substitute warm water prematurely. Controlling stain outcome begins here.
Subsequent treatments—solvents, detergents, or bleaching agents—perform notably better on fabric that’s been properly flushed first.
Which Medication Stains Need Immediate Treatment?
Not all medication stains demand the same urgency, but several types set quickly and become considerably harder to remove once dry. Stain persistence increases considerably when colored or chemical residues bond to fibers. Urgent action is your most effective defense.
Prioritize immediate treatment for these four stain types:
- Cough syrup — dye-based formulas penetrate fabric rapidly and resist water once dried.
- Mercurochrome — the color compounds bind to fibers within minutes of contact.
- Iodine — oxidizes quickly into fabric, complicating later chemical removal.
- Argyrol — silver-based solution leaves persistent staining if not flushed promptly.
In each case, begin cool-water rinsing before attempting any targeted treatment.
Delayed response reduces your removal options and raises the likelihood of permanent discoloration.
Check Your Fabric Before Applying Any Stain Remover
Before applying any stain remover, read your fabric’s care label to identify fiber content and confirm which treatments—bleach, alcohol, ammonia, or enzyme-based products—are safe to use.
Test for color fastness by applying your chosen product to a small, hidden area and waiting several minutes to check for dye transfer or discoloration.
Once you’ve confirmed compatibility, match the stain remover to both the fabric type and the specific medication residue, since high-heat or harsh chemical treatments can permanently set certain medicine stains into vulnerable textiles.
Read The Care Label
Every stain-removal decision starts with the care label, which tells you exactly what your fabric can and can’t tolerate. Ignoring it risks permanent damage.
Apply these fabric care and stain prevention tips by checking for:
- Bleach tolerance – “Cl” symbols indicate chlorine bleach safety; absence means color-safe alternatives only.
- Temperature limits – Low-heat symbols restrict you to cool or warm water treatments exclusively.
- Dry-clean only – Signals that home wet treatments are off-limits; professional handling is required.
- Hand-wash restrictions – Prohibits machine agitation, limiting your treatment to gentle, controlled applications.
Once you’ve confirmed fabric compatibility, you can select alcohol, enzyme solutions, sodium perborate, or bleach confidently.
Without this step, even correct stain-removal chemistry can destroy the textile permanently.
Test For Color Fastness
Once you’ve read the care label and confirmed what treatments your fabric can tolerate, color fastness testing becomes your next checkpoint before applying any stain remover.
Skipping this step risks permanent dye loss or discoloration, particularly with alcohol, bleach, or ammonia-based solutions.
To conduct fabric testing, apply a small amount of your chosen treatment to a hidden seam or interior hem. Wait two to three minutes, then blot with a white cloth.
If dye transfers or the fabric lightens, that product isn’t safe for that textile.
Color fastness varies greatly across dyed fabrics, synthetic blends, and natural fibers. Testing takes under five minutes but protects you from irreversible damage.
Only proceed with full stain treatment after confirming the fabric holds its color under your chosen solution.
Match Products To Fabric
Matching the right stain-removal product to your specific fabric type determines whether treatment succeeds or causes additional damage. Fabric compatibility directly controls your outcome. Before applying any stain removal techniques, consult your garment’s care label and proceed accordingly.
- White cotton: Tolerates chlorine bleach, sodium perborate, and alcohol-based treatments.
- Colored fabrics: Require color-safe, enzyme-based, or vinegar-detergent solutions to prevent dye loss.
- Delicate textiles: Restrict treatment to cool water, mild liquid detergent, and low-concentration solutions only.
- Synthetic blends: Avoid high heat and ammonia; use targeted solvent or enzyme products instead.
Never apply bleach, ammonia, or alcohol without confirming fabric safety first. Incompatible products permanently damage fibers and set stains deeper into the material.
Dish Soap and Vinegar for Syrup-Based Medication Stains
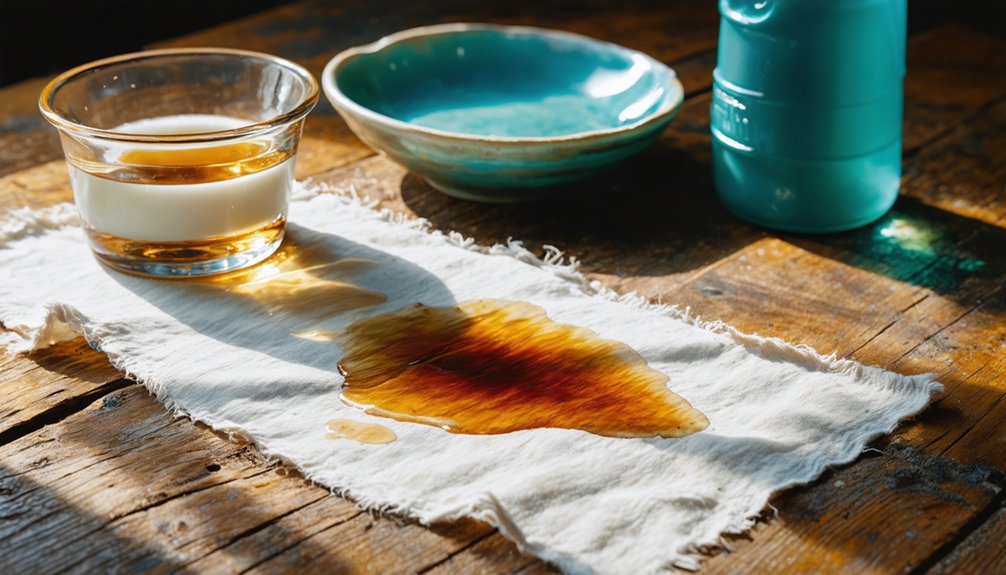
Syrup-based medication stains respond well to a simple two-ingredient solution combining liquid dishwashing detergent and white vinegar.
Mix one tablespoon of white vinegar with half a teaspoon of dish soap in one quart of warm water. Submerge the stained fabric and soak for fifteen minutes. Treatment timing matters—address the stain before it sets to maximize solution effectiveness.
After soaking, rinse thoroughly with cool water. If the stain persists, apply alcohol directly to the residue before laundering.
Vinegar benefits fabric care by breaking down sticky, dye-based syrup residues without harsh chemicals, making this approach safe for most colorfast textiles.
These cleaning techniques prioritize stain removal while minimizing fiber damage, giving you reliable control over the outcome before escalating to stronger treatments.
Alcohol Breaks Down Stubborn Medicine Stain Dye Residues
When water and detergent fail to fully lift a medicine stain, alcohol serves as your next targeted intervention. It’s one of the most effective dye residue solutions for breaking down pigment-based compounds left behind by syrups and antiseptics.
Apply it using these stain removal techniques:
- Dampen a clean cloth with isopropyl alcohol and blot directly onto the stained area.
- Place an alcohol-dampened absorbent pad over the stain and let it work until the dye transfers.
- Reapply as needed, rotating to a clean section of the pad each time.
- Rinse thoroughly with cool water after the stain lifts.
Always test alcohol on an inconspicuous area first. It’s effective but requires fabric compatibility verification before full application.
Sodium Perborate Bleach Soak for Cough Syrup Stains
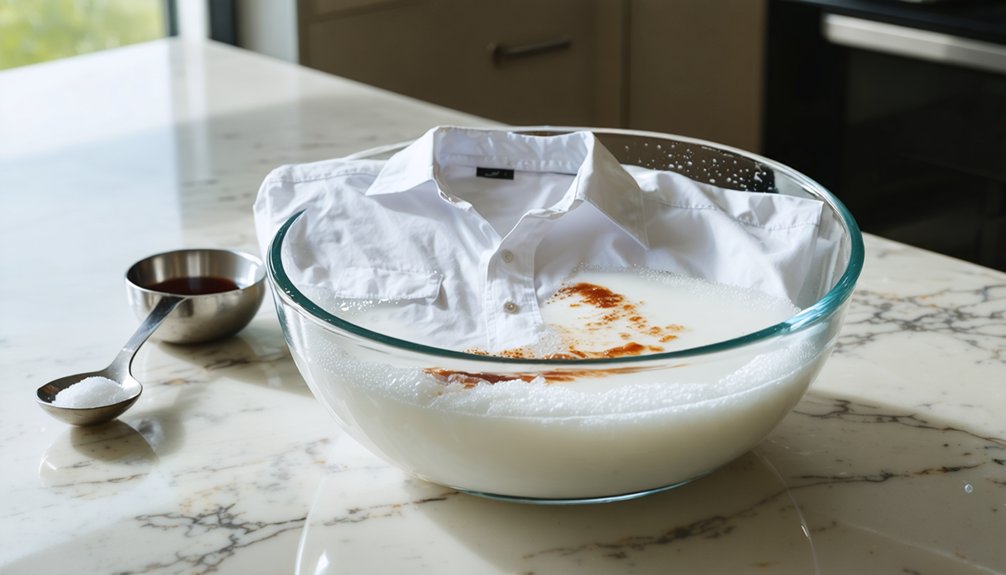
When a cough syrup stain resists water and detergent treatment, you’ll want to prepare a sodium perborate bleach solution by dissolving the recommended amount in warm water before submerging the stained fabric.
You should soak the garment for 30 minutes, keeping the water temperature consistently warm to maximize the bleach’s oxidizing action on the stain’s dye components.
After soaking, you’ll need to rinse the fabric thoroughly with cool water to remove all bleach residue before moving to laundering.
Preparing the Bleach Solution
If the initial soak and rinse haven’t fully cleared a cough syrup stain, a sodium perborate bleach solution offers a reliable next step.
Prepare it correctly to maximize stain breakdown while protecting the fabric.
- Measure warm water into a clean basin — temperature supports bleach activation.
- Add sodium perborate at the manufacturer’s recommended bleach concentration — avoid exceeding it.
- Stir until fully dissolved before submerging the stained fabric.
- Follow all safety precautions — wear gloves, work in a ventilated area, and keep the solution away from colored textiles.
Submerge the stained item and soak for 30 minutes.
Monitor the fabric periodically.
Once complete, rinse thoroughly with cool water before proceeding to laundering.
Soaking Time and Temperature
Once the sodium perborate solution is fully dissolved and ready, submerge the stained fabric and let it soak for 30 minutes at warm-water temperature.
Warm soaking temperatures accelerate the oxidizing reaction without damaging most fabric types, making this the ideal timing window for effective stain breakdown.
Don’t exceed 30 minutes, as prolonged exposure can weaken fibers or affect dye stability in colored textiles.
Keep the water consistently warm throughout the soak rather than allowing it to cool, since dropping temperatures reduce the bleach’s oxidizing efficiency.
After the soak concludes, remove the fabric and rinse thoroughly with cool water.
If the stain persists, reassess fabric compatibility before attempting a second treatment rather than extending the original soak beyond its recommended duration.
Post-Soak Rinsing Steps
After the 30-minute soak concludes, remove the fabric promptly and rinse it thoroughly under cool running water. Post-soak techniques directly determine rinsing effectiveness, so execute each step deliberately:
- Hold the stained area under cool running water for a full two minutes.
- Work from the fabric’s reverse side to push residue outward, not deeper.
- Gently press the fabric—don’t wring—to release loosened bleach solution and stain particles.
- Inspect the treated area under good lighting before proceeding to laundering.
If discoloration persists after rinsing, apply a commercial pre-wash stain remover and launder promptly.
Avoid high heat until you’ve confirmed complete stain removal, as elevated temperatures can permanently set residual medicine pigments into the fabric’s fibers.
Remove Iodine Stains With Sodium Thiosulfate
Iodine stains respond well to sodium thiosulfate, a targeted reducing agent that chemically neutralizes the iodine rather than simply diluting it. For thiosulfate application, mix a sodium thiosulfate solution and sponge it directly onto the stain.
Follow with a few drops of ammonia, then flush thoroughly with cool water. This sequence breaks the iodine’s bond with the fabric fibers rather than spreading residue further.
Prioritize iodine safety throughout the process—avoid heat, which can set the stain permanently, and confirm fabric compatibility before applying ammonia to delicate or dyed textiles.
After flushing, launder according to the care label. If discoloration persists on white fabric, a controlled chlorine bleach application may be appropriate.
Act methodically, and you’ll maintain both fabric integrity and stain control.
Ammonia and Detergent for Mercurochrome Stains
For mercurochrome stains, mix light-duty liquid detergent with ammonia in warm water and soak the stained fabric for several minutes before rinsing thoroughly.
If the stain persists after this initial treatment, apply white vinegar directly to the affected area as a follow-up soak to further break down the remaining colorant.
You should check your fabric’s care label before using ammonia, as it can damage certain textiles or alter the color of dyed fabrics.
Ammonia And Detergent Solution
Mercurochrome stains respond well to a two-ingredient solution combining light-duty liquid detergent and ammonia in warm water.
You’ll control results by following precise steps:
- Fill a basin with warm water and add light-duty liquid detergent—dish soap or laundry detergent both work as effective detergent types.
- Add ammonia at a low ammonia concentration—roughly one tablespoon per quart of water prevents fiber damage.
- Submerge the stained fabric and soak for 30 minutes, agitating occasionally to loosen the dye-based residue.
- Rinse thoroughly with cool water and assess the stain before proceeding to a secondary treatment.
Avoid using ammonia on wool or silk. Check your care label first.
If the stain persists, a white vinegar follow-up soak provides an effective next step.
Vinegar Follow-Up Treatment
When the ammonia and detergent soak fails to fully lift a mercurochrome stain, white vinegar serves as an effective follow-up treatment.
Apply undiluted white vinegar directly to the residual stain and allow it to penetrate the fibers for several minutes. The mild acidity disrupts the remaining dye bonds that ammonia couldn’t fully break down.
Vinegar effectiveness depends on acting promptly before the stain oxidizes further into the fabric. Rinse thoroughly with cool water after the soak and assess the results before laundering.
Among alternative treatments available at this stage, vinegar remains one of the safest options for colored fabrics, as it poses minimal risk of discoloration.
If staining persists, switch to a chlorine bleach solution only if the fabric’s care label confirms compatibility.
When Enzyme Stain Removers Work on Medication Stains
Enzyme stain removers work best on medication stains that contain organic components—specifically proteins, starches, or oils—because enzymes target these molecular structures directly.
Understanding enzyme effectiveness helps you apply the right stain removal techniques without wasting time on incompatible methods.
Use enzyme removers when treating:
- Argyrol stains — absorbent-pad soaking with enzyme solution breaks down organic residue effectively.
- Oily or waxy ointment stains — lipase-containing formulas dissolve fatty medication residues.
- Syrup-based stains — enzyme products address starch and sugar components remaining after rinsing.
- Compound medicine stains — organic ingredients respond well when water rinsing alone proves insufficient.
Always launder promptly after applying enzyme products—delayed washing risks fabric discoloration on sensitive textiles.
Still Stained? Bleach Options for White and Bleach-Safe Fabrics
If water rinsing, detergent soaks, and enzyme treatments haven’t cleared a stubborn medication stain, bleaching is your next targeted option—but only when the fabric can tolerate it.
Bleach safety begins with checking care labels before applying any oxidizing agent.
Always check care labels before reaching for any bleach or oxidizing agent—fabric safety comes first.
For white cotton or light-colored cotton blends, chlorine bleach in low concentration handles persistent dye-based stains from medications like mercurochrome or cough syrup.
Sodium perborate bleach in warm water works as a 30-minute soak for cough syrup residue on bleach-safe fabrics.
Color remover offers a middle-ground solution when chlorine bleach risks discoloring the textile.
Fabric compatibility determines which bleaching method you use.
Never apply chlorine bleach to silk, wool, or dyed fabrics.
Once applied, launder promptly to prevent unintended discoloration from prolonged chemical contact.
Frequently Asked Questions
Can Dried Medication Stains Be Removed After They Have Fully Set?
Yes, you can remove dried medication stains using targeted stain removal techniques, but you’ll need patience. Apply enzyme solutions, alcohol, or sodium thiosulfate based on fabric care labels and stain type for best results.
Are Medication Stains on Upholstery Treated Differently Than Clothing Stains?
Like maneuvering through a minefield, you’ll treat upholstery differently—you can’t submerge it. Blot stain types carefully, apply targeted solutions sparingly, and follow fabric care labels to avoid moisture damage or discoloration from over-saturation.
Do Pediatric Liquid Medicines Stain Differently Than Adult Medication Formulas?
Yes, pediatric formulations often create more intense stain types due to higher sugar content, artificial dyes, and flavoring agents. You’ll find they set faster into fibers, demanding quicker pre-treatment with cool water and detergent solutions.
Can Medication Stains Cause Permanent Fabric Damage if Left Untreated?
Yes, untreated medication stains can permanently damage fibers. High heat sets dye-based residues deeper into fabric. You’ll protect your textiles through prompt stain prevention and consistent fabric care before chemical bonding becomes irreversible.
Should Stained Garments Be Hand-Washed or Machine-Washed After Treatment?
After applying stain treatment methods, you’ll want to follow the garment’s care label—machine-wash sturdy fabrics on a gentle cycle, but hand-wash delicate ones to maintain fabric care integrity and prevent further damage.
References
- https://site.extension.uga.edu/textiles/care/stain-removal/remove-stains-from-medicine-acne-mercurochrome-cough-syrup-iodine/
- https://dimensionsofdentalhygiene.com/article/tips-for-stain-removal/
- https://www.nytimes.com/wirecutter/reviews/best-laundry-stain-remover/
- https://www.thespruce.com/remove-ointment-stains-from-clothes-2146976
- https://www.kingstarwasher.com/news/industry-news/how-to-remove-medicine-stains-from-clothes-in-laundries.html
- https://www.instagram.com/reel/DR_JYVMkq0y/
- https://pmc.ncbi.nlm.nih.gov/articles/PMC3988498/
- https://ccetompkins.org/resources/stain-removal-guide
- https://www.prosthetics.va.gov/psas/Documents/MedsThatStainClothing.pdf
- https://www.amazon.com/skin-stain-removal/s?k=skin+stain+removal