You can achieve a brighter smile through several natural whitening methods, including oil pulling with coconut oil, gentle brushing with baking soda paste, and using diluted hydrogen peroxide as a mouthwash. For best results, combine these approaches with consistent oral hygiene and dietary changes that limit staining foods. While natural methods work gradually, they’re generally safer than harsh chemicals. Understanding the proper techniques and precautions will help you maximize your whitening success.
Key Takeaways
- Oil pulling with coconut oil for 15-20 minutes daily removes bacteria and plaque while naturally whitening teeth through antimicrobial properties.
- Mix equal parts baking soda and water to create a gentle whitening paste, using circular motions twice weekly.
- Brush teeth 60 minutes after consuming staining foods and drinks to prevent discoloration and maintain natural whiteness.
- Incorporate foods rich in calcium, iron, and malic acid into your diet to naturally combat tooth stains.
- Use diluted hydrogen peroxide (3-6%) as an occasional mouthwash, but limit frequency to avoid sensitivity issues.
Understanding Safe Natural Whitening Options
When seeking natural ways to brighten your smile, it’s essential to understand which methods are both safe and effective. Oil pulling with coconut oil stands out as a traditional technique that can help remove bacteria and plaque, which often cause yellowing. This method involves swishing the oil in your mouth for several minutes to promote oral health. ADA-approved toothpaste is recommended as a safe and proven whitening approach.
Making strategic dietary changes can greatly impact your teeth’s appearance. Foods rich in calcium, iron, and malic acid work together to combat stains and discoloration naturally. Brushing teeth 60 minutes after eating staining foods helps prevent discoloration.
You can also incorporate hydrogen peroxide as a mouthwash, though you’ll want to use it sparingly and with caution. For best results, combine these methods with consistent oral hygiene practices, including thorough brushing and flossing, which remain fundamental to maintaining a brighter smile.
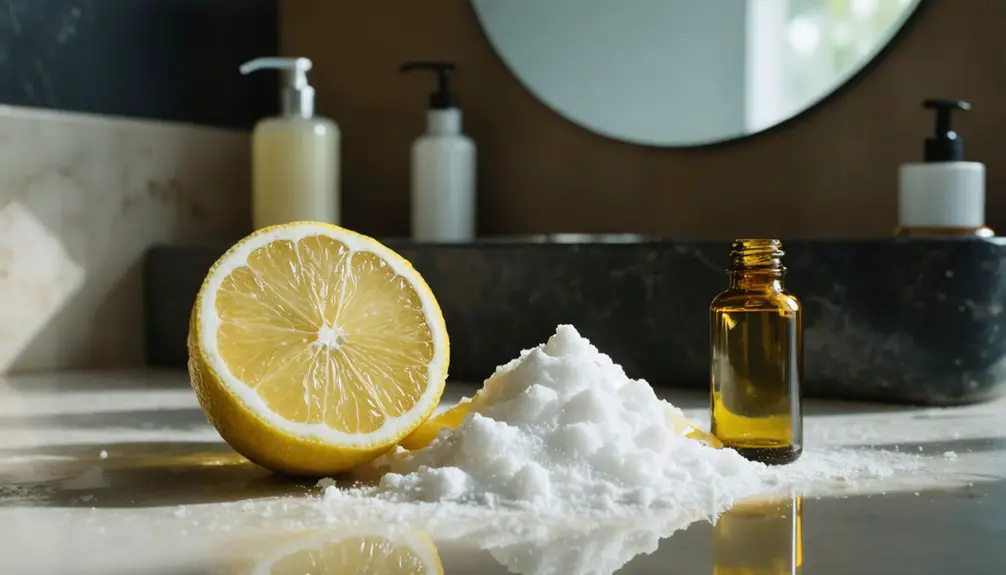
The Power of Baking Soda: Benefits and Precautions
To maximize baking soda’s whitening potential, you’ll need to follow proper application methods, including creating a balanced paste and using gentle circular motions with a soft-bristled brush.
You can enhance your results by maintaining consistent weekly treatments while carefully monitoring your teeth for any sensitivity or adverse reactions. A mix of equal parts baking soda and water creates an effective DIY whitening paste for home use.
The natural antibacterial properties of baking soda help prevent tooth decay while whitening your smile. While baking soda offers a safe, natural whitening option, you’ll want to avoid common pitfalls like excessive scrubbing or mixing with harsh ingredients that could damage your enamel.
Safe Application Methods
Although baking soda offers an effective natural teeth whitening solution, proper application methods are essential for safe and ideal results. When using baking soda for teeth whitening, you’ll need to focus on safe brushing techniques that protect your enamel while maximizing the cleaning benefits. The natural compound helps neutralize acidic conditions in your mouth while cleaning. This gentle abrasive is time-tested and proven to remove surface stains effectively, backed by over a century of dental research.
- Mix a small amount of baking soda with water to create a smooth paste, ensuring it’s not too abrasive on your teeth.
- Apply the mixture gently using a soft-bristled toothbrush, brushing in circular motions for 1-2 minutes.
- Rinse your mouth thoroughly after application to remove all residual powder.
For best results, alternate between baking soda treatments and regular fluoride toothpaste. You can safely perform this method 2-3 times per week, but if you experience any sensitivity, reduce frequency or consult your dentist.
Maximizing Whitening Results
Since baking soda has proven to be a powerful natural whitening agent, understanding how to maximize its benefits while minimizing risks is essential for ideal results.
You’ll achieve peak baking soda effectiveness by combining it with complementary agents like hydrogen peroxide or CPP-ACPF, which enhance both mechanical and chemical stain removal properties.
To extend whitening duration, maintain consistent oral hygiene practices while leveraging baking soda’s natural ability to neutralize acids and combat bacterial growth.
You’ll notice better results by addressing both surface stains and deeper discoloration through this combined approach.
Professional dentists recommend being cautious since excessive wear of dental tissues can occur with improper use of whitening agents.
While baking soda alone effectively removes extrinsic stains, partnering it with other natural whitening compounds provides more thorough results.
Remember that even enhanced treatments may not fully restore your teeth’s original color, but they’ll considerably improve overall appearance.
Avoiding Common Mistakes
While baking soda offers powerful whitening benefits, many people make critical errors that can compromise their dental health. To protect your enamel and achieve ideal results, you’ll need to avoid common pitfalls when incorporating baking soda into your oral care routine.
- Don’t rely solely on baking soda for dental care – you’ll still need fluoride supplementation to prevent cavities and maintain strong teeth.
- Never brush aggressively with baking soda, as this can erode your enamel and irritate gums, potentially leading to long-term sensitivity.
- Avoid using baking soda daily – limit applications to 2-3 times per week and stop if you experience any discomfort or sensitivity.
Remember to combine baking soda treatments with thorough dental care, including regular checkups and proper brushing techniques, to protect your long-term oral health.
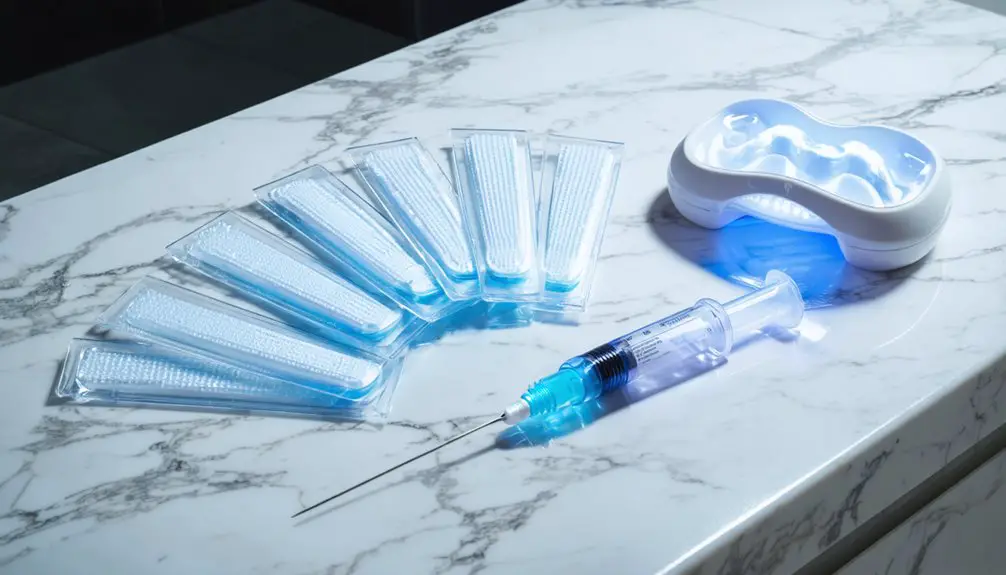
Hydrogen Peroxide Solutions for Teeth Whitening
When mixing hydrogen peroxide for teeth whitening, you’ll need to maintain a safe concentration of 3% or less to protect your enamel and gums.
You can create an effective solution by diluting 3% store-bought hydrogen peroxide with equal parts water, which helps minimize sensitivity while still providing whitening benefits. This solution works through chemical oxidation processes that break down both surface and deep stains in tooth enamel. For a simple application method, you can use this mixture as a 2-4 minute mouthwash.
If you experience any tooth discomfort during treatment, reduce your application frequency to once every other day or consult your dentist for personalized guidance.
Safe Mixing Ratios Required
Understanding proper mixing ratios for hydrogen peroxide solutions is essential for safe at-home teeth whitening. When following dilution guidelines, you’ll need to maintain concentrations between 1.5% to 3.5% hydrogen peroxide for safe application.
The most effective ratio combines 2 parts baking soda with 1 part 3% hydrogen peroxide for a 10-minute treatment using a mouth guard. Adding baking soda helps to mitigate damage while maintaining whitening effectiveness.
- Never exceed 6% hydrogen peroxide concentration without professional supervision to protect your enamel and prevent gum irritation.
- If you’re using carbamide peroxide, remember that 10% equals roughly 3.5% hydrogen peroxide – stay within these effective ratios.
- Limit treatment sessions to 15-30 minutes to avoid sensitivity and tissue damage, even when using properly diluted solutions.
Minimizing Tooth Sensitivity Effects
Despite its effectiveness for teeth whitening, hydrogen peroxide can trigger tooth sensitivity by penetrating the enamel and disturbing nerve endings within dentin tubules.
You’ll find that sensitivity management becomes essential when using peroxide-based whitening solutions, as 50-70% of users experience discomfort.
To minimize sensitivity effects, start with lower peroxide concentrations of 3-6% and maintain shorter application times.
Implement proven desensitizing techniques by using potassium nitrate or fluoride toothpaste before and after treatment. You can also incorporate calcium phosphate rinses to help remineralize your enamel.
If you’re using custom-fitted trays, they’ll help reduce gum contact and irritation.
Should you experience severe sensitivity, stop treatment immediately and consult your dental professional for personalized guidance on alternative whitening approaches.
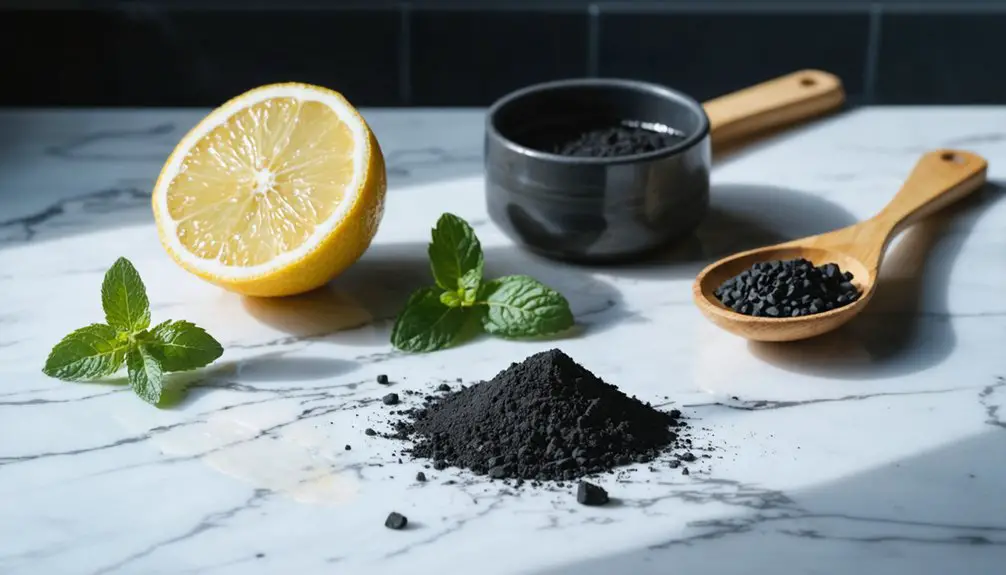
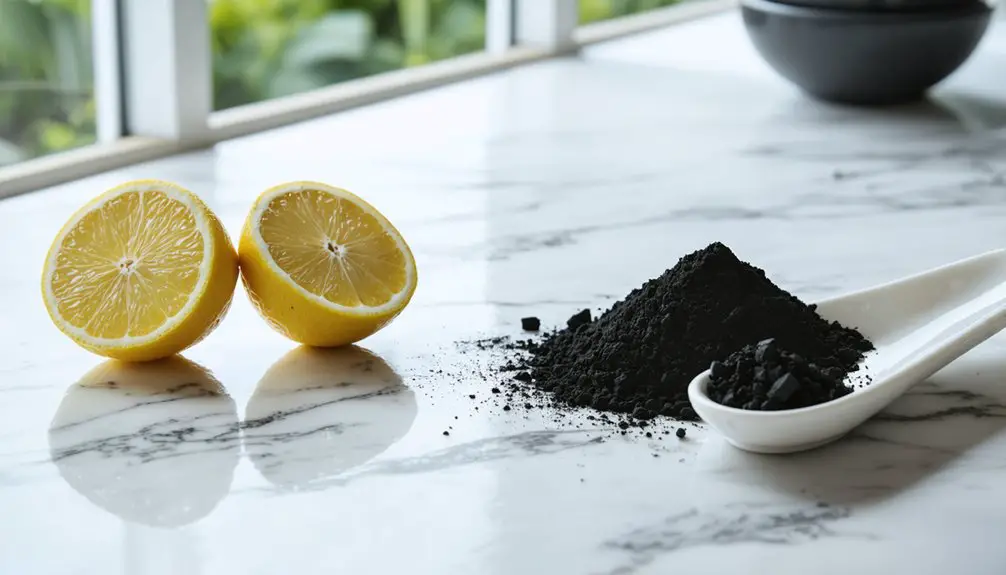
Debunking Activated Charcoal Claims
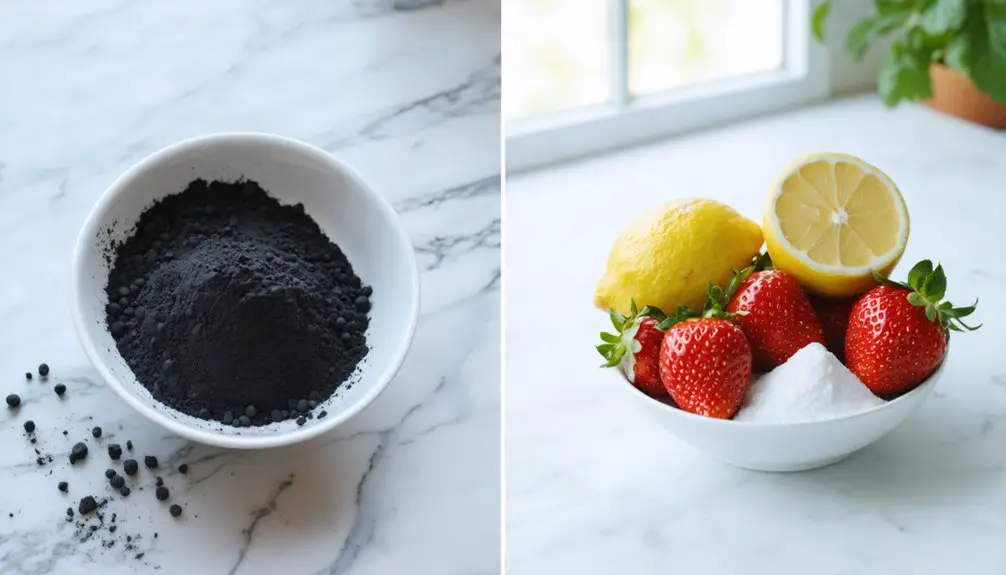
Anyone seeking natural teeth whitening solutions has likely encountered claims about activated charcoal’s whitening properties.
Despite its popularity, scientific evidence doesn’t support these activated charcoal myths. Research consistently shows that activated charcoal toothpastes perform no better than regular toothpaste for whitening, while raising significant dental safety concerns due to their abrasive nature.
- You’re risking permanent enamel damage through increased surface roughness and wear
- You won’t achieve the whitening results you’re hoping for, as studies show insignificant color changes
- You’re better off choosing proven whitening methods recommended by dental professionals
Rather than experimenting with activated charcoal, protect your patients’ oral health by steering them toward traditional whitening agents with established safety profiles and clinically proven effectiveness.
These evidence-based options deliver reliable results without compromising enamel integrity.
Traditional Oil Pulling Methods
While oil pulling has ancient roots in Ayurvedic medicine dating back 2,500 years, this traditional practice of swishing edible oils like coconut or sesame in the mouth has gained renewed attention as a natural oral care method.
You’ll find several oil types recommended for this ancient practice, with coconut oil being particularly popular due to its antimicrobial properties from lauric acid content.
To try oil pulling, swish one tablespoon of oil in your mouth for 5-20 minutes, then spit it out.
While proponents claim it whitens teeth and improves oral health, scientific evidence remains limited. The American Dental Association doesn’t endorse oil pulling as a primary oral care method, so you should use it only as a supplement to regular brushing and flossing, not a replacement.
Common DIY Mistakes to Avoid
When attempting natural teeth whitening at home, several common mistakes can undermine your efforts and potentially damage your oral health.
DIY whitening requires careful attention to protect your teeth while achieving desired results. Improper technique or overuse of whitening products can lead to lasting enamel damage and increased sensitivity.
- Don’t leave whitening agents on longer than directed – this won’t speed up results but will heighten your risk of gum irritation and tooth sensitivity.
- Avoid using abrasive natural substances like activated charcoal or salt, which can permanently erode your enamel.
- Never skip proper tooth preparation – plaque and debris create barriers that prevent even whitening and reduce treatment effectiveness.
Always consult dental professionals before starting any whitening regimen to guarantee you’re using safe, appropriate methods for your specific oral health needs.
Building an Effective Oral Care Routine
Three core elements form the foundation of an effective oral care routine: proper brushing technique, consistent flossing, and strategic use of supplementary products like mouthwash.
Start your routine with flossing techniques, using 18 inches of floss curved in a C-shape around each tooth to remove trapped debris.
Follow with brushing, maintaining proper brushing frequency of twice daily for 2-4 minutes, using gentle circular motions on all tooth surfaces. Wait 30 minutes after meals before brushing to protect your enamel.
Complete your routine with an antiseptic or fluoride mouthwash, swishing for 30 seconds without rinsing afterward.
Enhance your routine by staying hydrated, chewing sugar-free gum after meals, and maintaining a balanced diet low in sugary foods.
Schedule professional cleanings twice yearly to guarantee ideal oral health.
Professional Vs Natural Whitening Approaches
Although both professional and natural teeth whitening methods aim to brighten smiles, they differ greatly in their effectiveness, safety, and cost considerations.
Professional benefits include faster results, customized treatment plans, and expert supervision to minimize risks.
While natural methods may seem appealing due to lower costs, their drawbacks include limited effectiveness and potential enamel damage from abrasive ingredients.
Natural whitening methods offer minimal savings while risking permanent tooth damage and delivering unreliable results compared to professional treatments.
- You’ll achieve up to 8 shades lighter teeth in just 1-2 hours with professional whitening, empowering you to serve others with renewed confidence.
- Your dentist will protect your oral health by tailoring treatments to your specific needs, ensuring safe and lasting results.
- You’re investing in predictable outcomes under expert care, rather than risking inconsistent results with natural remedies that could compromise your enamel.
Preventing Future Tooth Discoloration
Since maintaining your newly whitened smile requires ongoing dedication, implementing preventive measures can help safeguard against future tooth discoloration.
You’ll need to focus on both dietary adjustments and lifestyle changes to protect your teeth effectively.
Start by modifying your beverage consumption habits – use straws for staining drinks, pair wine with water, and choose clear beverages when possible.
Maintain thorough oral hygiene by brushing twice daily with fluoride toothpaste, preferably using an electric toothbrush, and floss regularly.
If you use tobacco products, consider cessation programs to prevent stubborn stains.
Schedule regular dental cleanings for professional monitoring and early intervention.
Between visits, stimulate saliva production through sugar-free gum, stay hydrated, and consume protective foods like cheese to strengthen your enamel’s natural defenses.
Frequently Asked Questions
How Long Does It Take to See Results From Natural Whitening Methods?
While 80% of natural whitening methods show gradual change, you’ll typically need several weeks of consistent use to see noticeable results. Set realistic whitening expectations for this longer results timeline.
Can Natural Whitening Methods Remove Deep Stains From Medications or Antibiotics?
No, natural whitening methods won’t remove deep stains from medications or antibiotics. You’ll need professional dental treatments, as these intrinsic stains are embedded within your tooth structure, beyond natural remedies’ reach.
Are Natural Whitening Methods Safe During Pregnancy and Breastfeeding?
Like texting your dentist, you’ll find most natural whitening methods are safe during pregnancy and breastfeeding. Consider food-based alternatives to avoid safety concerns, but always check with your healthcare provider first.
How Often Should Natural Whitening Treatments Be Repeated for Best Results?
You’ll want to follow frequency guidelines of every 6-12 months for professional treatments and 2-6 weeks for at-home methods. Space treatment intervals appropriately to protect your enamel’s health.
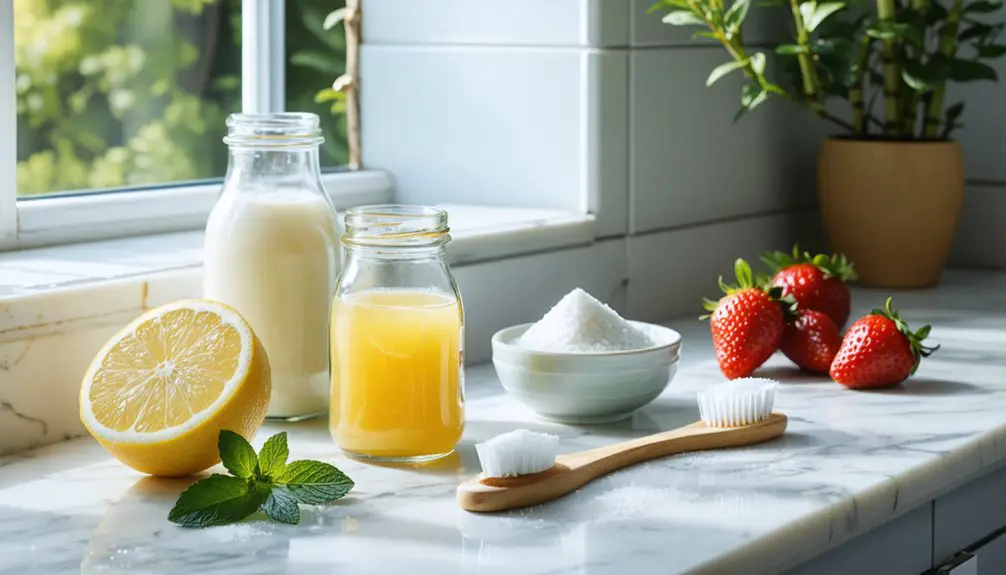
Which Foods Naturally Help Whiten Teeth While Eating Them Regularly?
You’ll benefit from apples’ natural scrubbing action and malic acid, while strawberries’ enzymes break down stains. Also try pineapple, watermelon, and crunchy vegetables like carrots and celery daily.
References
- https://www.thetopekadentistry.com/blog/natural-teeth-whitening-methods-work/47541
- https://www.sunbritedental.com/dental-services/cosmetic/blog/do-natural-teeth-whitening-remedies-really-work
- https://libertydentalplc.com/why-you-should-avoid-natural-teeth-whitening-methods/
- https://www.urmc.rochester.edu/news/publications/health-matters/diy-teeth-whitening-too-good-to-be-true
- https://mypenndentist.org/dental-tips/2024/02/29/safe-ways-to-whiten-teeth-naturally/
- https://newsnetwork.mayoclinic.org/discussion/mayo-clinic-q-and-a-many-safe-choices-available-to-help-whiten-teeth/
- https://pubmed.ncbi.nlm.nih.gov/36942206/
- https://pmc.ncbi.nlm.nih.gov/articles/PMC4058574/
- https://www.ada.org/resources/ada-library/oral-health-topics/whitening
- https://www.healthline.com/nutrition/whiten-teeth-naturally