Fluoride stains can lighten with consistent DIY treatment, but the same methods that reduce surface discoloration can damage your enamel if you use them incorrectly. Baking soda paste, diluted hydrogen peroxide rinses, and remineralizing paste address mild staining when applied carefully and sparingly. Oil pulling and activated charcoal offer limited surface-level results with no clinical backing for fluorosis. Dietary changes help prevent stains from deepening. Each method carries specific risks and limitations worth understanding before you start.
Key Takeaways
- Baking soda paste applied with gentle circular motions can reduce mild fluoride stains; limit use to once or twice weekly to protect enamel.
- Diluted hydrogen peroxide (1.5%) used as a rinse twice daily for one week can help address deeper fluoride stains.
- Remineralizing paste applied twice daily strengthens enamel around fluoride stains and supports subsequent whitening efforts.
- Oil pulling with coconut oil for 15–20 minutes removes surface plaque but cannot reach intrinsic fluorosis discoloration within enamel layers.
- Activated charcoal may lift superficial stains but should only be used once weekly to avoid enamel erosion and sensitivity.
Baking Soda Paste for Mild Fluoride Stains
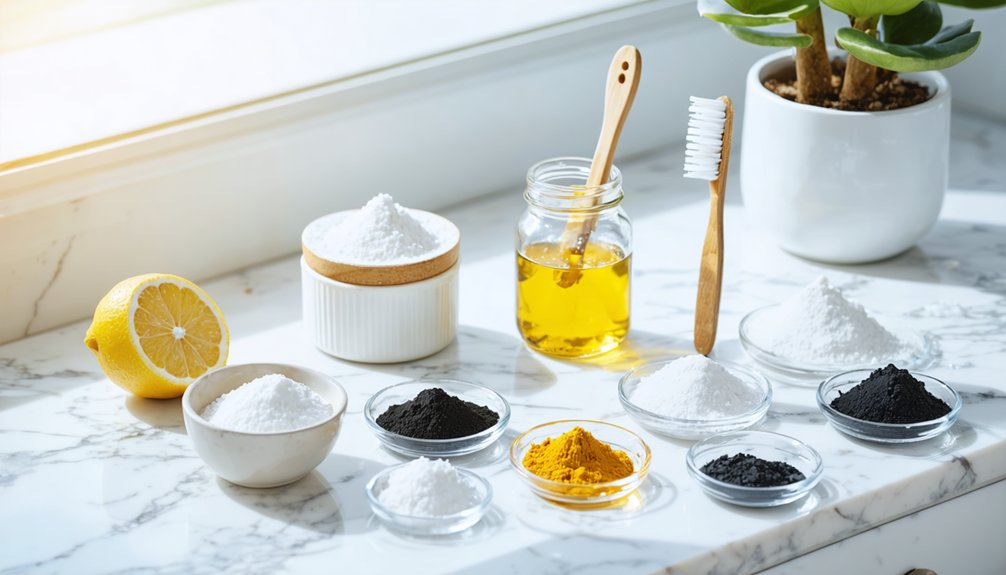
Baking soda offers a simple, low-cost option for addressing mild fluoride stains, but you’ll need to use it carefully to avoid damaging your enamel. Mix equal parts baking soda and water into a paste, then apply it with a finger or soft toothbrush using gentle, circular motions. Rinse thoroughly afterward.
For enhanced results, combine baking soda with 3% hydrogen peroxide diluted to 1.5%, brushing for one to two minutes twice daily for one week. Limit abrasive paste use to once or twice weekly, as overuse increases tooth sensitivity and accelerates enamel wear.
Following each session, apply a remineralizing paste containing calcium and phosphate to support enamel remineralization. Let it sit for several minutes before rinsing to help restore mineral density between treatments.
Dietary Swaps That Prevent Fluoride Stains From Getting Worse
Several dietary habits can deepen fluoride stains over time, so limiting your intake of citrus, coffee, soda, and red wine reduces future stain absorption. When you do consume staining beverages, drink them through a straw to minimize direct contact with tooth surfaces.
Limiting citrus, coffee, soda, and red wine reduces future stain absorption and helps prevent deepening fluoride discoloration.
Incorporating crunchy fruits and vegetables like apples, carrots, and celery supports stain prevention by acting as natural mechanical abrasives during chewing.
Calcium-rich foods such as milk, cheese, and broccoli reinforce enamel integrity, reducing vulnerability to discoloration.
Cutting back on sugar limits bacterial growth that contributes to surface staining.
These dietary swaps complement consistent dental hygiene practices rather than replace them. Controlling what contacts your teeth daily gives you measurable influence over whether existing fluoride stains worsen or stabilize.
Hydrogen Peroxide Rinse for Deeper Fluoride Stains
To safely use hydrogen peroxide as a rinse for deeper fluoride stains, dilute 3% hydrogen peroxide with equal parts water to achieve a 1.5% concentration before applying it to your teeth.
Swish the diluted solution for one to two minutes, then rinse thoroughly with water to clear any residue.
If you notice sensitivity, discontinue use immediately, as repeated exposure to even diluted peroxide can irritate enamel and soft tissue when misapplied.
Diluting Hydrogen Peroxide Safely
Hydrogen peroxide offers a practical option for targeting deeper fluoride stains, but you’ll need to dilute it correctly to avoid irritating soft tissue or damaging enamel. Start with a 3% hydrogen peroxide solution, then mix it with equal parts water to reach a safer 1.5% concentration.
Use this diluted rinse for no longer than one minute, twice daily, limiting treatment to one week. Exceeding recommended concentrations *considerably* increases your risk of tooth sensitivity and enamel erosion.
Always rinse thoroughly with water after each use to clear residual solution from your mouth. Avoid combining hydrogen peroxide with other chemical agents during the same session, as interactions can cause unwanted yellowing.
If sensitivity develops, discontinue use immediately and consult a dental professional.
Rinsing Application Techniques
Once you’ve prepared your diluted 1.5% hydrogen peroxide solution, apply it as a rinse by swishing it gently through your teeth for no longer than one minute. Spit it out completely and rinse your mouth thoroughly with plain water afterward. Don’t swallow the solution, as ingesting peroxide-based mouth rinses can irritate your gastrointestinal tract.
Incorporate dental flossing before applying the rinse to clear interproximal debris, allowing the solution to reach more tooth surface area effectively.
Limit this rinse to twice daily for one week, then reassess stain visibility. If sensitivity develops, discontinue immediately.
Avoid combining this rinse with other chemical agents in the same session, as mixing compounds may cause unintended discoloration.
Consistency and caution determine whether this method delivers measurable results for fluoride stains.
Preventing Sensitivity During Use
Sensitivity often signals that peroxide is affecting dentin or compromised enamel, so recognizing early warning signs lets you adjust before damage occurs. If you notice sharp pain or lingering discomfort during rinsing, immediately dilute your solution further or discontinue use for several days.
Tooth sensitivity frequently indicates that enamel erosion is already underway, making continued application counterproductive. Limit hydrogen peroxide rinses to once daily, never exceeding a 1.5% concentration, and always rinse copiously with water afterward.
Avoid using peroxide alongside other acidic agents simultaneously, as combining them accelerates enamel breakdown. Space treatments at least 48 hours apart if sensitivity persists.
Switching temporarily to a remineralizing paste containing calcium and phosphate helps restore protective mineral layers, reducing vulnerability before you resume any whitening protocol.
Oil Pulling With Coconut Oil to Clear Surface Buildup
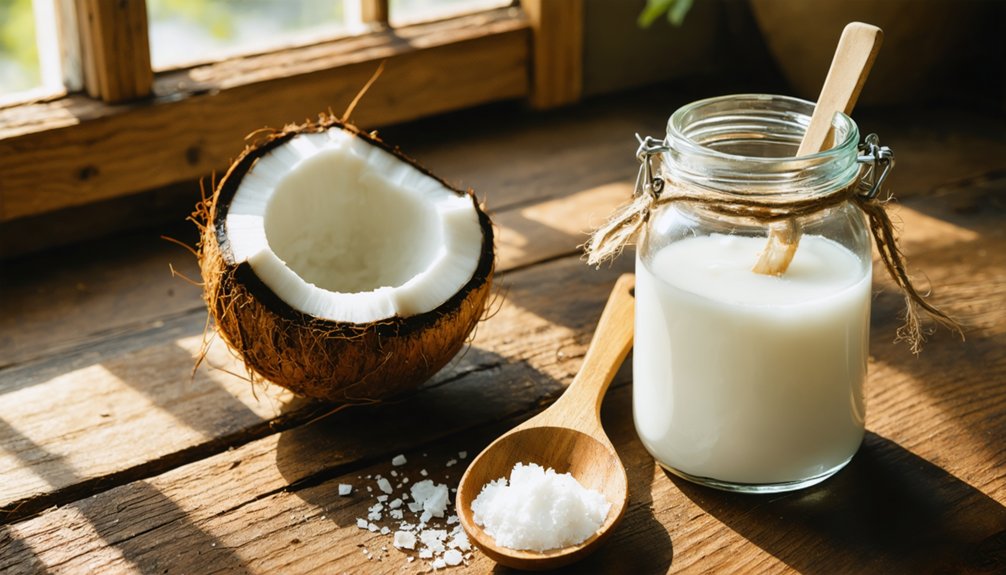
When you swish one tablespoon of coconut oil through your teeth for 15–20 minutes, the mechanical action removes surface plaque and bacteria that contribute to stain visibility.
Spit the oil into a trash can afterward, rinse with water, and avoid swallowing, as the oil carries accumulated bacteria.
Recognize, however, that oil pulling lacks strong clinical evidence for correcting fluorosis-related discoloration and addresses only superficial buildup rather than the underlying enamel changes fluoride exposure causes.
How Oil Pulling Works
Oil pulling works by swishing a tablespoon (15 ml) of coconut oil through your teeth for 15–20 minutes, which helps dislodge surface plaque and bacteria that contribute to stain visibility. Among the recognized oil pulling benefits, reduced plaque accumulation stands as the most clinically supported outcome.
After swishing, spit the oil into a toilet or trash can, then rinse immediately with water to clear residue.
However, don’t overlook oil pulling myths that overstate its effectiveness. It won’t reverse the intrinsic discoloration characteristic of fluorosis, and evidence supporting significant whitening remains weak.
Perform oil pulling after brushing to maximize its adjunctive cleaning effect. Treat it as a supplementary step within a broader oral hygiene routine rather than a standalone fluorosis treatment.
Coconut Oil Application Steps
Applying coconut oil correctly determines whether you’ll get even the modest surface-cleaning benefits that oil pulling can offer. Measure exactly 1 tablespoon (15 ml) of coconut oil before placing it in your mouth. Allow it to melt completely, then swish it methodically through your teeth for 15–20 minutes without swallowing.
Some practitioners add a drop of peppermint essential oil for taste enhancement, which doesn’t alter efficacy but improves compliance. After the full duration, spit the oil into a trash can or toilet — never the sink, as it solidifies and clogs drains. Rinse thoroughly with water to clear residual oil.
Perform this after brushing, not before. Understand that evidence supporting oil pulling for fluorosis specifically remains weak; manage your expectations accordingly.
Limitations For Fluorosis
Though oil pulling with coconut oil can remove superficial plaque and bacteria, it won’t address the structural discoloration that defines fluorosis. Your oral anatomy and genetic factors influence enamel formation, making fluorosis intrinsic—not a surface problem you can swish away.
Understand these critical limitations before investing time in oil pulling:
- It doesn’t penetrate enamel. Fluorosis stains originate within enamel layers, beyond coconut oil’s reach.
- Genetic factors affect severity. Your enamel’s density and composition determine how deeply discoloration sets.
- Oral anatomy varies. Tooth surface porosity differs per individual, limiting consistent results.
- Evidence is weak. No clinical data confirms oil pulling meaningfully reduces fluorosis visibility.
Manage your expectations. Oil pulling supports hygiene but won’t correct fluorosis structurally.
Activated Charcoal for Removing Surface Fluoride Stains
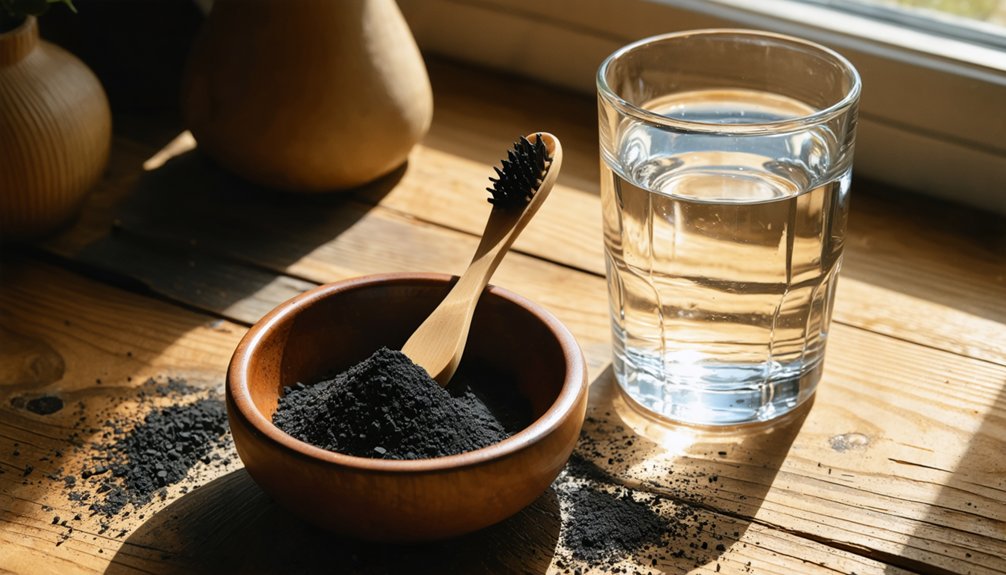
Activated charcoal has gained popularity as a natural remedy for surface stain removal, but you should approach it with caution given its limited scientific backing. Its coarse texture may lift superficial discoloration, but it won’t address the deeper structural changes fluorosis causes within enamel.
For your dental health, restrict use to once weekly to minimize abrasive wear on enamel surfaces. Apply fine-grade activated charcoal powder carefully with a soft toothbrush, brushing gently for no more than two minutes before rinsing thoroughly.
While it fits within the broader category of natural remedies, evidence supporting its effectiveness specifically for fluorosis remains weak. Overuse risks enamel erosion and increased tooth sensitivity.
If sensitivity develops, discontinue use immediately and consult your dentist for clinically supported alternatives.
Remineralizing Paste That Rebuilds Enamel Around Fluoride Stains
While activated charcoal focuses on surface removal, remineralizing paste works differently by reinforcing the enamel structure surrounding fluoride stains rather than simply lifting discoloration.
Enamel remineralization restores minerals lost through fluoride absorption disruptions, strengthening compromised areas around stains.
Apply remineralizing paste containing calcium and phosphate using this controlled protocol:
- Apply a pea-sized amount directly onto affected teeth after brushing.
- Allow the paste to sit undisturbed for several minutes before rinsing.
- Repeat twice daily, maintaining consistent application timing for measurable results.
- Avoid eating or drinking for 30 minutes post-application to maximize mineral uptake.
Remineralizing paste won’t erase fluorosis discoloration, but it creates a stronger enamel foundation that supports subsequent whitening interventions more effectively.
When Home Whitening Methods Can’t Fix Fluoride Stains
Even with diligent application of baking soda pastes, hydrogen peroxide rinses, and remineralizing agents, some fluoride stains won’t respond to home treatment.
Severe fluorosis involves structural enamel changes that alternative remedies simply can’t reverse. When stains appear white, brown, or pitted beneath the surface, you’re dealing with intrinsic discoloration that requires clinical intervention.
Severe fluorosis runs deeper than the surface—it’s a structural problem that no home remedy can fix.
Professional treatments like micro-abrasion, resin infiltration, or supervised bleaching with 35% hydrogen peroxide address deeper staining that DIY methods can’t reach.
Your dentist may also recommend veneers or bonding for advanced cases.
Continuing to apply abrasive or acidic agents beyond recommended limits won’t accelerate results—it’ll erode enamel instead.
Recognize when home methods have plateaued and consult a dental professional before causing irreversible structural damage.
Frequently Asked Questions
Can Oil Pulling With Sesame Oil Replace Coconut Oil Effectively?
Yes, you can use sesame oil as an effective alternative—swish it for 15 minutes daily. Both share similar oil pulling benefits, but you should note that oil pulling risks include limited evidence for treating fluorosis stains.
How Does Sage and Salt Mixture Help Remove Surface Tooth Stains?
Like ancient shields guarding enamel, sage and salt’s herbal remedies act as natural abrasives, scrubbing surface stains away. You’ll apply the mixture cautiously, as overuse risks sensitivity—it’s not clinically proven for deeper fluorosis discoloration.
Should You Rinse Between Applying Different Chemical Whitening Agents?
Yes, you should rinse copiously with water between chemical applications. It’s essential for pH balancing and preventing overuse reactions—mixing agents like hydrogen peroxide and sodium hypochlorite can cause yellowing, undermining your whitening results considerably.
How Long Should Remineralizing Paste Sit on Teeth Before Rinsing?
Ironically, patience is your greatest whitening tool here. For ideal remineralization timing, you should let the paste application duration extend several minutes on your teeth before rinsing, allowing calcium and phosphate to actively strengthen enamel effectively.
Can Lemon Peel Rubbing Actually Reduce Fluoride Stain Appearance?
Lemon peel rubbing won’t achieve true fluoride removal. While its natural acidity may offer minimal stain reduction, it erodes your enamel over time. Among natural remedies, it’s considered unproven and potentially harmful—you’re risking more damage than benefit.
References
- https://www.medicalnewstoday.com/articles/322421
- https://www.healthline.com/nutrition/whiten-teeth-naturally
- https://www.facebook.com/groups/zerodonto/posts/10166315317545010/
- https://www.michaelfernandezdds.com/our-blog/298-how-to-safely-remove-stains-from-your-teeth-at-home
- https://www.youtube.com/watch?v=jTwljM7Kqeo
- https://www.youtube.com/watch?v=Zwrx4d7blyQ
- https://clubwhitesmile.com/how-to-remove-fluoride-stains-from-teeth/
- https://www.allfitwell.com/dental-fluorosis-teeth-whitening-solutions/
- https://www.trysnow.com/blogs/news/how-to-get-rid-of-fluoride-stains-on-teeth