For ideal wedding-day results, you’ll want to begin professional teeth whitening treatments 3-6 months before your ceremony. Professional in-office treatments ($500-$1,000) can improve tooth shade by 3-8 levels in a single session, while at-home kits ($20-$400) require longer treatment periods for comparable results. Schedule your final treatment 1-2 weeks pre-wedding, with a touch-up 24-48 hours before. A customized treatment timeline with a dental professional will guarantee your smile meets all photography requirements.
Key Takeaways
- Professional in-office whitening treatments provide the most dramatic results, improving tooth shade by 3-8 shades in a single session.
- Begin teeth whitening 2-4 months before the wedding, with final professional treatments scheduled 1-2 weeks before the ceremony.
- Custom-fitted trays with carbamide peroxide gels offer effective at-home treatment options under dentist supervision.
- Schedule a dental consultation to evaluate tooth sensitivity and create a personalized treatment plan that matches your timeline.
- Consider combining professional treatments with take-home maintenance kits for optimal, long-lasting results up to wedding day.
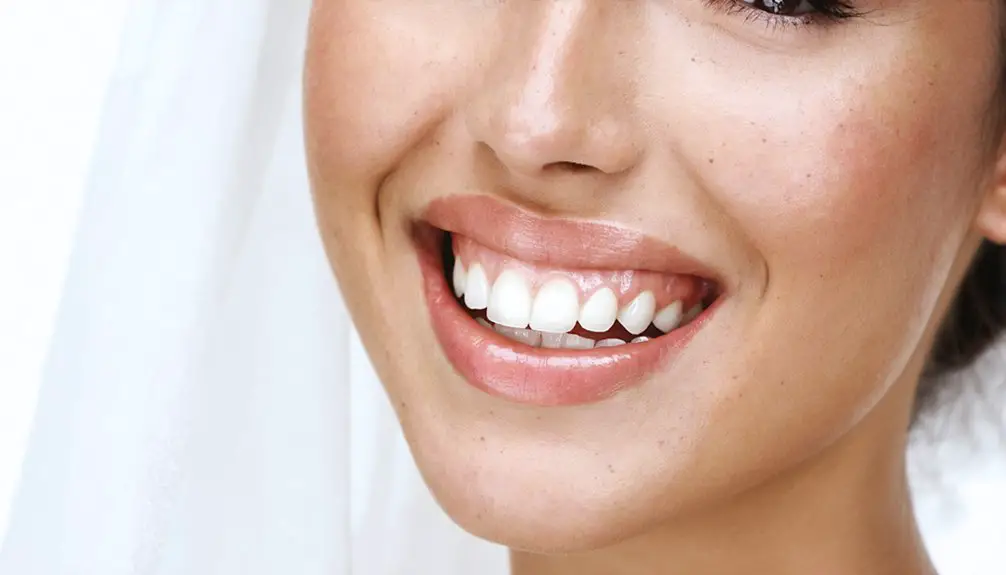
Understanding Wedding Whitening Timelines
When planning your wedding day smile, establishing the correct timeline for teeth whitening treatments is crucial for achieving optimal results.
A brilliant wedding day smile requires careful planning – timing your teeth whitening treatments properly ensures the perfect photo-ready results.
Despite common whitening myths, you’ll need to begin treatments at least 2-4 weeks before your wedding date, with longer timelines offering greater timeline flexibility and favorable outcomes.
For take-home kits, plan for 7-20 days of continuous treatment to reach your desired shade. Magic strips can dissolve in under 15 minutes while whitening up to 7 shades.
If you’re opting for professional in-chair whitening, schedule your appointment minimum 1-2 weeks before the event to allow proper settling. Professional treatments deliver dramatic results while being carefully monitored by dental experts.
You’ll want to build in buffer time for potential touch-ups or sensitivity management.
Starting several months ahead enables you to test different treatment options and guarantees your smile reaches its full potential while maintaining comfort throughout your celebration.
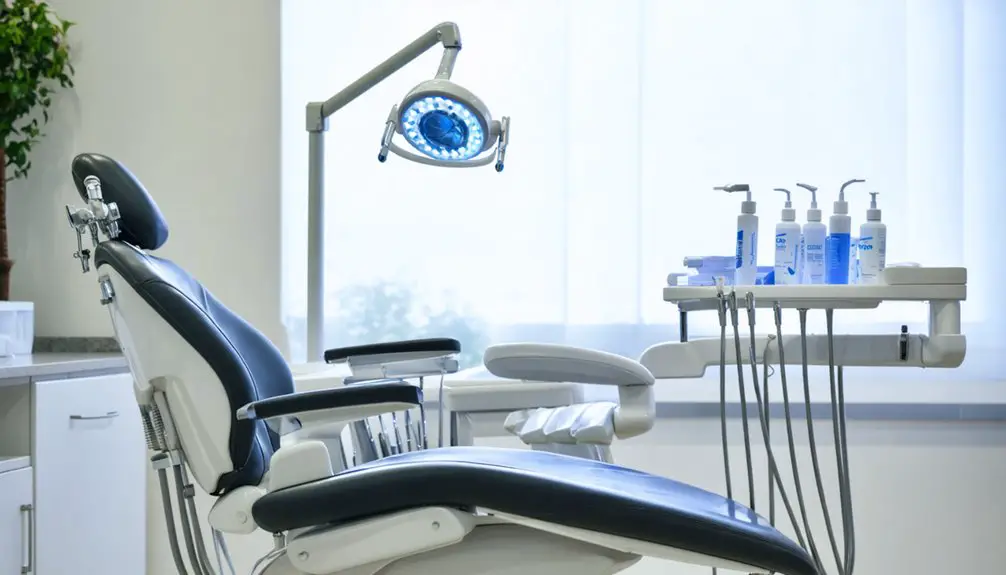
Professional vs. At-Home Options: Making the Right Choice
When considering your wedding teeth whitening options, you’ll need to weigh the cost-effectiveness of professional treatments against at-home alternatives.
Professional whitening typically costs around $300 per session but delivers dramatic results in 1-2 hours, while at-home kits average $50 and require several weeks of consistent use to achieve comparable results. Professional treatments are performed under expert supervision and include gum protection measures, making them a safer choice for pre-wedding whitening. Professional treatments provide results that are longer lasting due to their ability to penetrate deeper into teeth.
Your choice may depend on your timeline and budget, as professional treatments offer immediate, dramatic results that could justify the higher cost for time-sensitive events like weddings.
Cost vs. Results Comparison
Three key factors distinguish professional and at-home teeth whitening options: cost, effectiveness, and treatment duration.
Professional in-office treatments, ranging from $500-$1,000, deliver superior whitening effectiveness with 3-8 shade improvements in a single 45-minute session. While more expensive initially, these treatments offer predictable results and enhanced safety under dental supervision. Maintaining vibrant teeth helps create timeless wedding photos that you’ll cherish for years to come.
At-home options, including OTC products ($20-$100) and dentist-supervised kits ($100-$400), provide more gradual results over extended periods. Though budget-friendly, they typically require frequent reapplication for longevity maintenance. Starting treatments a month before the wedding allows sufficient time to achieve desired results with at-home methods.
Professional treatments last 1-2 years with proper care, while at-home solutions need more frequent touch-ups. When considering your wedding timeline, professional whitening’s immediate, dramatic results might justify the higher investment, especially given the supervised approach that minimizes sensitivity risks.
Treatment Time Differences
Beyond cost considerations, the timing requirements between professional and at-home teeth whitening treatments present distinct differences that impact wedding preparation decisions.
You’ll find significant treatment variations in duration and efficiency: professional in-office sessions deliver immediate results in 60-90 minutes, while at-home options require consistent application over days or weeks.
Professional whitening’s concentrated approach offers whitening effectiveness up to 280 times faster than at-home treatments, making it ideal for busy wedding schedules. A typical appointment includes 3-4 whitening cycles of 15 minutes each for optimal results.
However, if you’re planning well ahead, at-home treatments can achieve comparable long-term results through extended daily applications of 30 minutes to overnight wear.
For wedding preparation, professional treatments provide precise scheduling control and immediate visible results, whereas at-home options demand advance planning and dedicated daily commitment. Custom mouth guards for at-home whitening can provide safe and effective results while saving up to 80% compared to in-office treatments.
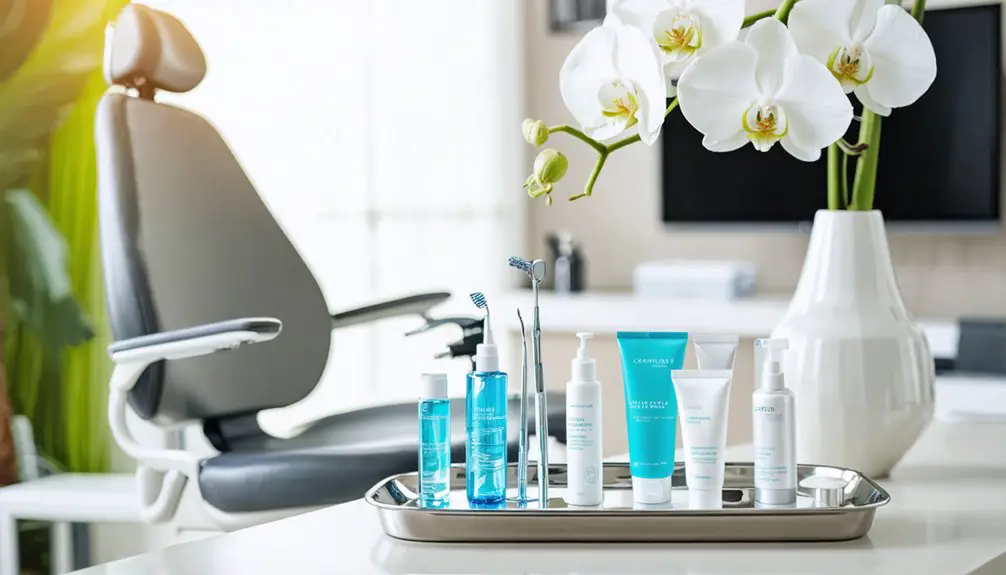
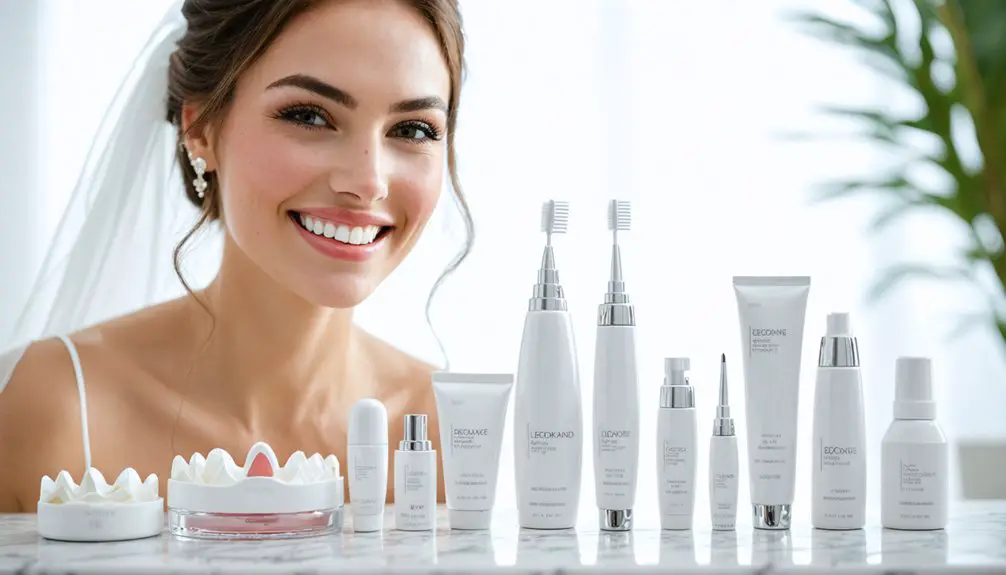
Popular Treatment Methods for Bridal Smiles
Today’s brides have access to a diverse range of teeth whitening methods, from professional dental treatments to at-home solutions that can effectively brighten their smiles before the wedding day.
Professional options include custom-fitted trays with strong carbamide peroxide gels and laser treatments that deliver dramatic results within 1-2 weeks, aligning with bridal preferences for dependable outcomes. For optimal timing, treatments should be completed two weeks before major events like weddings.
For at-home treatments, LED-activated systems like Bride Brite and Crest 3DWhitestrips offer convenient alternatives that boost smile confidence. Regular use of LED Accelerator Light helps break down stains faster when used with whitening products.
These kits typically combine peroxide gels with LED technology for 10-15 minute daily sessions over 10 days. Whitening pens provide targeted application, while sensitivity-focused formulations guarantee comfort throughout the process.
Each method serves different needs, allowing brides to choose based on their timeline, sensitivity levels, and desired results.
Essential Pre-Treatment Steps and Care
Proper preparation before teeth whitening treatments greatly influences both comfort and results. Your pre-treatment hygiene routine should begin with thorough brushing, flossing, and using antiseptic mouthwash.
A thorough oral care routine combining brushing, flossing, and mouthwash sets the foundation for successful, comfortable teeth whitening outcomes.
Following strict dietary guidelines, you’ll need to avoid staining substances like coffee, tea, and red wine for several days before treatment. Schedule dental assessments to address any existing oral health issues and discuss comfort preparations with your dentist.
- Schedule a professional cleaning to remove deep stains and tartar buildup
- Document your current tooth shade with pre-treatment photos
- Test whitening trays for suitable fit before applying any gel
- Apply desensitizing toothpaste in the days leading up to treatment
These scientific-based steps will guarantee ideal whitening results while minimizing sensitivity and discomfort during your wedding preparation journey.
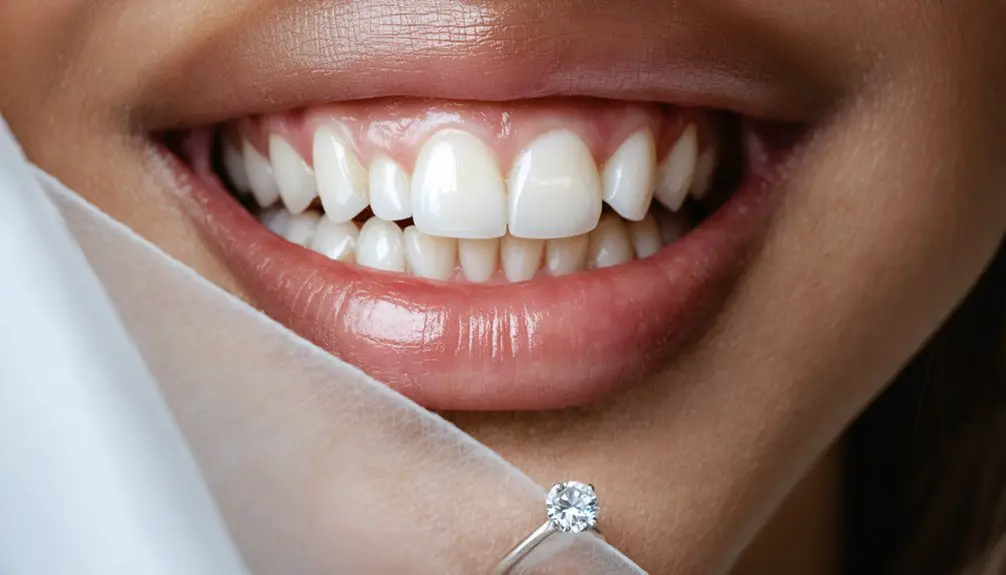
Maximizing Results for Wedding Photography
You’ll need to start your whitening treatment 4-6 months before your wedding day to achieve ideal photographic results, as this timeline allows for both peak whitening effects and recovery from any sensitivity.
To minimize unwanted glare from camera flashes, work with your dentist to select a shade that’s noticeably brighter but maintains natural ivory undertones rather than stark white.
Your chosen whitening shade should complement your skin tone while providing enough brightness to counteract any yellowing effects that can occur under professional photography lighting.
Timing Your Whitening Treatment
Achieving ideal whitening results for wedding photography requires precise timing of treatments to guarantee peak brightness coincides with key photo moments.
You’ll need to coordinate your whitening maintenance tips with both daytime and evening photography sessions while making timing adjustments based on your chosen treatment method.
- Start thorough treatments 3-6 months before your wedding, allowing time for sensitivity management and color stabilization.
- Schedule in-office professional whitening 1-2 weeks prior to maximize brightness for formal photos.
- Begin take-home whitening kits 4-6 weeks ahead, enabling gradual enhancement with controlled results.
- Plan touch-up treatments 24-48 hours before the ceremony to guarantee peak shine under various lighting conditions.
Consider consulting a dental professional to create a personalized timeline that accounts for your specific dental conditions and desired outcome.
Reducing Camera Flash Glare
While timing your whitening treatments sets the foundation for a bright smile, managing camera flash glare determines how that brightness translates in wedding photos.
To enhance glare reduction, work with your photographer to control flash angles and utilize diffusers or bounce flash techniques that soften harsh reflections on teeth surfaces.
Professional tooth polishing before whitening helps minimize surface roughness that can reflect flash.
You’ll want to avoid glossy lip products and opt for matte finishes near the mouth area. Consider applying a light translucent powder along mouth edges to reduce unwanted shine.
Maintaining proper dental hygiene through regular brushing and flossing reduces plaque buildup that can enhance flash reflections.
For ideal results, stay within recommended natural shade levels to prevent unrealistic blue or white hues under flash lighting.
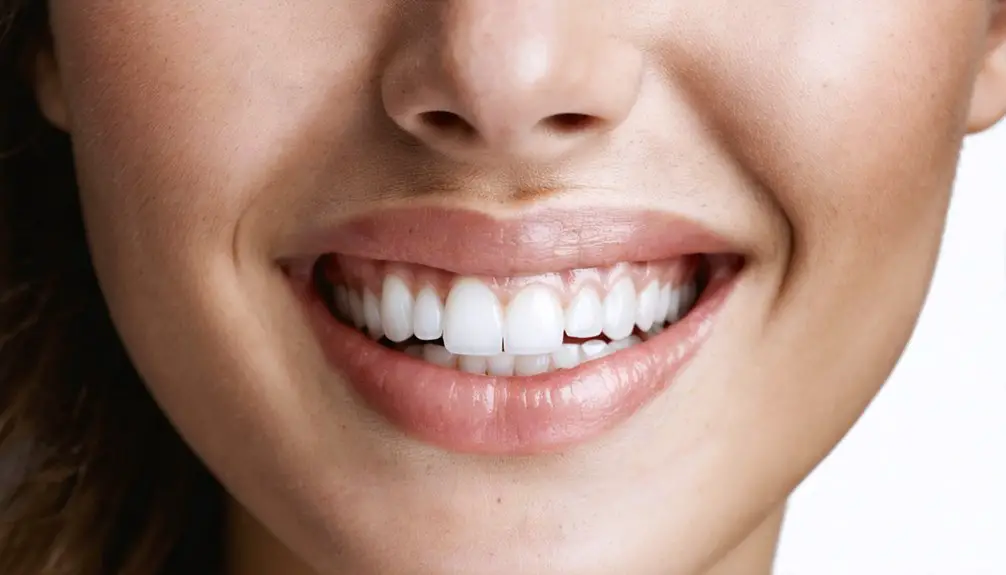
Shade Selection For Photos
Selecting the perfect tooth shade for wedding photography requires precise coordination between multiple visual elements.
You’ll need to evaluate shade harmony between your teeth, dress color, and photo lighting conditions to achieve ideal results in your wedding album.
- Match your whitening level to your dress shade by performing the “Dress Test” – hold fabric swatches near your teeth to assess visual compatibility.
- Consider lighting variations between morning, afternoon, and evening photo sessions to calibrate whitening intensity.
- Guarantee uniform whitening across all visible teeth surfaces to prevent uneven “ombre” effects under camera flash.
- Coordinate lip color selection with your chosen tooth shade to enhance overall smile appearance in photographs.
Start professional treatments 3-6 months before your wedding day, allowing time for adjustments and touch-ups to achieve your desired photogenic results.
Safety Considerations and Common Concerns
Before starting teeth whitening for your wedding, understanding the safety considerations becomes paramount for excellent results and minimal complications.
While teeth sensitivity remains a common concern, professional treatments incorporate protective measures to minimize discomfort. Despite prevalent whitening myths, supervised procedures don’t permanently damage healthy enamel when performed correctly.
Schedule your whitening at least 4-6 weeks before your wedding day to allow time for managing any sensitivity and achieving exceptional results.
Your dentist should perform a thorough evaluation to confirm you’re a suitable candidate, checking for cavities or gum issues that could affect treatment safety.
During the recovery period, avoid staining foods and beverages, maintain gentle oral hygiene practices, and follow your dentist’s post-treatment guidelines to protect your newly whitened smile.
Frequently Asked Questions
Can I Whiten My Teeth While Wearing Braces Before My Wedding?
While 85% of orthodontic patients can whiten during treatment, you’ll achieve best results by starting braces whitening early in your wedding timeline, though expect some unevenness until bracket removal.
How Much Does Professional Teeth Whitening Typically Cost for Wedding Preparation?
You’ll typically spend ₹7,000-20,000 for professional teeth whitening options in India, or $650-1,250 in the U.S. Schedule a dental consultation to discuss specific costs for your treatment plan.
Will Teeth Whitening Affect Existing Crowns or Veneers in Wedding Photos?
While your natural teeth will whiten dramatically, your crowns and veneers won’t change color due to their high durability. This can create noticeable shade differences in wedding photos, requiring professional restoration adjustments.
Can Both the Bride and Groom Get Whitening Treatments Together?
You can definitely undergo joint treatments together, with many dental offices offering couples’ packages that coordinate timing and results for matching wedding-day smiles while providing mutual support and convenience.
What Happens if I Get Lipstick on My Newly Whitened Teeth?
You’re playing with fire! Your newly whitened teeth have porous enamel that can absorb lipstick pigments. Immediate lipstick removal and proper teeth care are essential to prevent permanent staining.
References
- https://www.royaloaksmiles.com/post/bridal-glow-up-is-professional-teeth-whitening-right-for-your-big-day
- https://gentledental.interdent.com/blog/teeth-cleaning-and-whitening-before-wedding
- https://www.love-to-smile.com/teeth-whitening-for-wedding-season/
- https://www.trysnow.com/blogs/news/teeth-whitening-before-wedding
- https://shadesatelier.com/teeth-whitening-for-special-occasions-weddings-graduations-and-more/
- https://www.trailheadadvanceddentistry.com/dental-wedding-planner/
- https://www.dleedentistry.com/teeth-whitening-for-summer-weddings-tips-and-timelines/
- https://thebudgetsavvybride.com/fitting-teeth-whitening-wedding-timeline/
- https://voguedentalstudios.com.au/blog/the-wedding-edition-when-should-i-get-my-teeth-done
- https://www.dentalassociates.com/blog/professional-teeth-whitening-vs-at-home-teeth-whitening