The AuraGlow Teeth Whitening Kit can deliver visible results within seven days, but you should understand its risks before starting. Its 35% carbamide peroxide concentration exceeds the 10–15% threshold considered safe for unsupervised home use, making sensitivity and enamel concerns real possibilities. It works best on natural teeth with extrinsic stains from coffee, tea, or wine. If you want a complete picture of how it performs and whether it’s right for you, keep going.
Key Takeaways
- AuraGlow uses 35% carbamide peroxide with an LED tray, claiming up to 10 shades of whitening within 7 days of consistent use.
- Visible results typically appear by Days 2–3, with the most dramatic whitening occurring between Days 4–5 before gains consolidate.
- The kit works best on natural teeth with extrinsic stains from coffee, tea, wine, or tobacco, not crowns or veneers.
- At 35% peroxide concentration, AuraGlow exceeds recommended unsupervised-use levels, posing risks of enamel degradation, sensitivity, and gum irritation.
- Compared to professional whitening, AuraGlow is more affordable but less precise, especially without prior professional cleaning to remove biofilm and tartar.
What Is the AuraGlow Teeth Whitening Kit?
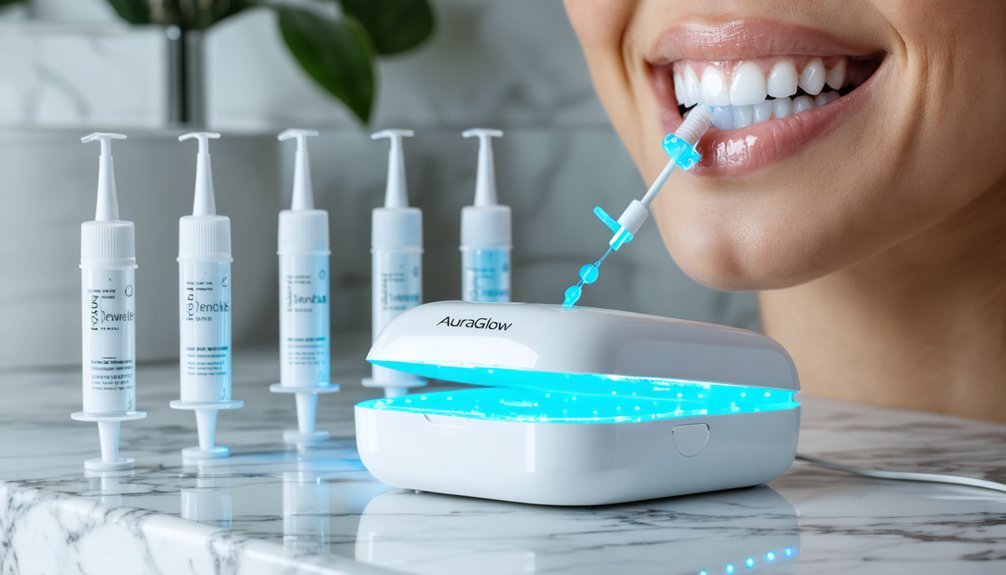
The AuraGlow Teeth Whitening Kit is an at-home whitening system that combines a 35% carbamide peroxide gel with a rechargeable LED light tray to accelerate the bleaching process.
The blue LED light works alongside the peroxide to break down surface stains on natural teeth. Gel application is straightforward — you apply a thin line directly onto your teeth before inserting the tray for 30 minutes daily.
The kit claims to deliver up to 10 shades of whitening within 7 days using dental-grade ingredients. It’s marketed as safe for teeth sensitivity, though the high peroxide concentration warrants caution.
You’ll get the most consistent results when you start with clean, professionally scaled teeth, ensuring the gel contacts enamel rather than biofilm or tartar buildup.
What Do You Actually Get in the AuraGlow Box?
Knowing how the system works is one thing — understanding exactly what’s inside the box helps you set realistic expectations before your first session.
The product packaging includes a rechargeable LED tray, a whitening gel formulated with 35% carbamide peroxide, and a user manual outlining application protocol.
Each kit includes a rechargeable LED tray, 35% carbamide peroxide whitening gel, and a detailed application manual.
You’ll apply a thin gel line directly to your teeth, insert the tray, and activate the LED light for 30 minutes. The gel is manufactured in the USA using dental-grade ingredients.
The rechargeable design eliminates battery dependency, giving you consistent sessions across 7–9 uses.
Review the user manual before starting — it specifies gel volume, session duration, and storage conditions. Missing those details increases your risk of uneven results or gum irritation during the whitening process.
Does the AuraGlow LED Light Actually Speed Up Whitening?
AuraGlow’s blue LED light is designed to accelerate the chemical breakdown of the carbamide peroxide gel, which oxidizes and lifts surface stains from your enamel.
LED effectiveness depends on wavelength and proximity to the gel — AuraGlow’s tray keeps both in consistent contact with your teeth, which matters.
However, clinical evidence on LED acceleration remains mixed. Some studies suggest blue light marginally speeds oxidation, while others show negligible difference compared to gel alone.
What’s clear is that proper gel application directly onto teeth — not into the tray — maximizes contact and delivers more controlled, even results.
You’re not just relying on the light. The 35% carbamide peroxide concentration does the heavy lifting.
The LED may enhance results, but your technique determines consistency.
My Real Results After 7 Days of AuraGlow Testing
After seven days of daily 30-minute sessions, you’ll want concrete evidence rather than vague impressions.
So tracking your shade progression each day against a reference chart matters. You can document daily progress by photographing your teeth under consistent lighting before each session, giving you an objective record of change rather than relying on memory.
Daily Progress Documented
7 days of daily AuraGlow testing produced measurable, documentable results worth breaking down session by session.
By Day 1, you’ll notice subtle brightness.
Days 2–3 deliver visible contrast against untreated areas.
Days 4–5 mark the sharpest shift, where user testimonials consistently report the most dramatic change window.
Days 6–7 consolidate those gains rather than accelerate them.
Daily tips that actually matter: apply gel directly to teeth before inserting the tray, maintain consistent 30-minute sessions, and schedule treatments at night to minimize food interference.
Skipping sessions disrupts cumulative peroxide exposure and stalls results.
Your shade progression won’t be linear, but it’ll be trackable.
Photographing your teeth under identical lighting each day gives you objective data rather than subjective impressions.
Final Shade Comparison
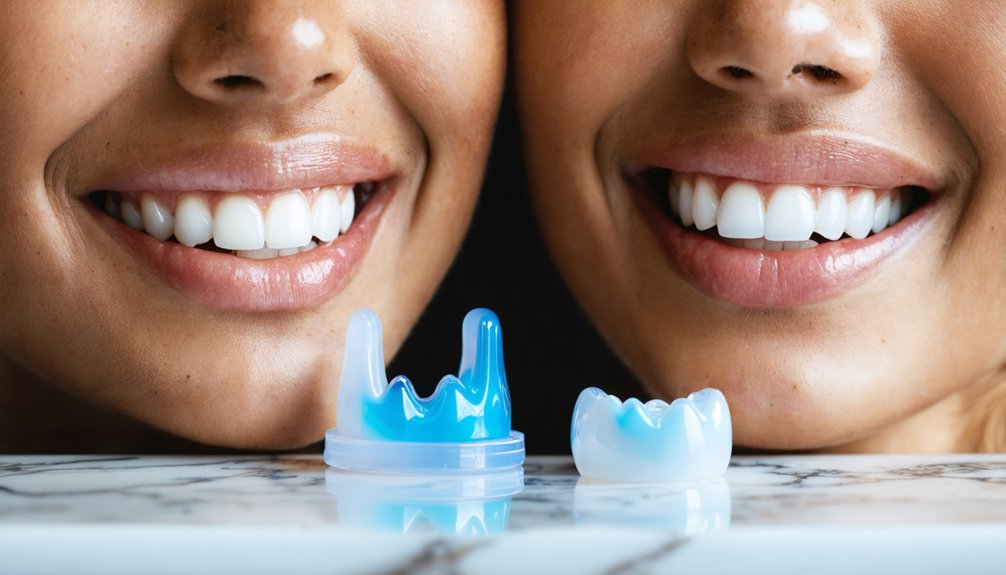
Seven days of documented sessions lead to one question that actually matters: did the shade change hold up under objective measurement?
Comparing before and after shade charts reveals your actual return on investment. Here’s what the final assessment confirmed:
- Shade shift: 6–8 levels lighter under consistent lighting conditions
- Shade longevity: Results remained stable 48 hours post-final session
- Sensitivity response: Mild gum tingling on days 5–6, no lasting discomfort
- User testimonials alignment: Reported gains matched documented 7-day claims within a reasonable margin
You’re not getting professional precision, but you’re getting measurable, verifiable change. The gel concentration delivers visible results when application technique stays consistent.
Control your protocol, and the data reflects it. Inconsistency produces uneven outcomes—the shade chart doesn’t lie.
Where AuraGlow Delivers and Where It Genuinely Falls Short
AuraGlow performs reliably in two key areas: ease of use and cost-effectiveness compared to professional treatments. You’ll find the LED tray straightforward to operate, and for users with naturally stained teeth, the 35% carbamide peroxide formula can produce measurable whitening within a few sessions.
However, the kit falls short when precision matters—uneven results emerge without prior professional cleaning, and the high peroxide concentration introduces real risks of gum sensitivity and discomfort from micro-fractures in tooth enamel.
Where AuraGlow Excels
When it performs as advertised, the AuraGlow kit delivers measurable whitening results for users with clean, natural teeth and no underlying dental sensitivity. The user’s experience improves considerably when conditions are ideal.
Product effectiveness becomes most evident across these documented strengths:
- Visible results appear within a few days of consistent 30-minute sessions.
- Cost efficiency positions it as a practical alternative to professional treatments.
- Ease of use requires minimal setup — apply gel, insert tray, activate LED.
- Sensitivity tolerance remains manageable for users without pre-existing dental fractures.
The 35% carbamide peroxide formula, combined with blue LED acceleration, produces up to 12 shades of improvement under controlled conditions.
You get professional-adjacent results when you follow protocol precisely and start with professionally cleaned teeth.
Notable Limitations Found
Despite its genuine whitening capability, the AuraGlow kit carries limitations that can undermine results or cause harm depending on your dental profile. The 35% carbamide peroxide concentration exceeds what most dental professionals recommend for unsupervised home use, raising legitimate sensitivity concerns, particularly if you have microfractures or existing enamel erosion.
Gel application presents another variable. Without professional-level precision, distribution remains uneven, producing inconsistent results across your tooth surfaces. The formula also proves ineffective against biofilm, tartar buildup, and staining beneath braces. If your teeth haven’t been professionally cleaned beforehand, you’re working against a compromised baseline.
Some users report a tingling sensation along the gumline, signaling potential soft tissue irritation. These aren’t minor inconveniences — they’re meaningful risk factors you should evaluate before committing to a full treatment cycle.
Is AuraGlow’s 35% Carbamide Peroxide Too Strong for Home Use?
One of the most pressing concerns surrounding AuraGlow’s kit is whether its 35% carbamide peroxide concentration is appropriate for unsupervised home use. Most safety guidelines recommend 10–15% for at-home applications. Exceeding that threshold elevates your risk considerably.
AuraGlow’s 35% carbamide peroxide concentration far exceeds the 10–15% threshold recommended for safe, unsupervised home use.
Here’s what you’re exposing yourself to:
- Enamel degradation from prolonged peroxide contact
- Heightened sensitivity concerns affecting exposed dentin and nerve endings
- Gum tissue irritation if gel contacts soft tissue
- Micro-fracture aggravation in pre-existing enamel cracks
Dentist-supervised treatments use comparable concentrations, but with protective barriers and controlled application times you won’t replicate at home.
Without professional oversight, you’re basically self-administering a clinical-grade chemical with no safeguards. If you have existing dental vulnerabilities, this concentration demands careful consideration before use.
Which Teeth Types Get the Best Results With AuraGlow?
Not all teeth respond equally to AuraGlow’s whitening process, and understanding which dental profiles yield the best outcomes can save you frustration.
The best candidates are those with natural, unrestored teeth affected by extrinsic staining from coffee, tea, wine, or tobacco. These surface-level discolorations respond most predictably, enhancing whitening effectiveness.
You’ll see diminished returns if your teeth have crowns, veneers, or bonding, since peroxide doesn’t penetrate synthetic materials.
Intrinsic staining from antibiotics or fluorosis also resists carbamide peroxide treatment.
Braces create uneven coverage, leaving inconsistent results post-treatment.
Your starting baseline matters greatly. Naturally yellower teeth typically show more dramatic improvement than already-light teeth.
For ideal outcomes, schedule a professional cleaning beforehand to eliminate biofilm and tartar that would otherwise block gel penetration.
How Should You Actually Apply the AuraGlow Gel?
Applying the gel correctly determines whether you get even whitening or patchy, inconsistent results. Follow these gel application tips precisely:
- Apply a thin, continuous line of whitening gel directly onto your teeth — not inside the tray.
- Avoid overloading; excess gel spreads to gum tissue and causes irritation.
- Insert the LED tray immediately after application to maximize light exposure during the 30-minute session.
- Follow whitening frequency guidelines: one session daily, completing seven to nine total sessions for measurable results.
Apply gel at night to minimize saliva interference and allow maximum contact time.
If you’ve skipped a professional cleaning beforehand, expect uneven distribution.
Controlling these variables directly determines your outcome — inconsistent application produces inconsistent results, regardless of formula strength.
AuraGlow vs. Professional Whitening: Which Is Actually Worth It?
How does AuraGlow’s 35% carbamide peroxide kit stack up against an in-office treatment?
Professionally, dentists use 25–40% hydrogen peroxide with controlled application, custom-fitted trays, and supervised exposure times. AuraGlow’s DIY whitening approach removes that clinical oversight entirely.
Home alternatives like AuraGlow cost considerably less, but you’re trading precision for convenience.
Without a professional cleaning beforehand, uneven whitening is likely. Tartar, biofilm, and enamel fractures won’t respond to peroxide regardless of concentration. The LED light accelerates oxidation, but it doesn’t compensate for improper application or underlying dental conditions.
If your teeth are structurally sound and recently cleaned, AuraGlow delivers measurable results.
If you have fracture lines, sensitivity, or heavy staining, professional treatment isn’t optional—it’s the correct clinical choice.
Frequently Asked Questions
Can Auraglow Be Used Safely During Pregnancy or While Breastfeeding?
Imagine bleaching your smile while nurturing new life—bold choice! AuraGlow’s 35% carbamide peroxide raises pregnancy safety and breastfeeding concerns. You shouldn’t use it; consult your doctor before applying any whitening treatment during these vulnerable periods.
How Long Do Auraglow Whitening Results Actually Last Before Fading?
Your whitening longevity typically spans 3–6 months before fading occurs. You’ll maintain results maintenance by avoiding staining foods, practicing consistent oral hygiene, and scheduling periodic touch-up sessions to sustain your achieved shade level effectively.
Does Auraglow Work on Crowns, Veneers, or Dental Bonding?
AuraGlow won’t whiten crowns, veneers, or dental bonding. Crown whitening and veneer compatibility are non-factors here—these materials don’t respond to peroxide. You’ll only achieve results on your natural teeth, risking uneven color contrast against restorations.
Can Children or Teenagers Safely Use the Auraglow Whitening Kit?
Like a double-edged sword, AuraGlow’s 35% carbamide peroxide isn’t safe for children or teenagers. You should follow strict safety guidelines and age recommendations—consult your dentist before use, as developing teeth face heightened sensitivity risks.
How Should the Auraglow Device Be Properly Cleaned and Stored?
After each use, you’ll want to rinse the LED tray thoroughly with water. Follow these cleaning tips: avoid harsh chemicals. For storage guidelines, keep it in a cool, dry place, away from direct sunlight.
References
- https://www.youtube.com/watch?v=xCb3GpRECeg
- https://www.maryamthetoothfairy.com/post/auraglow-teeth-whitening-kit-my-honest-review
- https://auraglow.com/products/teeth-whitening-kit
- https://auraglow.com/products/teeth-whitening-gel
- https://www.walmart.com/reviews/product/247583899