You can brighten your teeth at home by using whitening strips with 3-14% peroxide for surface stains or custom-fit trays with professional-grade gels for deeper discoloration. Apply baking soda and hydrogen peroxide treatments twice weekly maximum, though the ADA recommends professional guidance first. Maintain results by brushing twice daily with fluoride toothpaste, flossing regularly, and using whitening mouthwash. While oil pulling offers minimal whitening effects, it supports oral health. These evidence-based methods deliver visible results within days when applied correctly and safely, with detailed techniques outlined below.
Key Takeaways
- Use whitening strips or gels containing 3-22% peroxide to break down surface stains and achieve visible results within three days.
- Apply baking soda and hydrogen peroxide treatments twice weekly maximum for mechanical stain removal and enamel penetration.
- Try custom-fit trays with professional-grade carbamide peroxide gels for even distribution and results in 1-2 weeks.
- Brush twice daily with fluoride toothpaste and incorporate baking soda weekly for mild abrasive stain removal.
- Practice oil pulling with coconut oil for up to 20 minutes daily to reduce stain buildup and maintain oral health.
Use Baking Soda and Hydrogen Peroxide Treatments
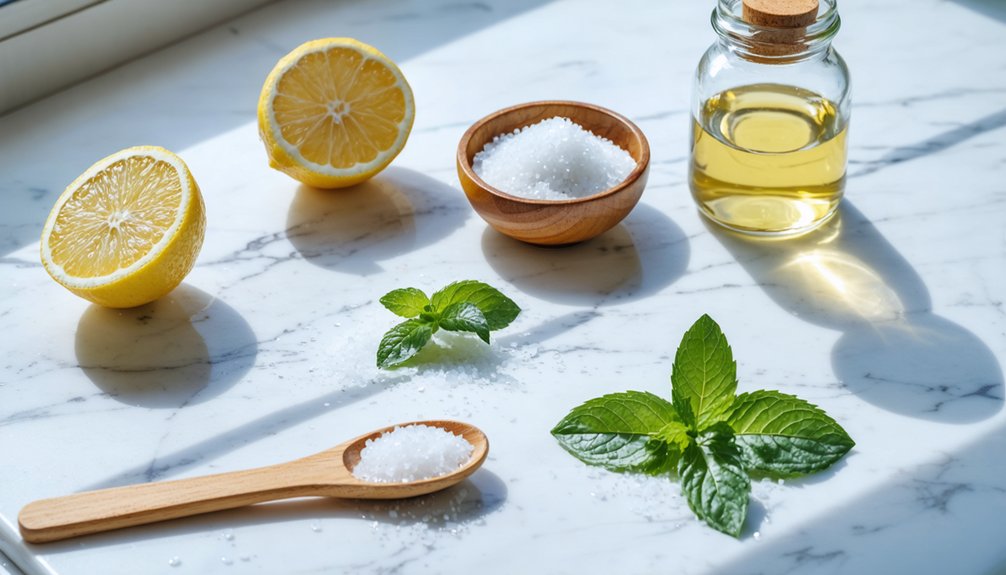
When combined properly, baking soda and hydrogen peroxide create an effective at-home whitening treatment supported by clinical evidence. Mix two tablespoons of hydrogen peroxide with one tablespoon of baking soda until you’ve formed a thick paste. Apply it using gentle circular motions for up to two minutes, then let it sit for one minute before rinsing thoroughly.
This combination targets both surface and deeper stains to improve overall whitening effect. Hydrogen peroxide penetrates enamel with a ΔE value of 9.6, while baking soda provides mechanical stain removal. However, you’ll need to limit applications to twice weekly maximum. Excessive use creates potential dental risks including enamel erosion and gum irritation. The ADA doesn’t recommend this at-home combination without professional guidance, so consult your dentist first.
Apply Whitening Strips and Gels
Over-the-counter whitening strips and gels represent the most clinically validated at-home brightening methods, with peroxide concentrations ranging from 3% to 14% for strips and 6% to 22% for gels. Strips adhere directly to your front teeth for 5-60 minutes, effectively targeting surface stains from coffee, tea, and wine. You’ll see results within three days of consistent application.
Gels offer superior precision—you apply them with brush applicators to specific discolored areas, penetrating deeper for stubborn stains. When choosing right whitening product, consider your stain severity: strips work best for surface discoloration, while gels address deeper aging-related yellowing. Both methods break down chromogens through peroxide oxidation.
For maintaining whitening results, you’ll need periodic retreatment as effectiveness diminishes over time. Note that neither method effectively treats intrinsic stains from medications or dental trauma.
Try Custom-Fit or Take-Home Trays
Custom-fit whitening trays from your dentist provide the most controlled at-home brightening method available. These precision-molded trays outperform generic alternatives by preventing gel leakage and ensuring even distribution across your entire dental arch. The American Academy of Cosmetic Dentistry endorses this approach as safer than over-the-counter options.
Key advantages you’ll experience:
- Superior fit minimizes gum irritation and saliva dilution
- Professional-grade gels (10-38% carbamide peroxide) deliver visible results in 1-2 weeks
- Proper wear duration ranges from 30 minutes to 10 hours daily based on concentration
- Long-term affordability through reusable trays lasting years with maintenance
Your dentist will customize treatment intensity for your specific sensitivity level and discoloration severity, preventing the enamel damage common with unsupervised products while delivering complete, natural-looking enhancement.
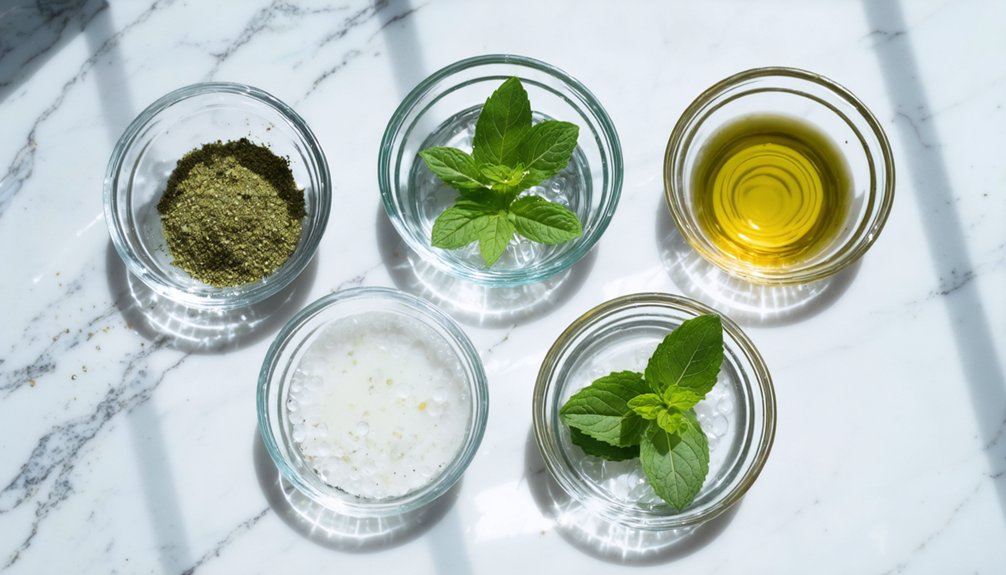
Practice Oil Pulling With Coconut Oil
While coconut oil pulling has gained popularity as a natural whitening method, the scientific evidence reveals important limitations you should understand before incorporating it into your routine. Research demonstrates it can reduce stain build up and improve oral health by decreasing bacterial counts and plaque accumulation, but it won’t change your teeth’s intrinsic color.
Studies show minimal to no true whitening effects—any brightening you’ll notice typically results from temporary surface cleaning rather than actual bleaching. If you’re seeking genuine whitening results, hydrogen peroxide or carbamide peroxide products remain considerably more effective.
However, oil pulling serves as a safe supplementary practice when you swish extra virgin coconut oil for up to 20 minutes daily, potentially supporting your overall dental hygiene routine.
Follow Safe Oral Hygiene Practices
Because your daily oral hygiene habits directly impact your whitening results, you’ll need to establish a thorough routine that protects enamel while preventing new stains. To maintain consistency and prioritize oral health while brightening your teeth:
- Brush twice daily with fluoride toothpaste using a soft-bristled brush, incorporating baking soda twice weekly as a mild abrasive for stain removal without enamel damage.
- Floss daily to remove plaque and food particles between teeth that cause discoloration and undermine whitening efforts.
- Rinse with fluoride mouthwash or low-strength whitening formulas to remove surface stains and reduce tartar buildup.
- Follow product instructions precisely to avoid enamel erosion, and use desensitizing toothpaste if sensitivity develops post-whitening.
Address any cavities or gum disease before beginning whitening treatments.
Frequently Asked Questions
How Long Does It Take to See Whitening Results at Home?
You’ll notice a difference within one to two weeks with most at-home methods. However, factors affecting whitening duration include your product’s peroxide strength, stain severity, and application consistency—determining how long before noticeable difference becomes dramatic transformation.
Can Teeth Whitening Cause Permanent Damage to Tooth Enamel?
Professional whitening won’t permanently damage enamel when used correctly. However, overusing bleaching products causes tooth structure changes, increasing enamel sensitivity and porosity. You’ll protect your teeth by following instructions precisely and consulting your dentist before treatment.
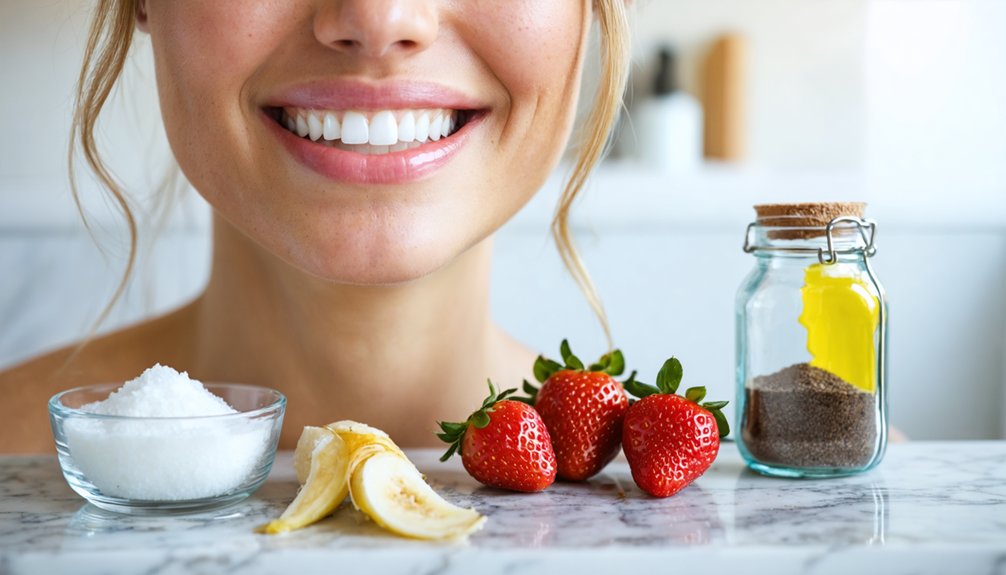
What Foods Should I Avoid While Whitening My Teeth?
Avoid acidic foods like citrus and tomatoes that weaken enamel during treatment. Limit staining beverages including coffee, tea, red wine, and dark sodas. You’ll protect your results by eliminating deeply pigmented items like berries, beets, and colored sauces.
Are Natural Whitening Methods as Effective as Chemical Treatments?
Natural methods aren’t as effective as chemical treatments like carbamide peroxide, which surpasses perceptibility thresholds faster. While natural options offer safe alternatives for surface stains, they’re slower-acting and have potential side effects like enamel damage from acidic substances.
How Often Should I Repeat Whitening Treatments to Maintain Results?
You should repeat treatments every 6-12 months for in-office whitening or every 4-6 months for at-home kits. The ideal duration between treatments depends on monitoring enamel health and your dentist’s assessment of sensitivity levels.