To prevent gum irritation during teeth whitening, you’ll need to apply protective barriers like petroleum jelly or dental dams to your gum line before treatment. Use only the recommended amount of whitening product, ensuring it contacts tooth surfaces exclusively. Schedule a pre-treatment dental exam to assess your oral health and identify any existing sensitivity. Choose professional-grade formulas with desensitizing agents, and follow manufacturer’s instructions precisely. If irritation develops, discontinue use immediately and rinse thoroughly. Understanding proper application techniques and post-treatment care protocols will help you achieve ideal whitening results while maintaining healthy gum tissue.
Key Takeaways
- Apply whitening agents only to tooth surfaces, avoiding direct contact with gums and soft oral tissues.
- Use professional-grade products with sensitivity-reducing formulas and follow manufacturer’s instructions carefully for proper application.
- Limit frequency and duration of whitening treatments to prevent overexposure and cumulative gum irritation.
- Rinse mouth thoroughly after treatment and use desensitizing toothpaste to alleviate sensitivity and discomfort.
- Schedule regular dental checkups to assess gum health and discontinue use if persistent irritation occurs.
Understanding the Importance of Pre-Whitening Dental Consultation
Before initiating any teeth whitening procedure, you’ll need a thorough dental consultation to assess your oral health status and candidacy for treatment. A comprehensive oral examination identifies cavities, gum disease, and other conditions that’ll complicate whitening or cause discomfort. Your dentist evaluates existing restorations—crowns and veneers won’t respond to whitening agents, requiring strategic planning.
A dental consultation evaluates your oral health, identifies complications, and assesses existing restorations before determining your whitening treatment candidacy.
This assessment includes your dental history, current medications, and tooth sensitivity levels to determine appropriate treatment protocols.
Professional evaluation prevents complications that over-the-counter products can’t address. Your dentist analyzes enamel condition, stain types, and underlying pathology before proceeding. This examination includes professional cleaning to remove plaque and tartar, establishing ideal conditions for treatment.
Based on these findings, you’ll receive personalized treatment recommendations that account for your specific oral anatomy, sensitivity threshold, and desired outcomes while minimizing irritation risks. With years of specialized schooling, dentists possess the expertise to accurately diagnose oral health issues that may not be visible in the small area of your mouth during self-examination. Patients with gray or purple teeth should be aware that these particular discolorations typically don’t respond well to standard bleaching treatments.
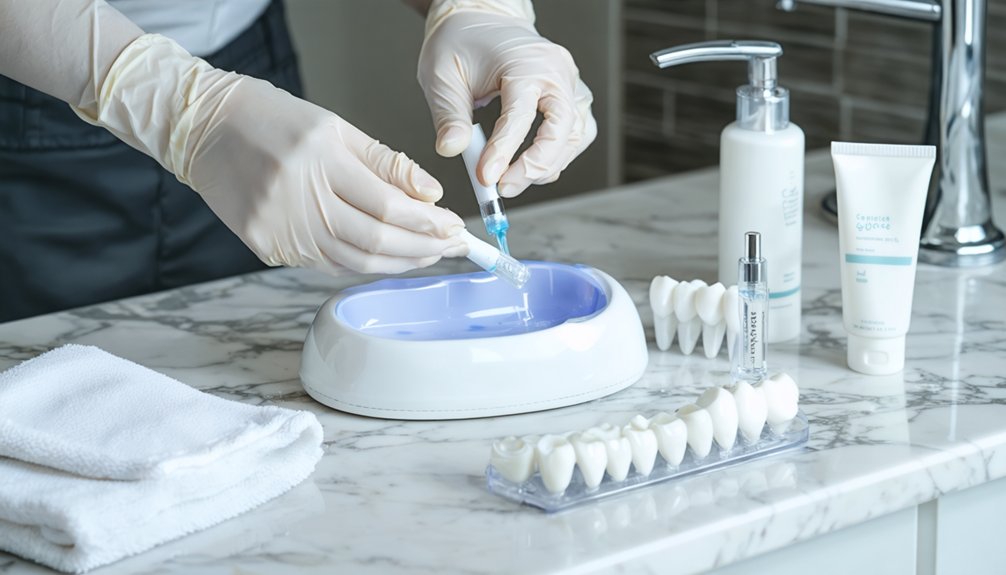
Implementing Protective Barriers for Your Gums
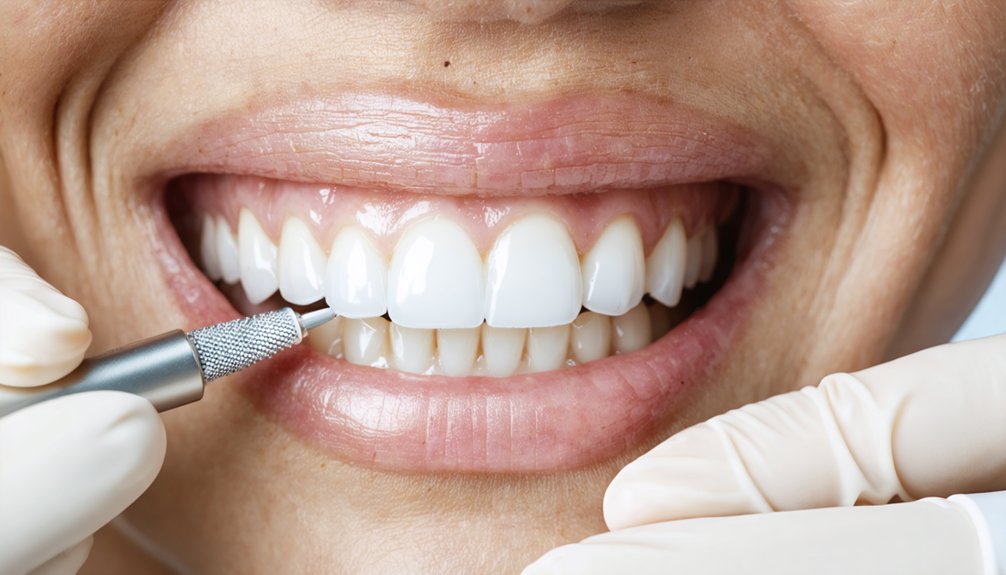
Once your dentist confirms you’re cleared for whitening treatment, guaranteeing gum protection becomes the immediate priority to prevent chemical irritation from bleaching agents. Gum condition assessment determines which barrier type suits your tissue sensitivity—light-cured barriers create durable seals, while gel-based formulations offer flexible protection during peroxide exposure.
Proper barrier placement techniques require precise application along gum margins to block hydrogen peroxide penetration into soft tissue. Professional settings utilize rubber dams or liquid barriers that form hydrophobic layers resisting dissolution throughout treatment duration. Regular staff training ensures mastery of application processes and adherence to professional whitening standards.
For at-home applications, custom-fitted dental trays ensure containment of whitening gel exclusively to tooth surfaces, while petroleum jelly provides simple yet effective shielding against accidental contact. Physical sealing prevents chemical burns by eliminating the primary pathway for bleaching agent contact with vulnerable gum tissue. If whitening gel accidentally contacts gums, rinse immediately to minimize tissue exposure and prevent irritation.
Mastering Correct Application Methods
Mastering precise application techniques meaningfully lowers your risk of gum irritation during teeth whitening treatments. You’ll attain ideal results by meticulously adhering to manufacturer guidelines, utilizing custom-fitted trays that prevent gel migration, and applying whitening agents strategically at the base of teeth while avoiding gum tissue contact.
These evidence-based methods minimize soft tissue exposure to peroxide concentrations, thereby preventing chemical burns and sensitivity complications. Professional cosmetic dentists possess the expertise to spot potential issues before they develop, ensuring your whitening plan is tailored to your specific oral health needs. Proper isolation during the procedure requires controlling saliva flow with dental barriers positioned in the vestibule area to maintain separation between whitening agents and soft tissue.
Follow Product Instructions Precisely
Why do most whitening-related gum complications stem from improper application rather than product formulation itself? You’ll prevent irritation by reading instructions carefully before beginning treatment. Each product specifies precise gel quantities—typically 0.5ml per arch for six to eight front teeth. Exceeding this amount causes unnecessary gum exposure.
Concentration percentages determine safe exposure times: 35% formulations require 30-40 minutes, while 10% solutions permit overnight wear. You must adhere to whitening duration specifications without extension.
Strip positioning demands alignment at the gum line without overlap. Avoid brushing teeth immediately before applying whitening strips to prevent increased sensitivity and gum irritation. When using trays, wipe excess gel immediately upon insertion to prevent prolonged tissue contact. Brush and floss beforehand to ensure teeth are clean and free from food particles that could interfere with the whitening process. Your systematic approach to manufacturer guidelines—including application frequency, wear time, and removal protocols—directly controls irritation risk while optimizing whitening efficacy.
Use Custom-Fitted Trays
Custom-fitted trays represent the gold standard for at-home whitening by conforming precisely to your dental anatomy through professional impression-taking or digital scanning. Your dentist creates these trays using traditional impressions or digitally scanned impressions, ensuring a customized tray fit that matches every tooth contour and bite pattern.
This precision prevents gel migration onto gingival tissues, establishing a protective barrier that minimizes chemical contact with soft tissues.
You’ll achieve ideal results by following proper insertion protocols: clean teeth thoroughly beforehand, apply gel sparingly, and gently seat trays without excessive force. Immediately remove excess gel from gums using tissue.
Wear duration typically ranges from 15 minutes to one hour based on peroxide concentration, with treatment extending 2-4 weeks under professional supervision. Custom trays are particularly recommended for patients with recession or exposed dentin, as these conditions require more controlled whitening application. After removing trays, rinse both your mouth and the trays with lukewarm water to eliminate residual gel and maintain tray cleanliness. Maintain tray integrity through proper cleaning and storage between applications.
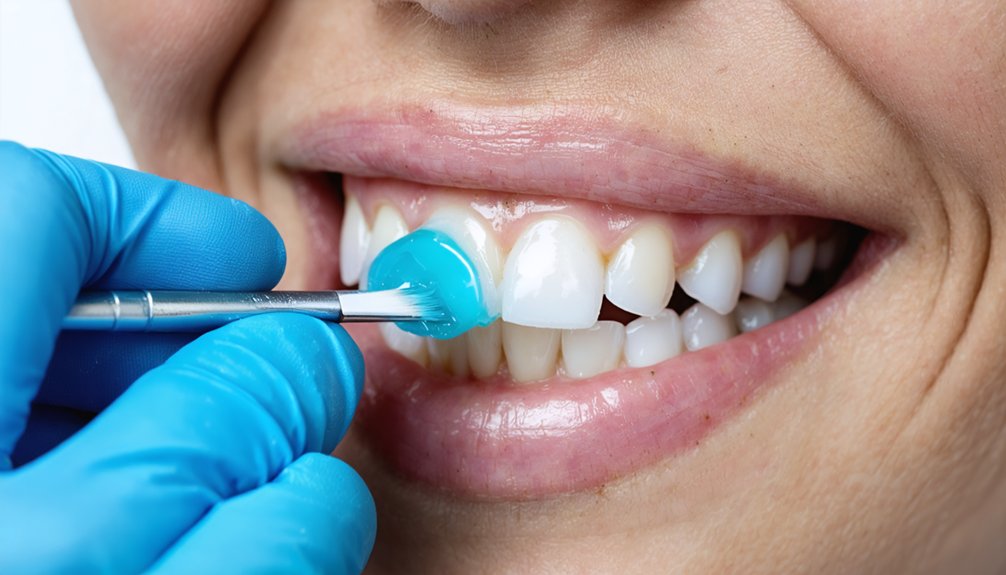
Apply Gel Strategically
Strategic gel application fundamentally determines whether your whitening treatment achieves ideal results while protecting gingival tissues from chemical exposure. Proper dosage control requires limiting gel to rice-grain or pea-sized amounts per tooth—approximately 0.5ml per arch or one-third of a syringe per tray.
You’ll avoid overflow by using only 1/4 to 1/5cc total per tray, concentrating on anterior teeth. Effective application technique involves positioning gel halfway up the tray’s inner front surface as discrete pearls or thin lines, never filling compartments completely. Immediately seat trays firmly against teeth, then gently press to adapt sides and distribute gel precisely.
Remove any overflow onto gums instantly using cotton swabs or tissue to prevent chemical burns and temporary tissue blanching.
Selecting the Right Whitening Products for Gum Safety
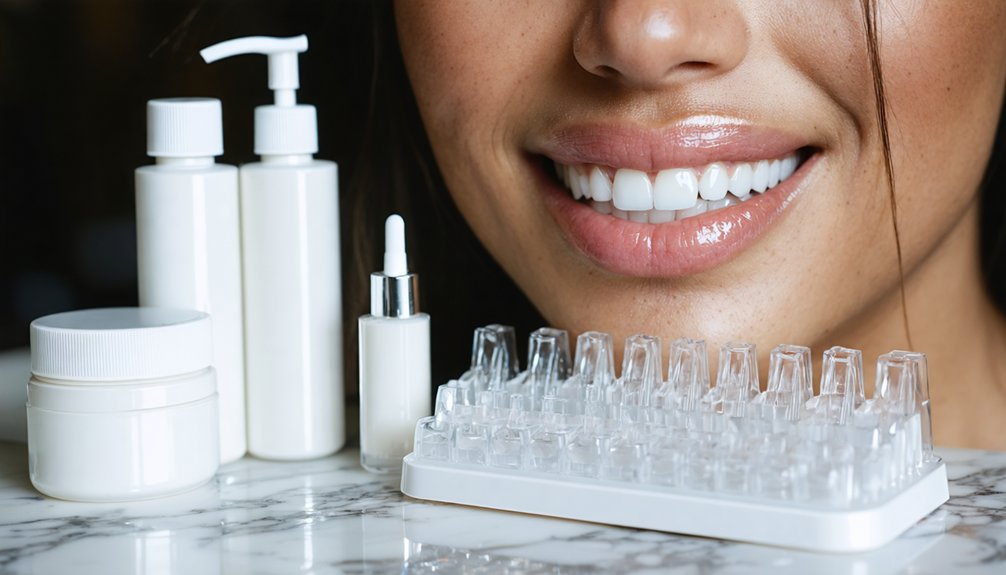
Selecting appropriate whitening products considerably reduces gum irritation risk and maximizes treatment outcomes. Prioritize ADA-approved formulations that demonstrate clinical efficacy while addressing gum sensitivity concerns. Custom professional trays prevent gel leakage onto gingival tissues, whereas over-the-counter one-size-fits-all alternatives often cause burning and soreness through uncontrolled bleaching agent exposure.
For at-home whitening, you’ll find supervised products containing 10% carbamide peroxide (3.6% hydrogen peroxide equivalent) provide ideal whitening product safety. Professional treatments utilize 0.1-6% hydrogen peroxide concentrations under dental oversight, incorporating gingival barriers like light-cured resin shields or petroleum jelly to prevent peroxide burns.
Avoid whitening during active gum inflammation or bleeding. Select stannous fluoride toothpastes to create protective shields against sensitivity. Custom trays with controlled concentrations deliver superior results while minimizing tissue damage compared to variable-concentration over-the-counter kits.
Caring for Your Gums After Whitening Treatment
When whitening treatment concludes, immediate post-care actions determine whether you’ll experience minor discomfort or significant gum complications. Rinse thoroughly with lukewarm water to remove residual bleaching gel, then apply a cold compress for 10-15 minutes to reduce swelling.
Implement saltwater rinses (½ teaspoon salt in warm water) 2-3 times daily to combat inflammation and bacteria. Avoid alcohol-based mouthwashes for 24 hours, as they’ll exacerbate irritation. Maintain proactive oral hygiene using a soft-bristled toothbrush and fluoride toothpaste twice daily.
Consume soft, non-acidic foods while avoiding coffee, red wine, and spicy items for 48 hours. Understanding the proper healing timeline is essential: mild irritation resolves within 1-2 days. Contact your dentist if symptoms persist beyond one week, indicating potential tissue damage requiring intervention.
Comparing Professional and At-Home Whitening Options
Your choice between professional and at-home whitening directly impacts both treatment outcomes and gum health risks. Professional whitening cost reflects ideal protection through dentist-applied barriers that shield your gums from high-concentration peroxide (25-40% hydrogen peroxide). This supervised approach minimizes irritation risks while delivering eight-shade improvements in 60-90 minutes.
At home whitening convenience allows flexible scheduling, but over-the-counter products containing 10-22% carbamide peroxide increase misuse potential without custom-fitted trays or protective barriers.
Key protective differences include:
- Professional treatments provide immediate monitoring to identify complications before they escalate
- Custom dentist-dispensed trays reduce gum exposure compared to generic over-the-counter alternatives
- Professional barriers prevent peroxide contact with soft tissues during application
You’ll achieve prime gum safety by selecting methods that match your risk tolerance and supervision preferences.
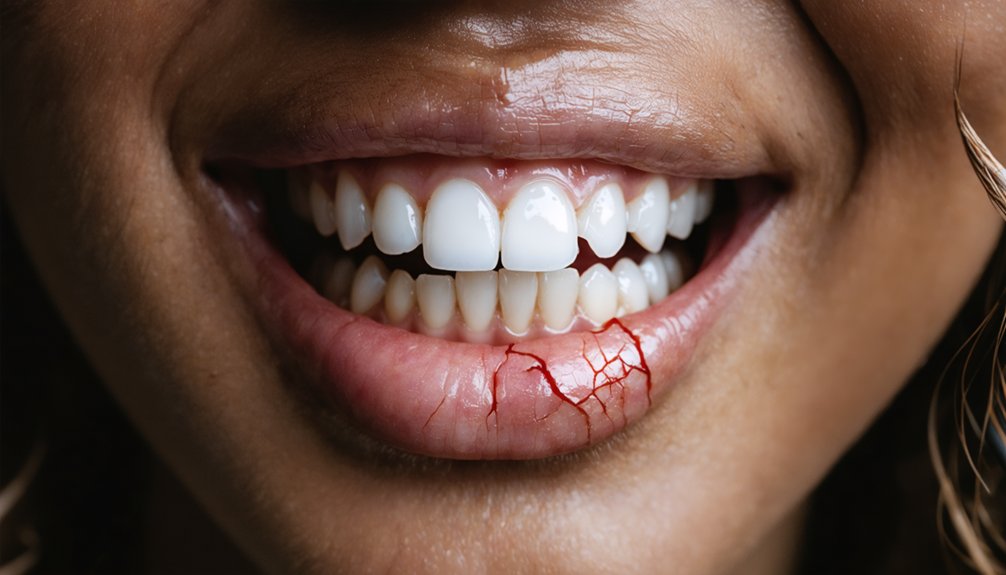
Recognizing Warning Signs of Gum Irritation
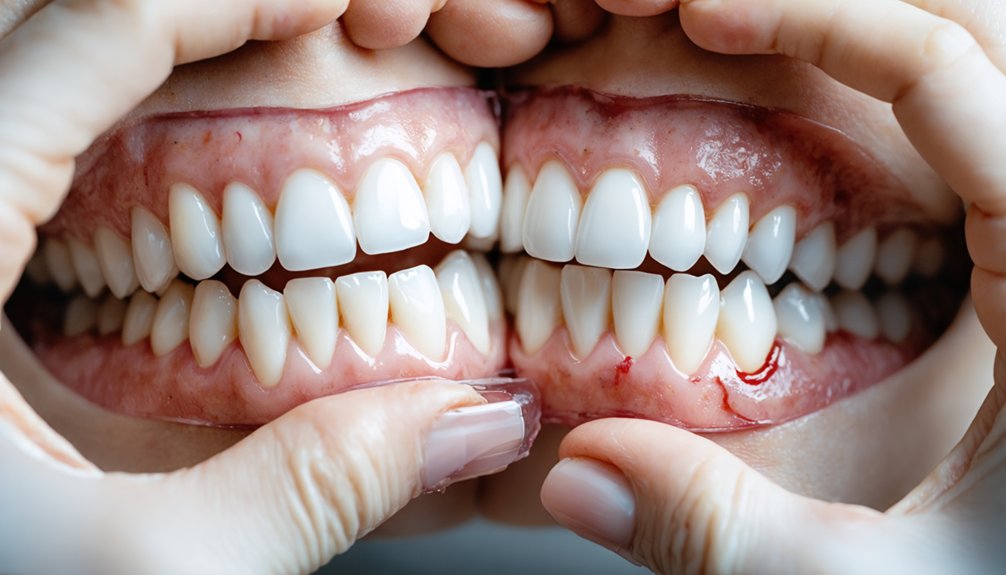
Early detection of gum irritation enables you to prevent minor discomfort from progressing into significant tissue damage. You’ll notice initial symptoms within 24 hours of treatment, including white patches or discoloration along your gumline.
Monitoring gum inflammation involves checking for redness, swelling, or peeling areas that resemble mild chemical burns. A persistent burning sensation or stinging indicates peroxide contact with soft tissues. Evaluating tissue damage requires attention to bleeding during routine oral care or pain during chewing activities.
If you experience symptoms beyond 48 hours, swollen gums with bleeding, or signs of infection like pus or persistent bad taste, you must consult your dentist immediately. Two-thirds of over-the-counter users report transient sensitivity, but prolonged discomfort signals potential enamel erosion or deeper tissue complications.
Maintaining Long-Term Gum Health During Whitening
Sustaining gum health during whitening requires consistent professional monitoring through biannual dental examinations that assess gingival tissue response to bleaching agents.
You’ll minimize cumulative irritation by implementing gradual treatment protocols rather than intensive single-session applications, allowing soft tissues adequate recovery time between exposures.
This preventive approach—combining scheduled check-ups with controlled peroxide exposure—reduces your risk of chronic inflammation and maintains ideal periodontal conditions throughout cosmetic treatment.
Regular Dental Check-Up Schedule
While maintaining ideal gum health during teeth whitening requires diligent home care, professional dental check-ups serve as the foundation of long-term periodontal protection. Most individuals need biannual visits, though personalized oral health considerations determine your preferable schedule.
If you’ve experienced gum sensitivity during whitening treatments, your dentist can monitor tissue response and adjust protocols accordingly.
Professional cleaning frequency adjustments depend on specific risk factors:
- High-risk patients (active gum disease, diabetes, smoking) require quarterly visits for optimal management
- Low-risk patients with excellent oral health may extend intervals to 12-18 months
- Post-whitening monitoring guarantees gum tissue has fully recovered before subsequent treatments
Your dentist’s specialized instruments remove tartar buildup that home care can’t eliminate, while early detection capabilities identify problems before they escalate during whitening procedures.
Gradual Whitening Treatment Approach
A gradual whitening treatment approach minimizes gum irritation through controlled exposure to bleaching agents over extended timeframes. You’ll achieve maximum whitening results by selecting lower-concentration solutions that work progressively rather than aggressively. This method reduces chemical burn risk while allowing your gums to adapt between sessions. Milder agents prove particularly beneficial if you’re experiencing first-time treatment or have documented sensitivity history.
Your enamel protection considerations remain paramount throughout extended protocols. Weaker formulations maintain structural integrity while delivering comparable aesthetic outcomes over longer periods. You’re exercising greater control over treatment intensity, reducing likelihood of soft tissue damage. This systematic approach enables monitoring between applications, allowing immediate intervention if irritation develops.
Gradual whitening represents evidence-based practice for achieving desired brightness without compromising gingival health.
Frequently Asked Questions
Can I Whiten My Teeth if I Have Braces or Dental Implants?
You can’t whiten braces or implants effectively—only natural teeth respond. Before whitening, address teeth sensitivity concerns and enamel erosion risks with your dentist. They’ll create a controlled treatment plan preventing complications while achieving uniform results you desire.
How Long Should I Wait Between Whitening Sessions to Protect Gums?
You’ll need 6-12 months spacing between treatments to minimize impact on gum sensitivity. This interval allows tissue recovery and prevents cumulative irritation. If you’re experiencing sensitivity, extend waiting periods to 12-18 months for ideal gum protection.
Are Natural Whitening Remedies Safer for Gums Than Chemical Products?
Natural whitening alternatives aren’t inherently safer for gums than chemical products. You’ll find gum-friendly whitening options in both categories when used correctly. Professional supervision and proper application techniques matter more than whether you choose natural or chemical methods.
Does Teeth Whitening Cause Permanent Damage to Gum Tissue Over Time?
No, you won’t experience permanent gum damage from proper whitening protocols. However, excessive whitening sessions cause sensitivity increases over time. You’ll protect your gums by following recommended treatment intervals, using custom trays, and maintaining professional supervision throughout.
Can Pregnant or Breastfeeding Women Safely Undergo Teeth Whitening Treatments?
Most dental professionals recommend postponing teeth whitening during pregnancy and breastfeeding due to limited safety research and increased dental sensitivity from hormonal changes. You’ll maintain oral hygiene through professional cleanings and routine care until after delivery.
References
- https://www.nylaserdentistry.com/how-to-avoid-gum-sensitivity-after-teeth-whitening/
- https://dentalgroupoflubbock.com/why-teeth-whitening-can-trigger-rashes-on-lips-gums/
- https://valleycreekdentalcare.com/blog/preventing-gum-irritation-teeth-whitening-expert-tips-for-a-safe-experience
- https://www.paradisevalleydental.com/what-cosmetic-dentists-use-to-protect-gums-during-whitening/
- https://wewhiten.com/gums-burning-teeth-whitening/
- https://artesadental.com/how-to-treat-burned-gums-from-teeth-whitening/
- https://www.colgate.com/en-us/oral-health/teeth-whitening/burned-gums-from-teeth-whitening–what-you-need-to-know
- https://www.hollywoodwhitening.com/blog/how-heal-prevent-gum-burns-teeth-whitening/
- https://www.scottgreenhalghdds.com/blog/10-tips-for-dealing-with-sensitivity-after-teeth-whitening
- https://www.waterforddentalgroup.com/blog/2024/12/02/consult-dentist-teeth-whitening-why/