You can naturally whiten your teeth using seven proven home remedies. Combine baking soda with hydrogen peroxide for gentle surface stain removal, practice oil pulling with coconut oil, or create a diluted apple cider vinegar solution. Try a strawberry-baking soda paste, activated charcoal application, orange oil treatments, or fruit-based methods using banana peel or pineapple. While these methods offer varying degrees of effectiveness, proper technique and careful application are essential to protect your enamel and achieve ideal results.
Key Takeaways
- Mix baking soda with hydrogen peroxide to create a gentle whitening paste, but limit use to avoid tooth sensitivity.
- Practice oil pulling by swishing coconut oil for 15-20 minutes to reduce stains and fight bacteria.
- Combine mashed strawberries with baking soda for a natural whitening treatment that uses malic acid to break down stains.
- Dilute apple cider vinegar with water in a 1:3 ratio and use briefly as a mouth rinse for mild whitening.
- Apply activated charcoal paste gently with a soft toothbrush 1-2 times weekly to remove surface stains.
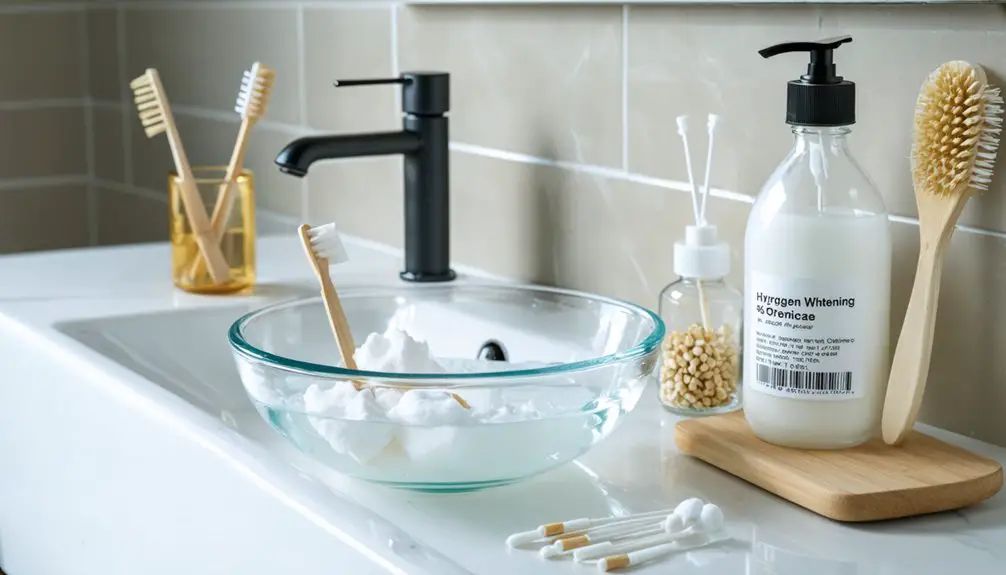
The Power of Baking Soda and Hydrogen Peroxide
While many people seek professional teeth whitening treatments, the combination of baking soda and hydrogen peroxide offers a powerful at-home alternative for dental brightening. The baking soda benefits include its gentle abrasive action that removes surface stains while neutralizing harmful acids in your mouth. Quick results are possible since the mild abrasiveness helps remove stains effectively. Research shows that baking soda provides gentle whitening action compared to stronger methods.
When combined with hydrogen peroxide’s deep oxidizing properties, you’ll achieve both surface cleaning and internal tooth bleaching.
However, you’ll need to take into account hydrogen peroxide risks, including potential tooth sensitivity and gum irritation if used incorrectly. To safely use this combination, mix the ingredients sparingly and brush gently.
You’ll want to complement this treatment with fluoride toothpaste to maintain enamel strength. For best results, use the mixture according to recommended guidelines and consult your dentist regularly to monitor your oral health.
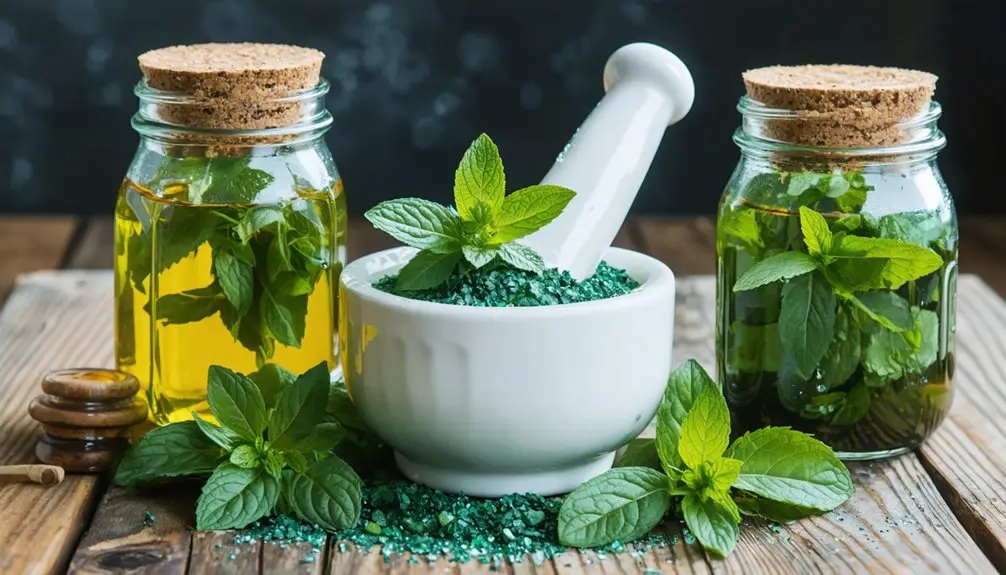
Ancient Wisdom: Oil Pulling With Coconut Oil
Those seeking natural tooth whitening solutions may find interest in oil pulling, an ancient Ayurvedic practice that dates back 2,500 years. This traditional remedy involves swishing coconut oil in your mouth for 15-20 minutes before your regular oral hygiene routine. Selecting virgin coconut oil provides maximum nutrient benefits for optimal results.
While clinical evidence for teeth whitening remains limited, coconut oil’s antimicrobial effects can reduce harmful bacteria that contribute to stains and plaque. The oil’s lauric acid content fights microbes that cause tooth discoloration and gum inflammation. You can also apply directly to toothbrush for a simpler application method.
You’ll want to use 1 teaspoon to 1 tablespoon of coconut oil per session, spitting the oil into the trash afterward to prevent plumbing issues.
Though you might notice modest improvements in teeth brightness, remember that this Ayurvedic remedy shouldn’t replace professional dental care or regular brushing and flossing.
Apple Cider Vinegar: A Natural Whitening Solution
While apple cider vinegar‘s natural whitening potential stems from its acetic acid content, you’ll need to properly dilute it with water to protect your tooth enamel from erosion.
You can expect some antibacterial benefits and surface stain removal when applying a mixture of one part ACV to three parts water for 1-2 minutes, though results aren’t scientifically proven. A recent study has shown that apple cider vinegar has a pH of 2.5-3.0, making careful dilution critical. Long-term use of apple cider vinegar for teeth whitening can actually lead to yellowing as the enamel erodes.
After treatment, you must wait at least 60 minutes before brushing to prevent additional enamel damage and rinse your mouth thoroughly with plain water.
Safe Dilution Methods
Since apple cider vinegar‘s acidity can damage tooth enamel, proper dilution is essential for safe use as a natural whitening agent.
Mix 1 part ACV with 4 parts water for a standard dilution ratio, or combine ½ teaspoon of ACV with one cup of water before brushing.
When using diluted ACV, apply the solution with a toothbrush or finger for 1-2 minutes, then rinse thoroughly with water. The acetic acid content helps eliminate plaque buildup and surface stains effectively.
Don’t swallow the mixture, as it can irritate your throat. After rinsing, wait 30 minutes before brushing with regular toothpaste to protect your enamel.
Limit treatments to a few times per week rather than daily use to minimize potential damage. Xylitol products like sugar-free gum can help neutralize mouth pH after treatment.
If you experience tooth sensitivity, discontinue use immediately and consult your dental professional for guidance.
Benefits and Risks
Understanding the full scope of apple cider vinegar’s effects on teeth helps determine if it’s worth incorporating into your oral care routine.
While ACV effectiveness studies show some antimicrobial benefits and surface-level whitening potential, these advantages come with significant risks.
Laboratory research confirms that ACV’s high acidity (pH 2.5-3.0) can cause enamel erosion, potentially leading to tooth sensitivity and decay. Research shows a mineral loss range of 1-20% when tooth enamel is exposed to vinegar for extended periods. Dental experts warn that this enamel damage is often irreversible.
You’ll need to weigh the modest whitening benefits against the potential for permanent dental damage.
The antimicrobial properties may help reduce plaque-causing bacteria, but conventional whitening products offer more reliable results without compromising your enamel’s integrity.
If you choose to use ACV, proper dilution is essential, and you should never apply it undiluted, as this can harm both your teeth and oral tissues.
Application and Aftercare
To safely incorporate apple cider vinegar into your teeth whitening routine, proper dilution and application techniques are essential. For ideal enamel protection, you’ll need to follow specific steps that minimize acid exposure while maximizing potential benefits.
- Mix 1-2 teaspoons of apple cider vinegar with water to create a diluted solution that’s gentler on your teeth.
- Apply the mixture to your teeth using your finger, gently rubbing for 1-2 minutes.
- Rinse thoroughly with water immediately after application for acid neutralization.
- Wait 60 minutes before brushing to protect softened enamel.
After treatment, focus on remineralization by using fluoride toothpaste and avoiding acidic foods.
You’ll need to maintain this routine consistently for about a month to observe any whitening effects, but always monitor for sensitivity and discontinue use if irritation occurs.
Sweet Smile: Strawberry and Baking Soda Mix
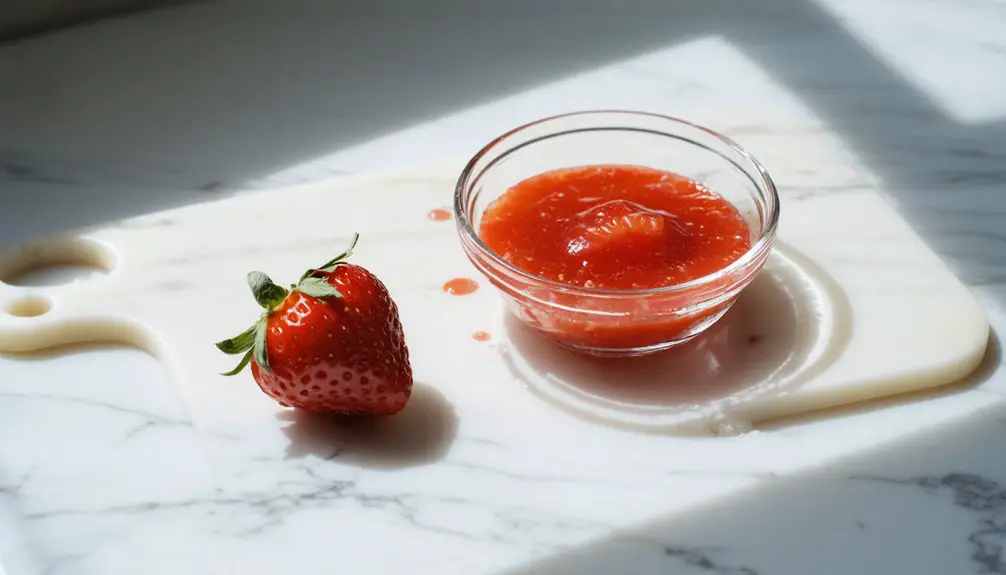
A fascinating blend of natural chemistry occurs when strawberries meet baking soda for teeth whitening. The strawberry benefits come from malic acid, which helps break down surface stains, while baking soda effectiveness stems from its gentle abrasive properties that remove plaque and debris.
You’ll need to exercise caution with this method, as it’s milder than commercial treatments but still requires careful application.
Mash fresh strawberries with baking soda to create a paste, apply it briefly to your teeth, then rinse thoroughly. While you might notice immediate brightening effects, they’re temporary and surface-level only.
To protect your enamel, don’t use this mixture more than once weekly, and always consult your dentist first. The acid-base reaction can weaken tooth structure if overused.
Activated Charcoal for Dental Brilliance
While activated charcoal can help remove surface stains from your teeth through its mild abrasive and adsorption properties, you’ll need to apply it carefully and sparingly to avoid potential enamel damage.
You can create a paste by mixing food-grade activated charcoal powder with a small amount of water, then gently brush it onto your teeth for no more than two minutes before thoroughly rinsing.
If you choose to try this method, limit applications to once per week and discontinue use if you experience increased tooth sensitivity or gum irritation.
Safe Application Methods
Since activated charcoal has gained popularity as a natural tooth whitening method, proper application techniques remain essential for both safety and effectiveness. For ideal charcoal effectiveness and enamel protection, you’ll need to follow specific guidelines when applying this treatment to your teeth.
- Create a smooth paste by mixing activated charcoal powder with a small amount of water until reaching a consistent texture.
- Apply the paste using a soft-bristled toothbrush, employing gentle dabbing motions rather than vigorous scrubbing.
- Limit brushing time to 1-2 minutes per session, focusing on surface stains without overworking the enamel.
- Rinse thoroughly until all charcoal residue is removed, then follow with your regular fluoride toothpaste.
Remember to restrict usage to 1-2 times weekly and discontinue if you experience any sensitivity or gum irritation.
Benefits and Results
Now that you understand proper application methods, let’s examine the actual benefits and limitations of activated charcoal for tooth whitening.
Research shows charcoal efficacy is primarily limited to removing surface stains through abrasive action, rather than creating deep, intrinsic changes to tooth color.
Despite popular consumer misconceptions, clinical studies indicate activated charcoal performs similarly to regular toothpaste, falling considerably short of peroxide-based treatments in whitening power.
While you might notice subtle improvements with continued use, these results often don’t meet expectations set by marketing claims.
Additionally, the product’s abrasive nature can potentially damage your enamel over time, especially with aggressive application.
For best results and dental safety, you’ll achieve more reliable whitening outcomes using dentist-approved peroxide treatments rather than relying solely on activated charcoal products.
Precautions When Using Charcoal
Before incorporating activated charcoal into your dental care routine, you must understand several critical safety concerns that could affect your oral health.
Taking proper charcoal precautions is essential for enamel protection and maintaining your dental well-being.
- Don’t use activated charcoal if you have sensitive teeth, dental work, or exposed dentin, as its abrasive nature can damage restorations and worsen existing conditions.
- Never substitute regular fluoride toothpaste with charcoal products, as this leaves your teeth vulnerable to decay.
- Limit usage to occasional treatments rather than daily application to prevent gradual enamel erosion.
- Consult your dentist before starting any charcoal-based dental treatments, especially if you have crowns, veneers, or other dental work.
If you experience any irritation or sensitivity, discontinue use immediately and seek professional dental advice.
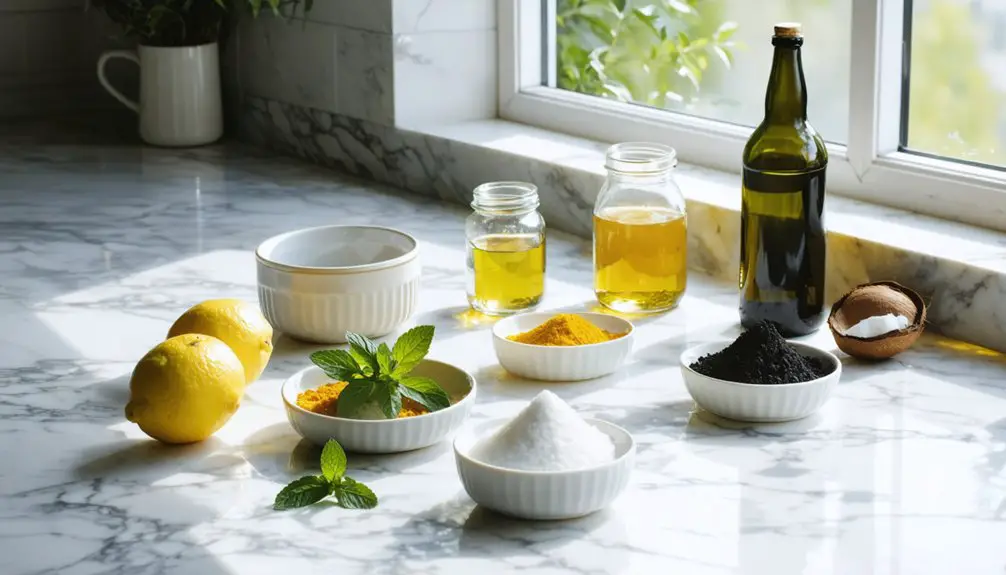
Orange Oil and Turmeric: Traditional Brightening Methods
While natural teeth-whitening solutions have gained popularity, orange oil and turmeric represent two traditional methods that warrant careful consideration.
Orange oil contains d-limonene, which may help remove surface stains, but its acidic nature can erode your tooth enamel with prolonged use. You’ll want to limit direct application and consider professionally tested alternatives instead.
Turmeric benefits extend beyond its anti-inflammatory properties to potential oral health improvements. While it’s known to reduce gum inflammation and fight bacteria, turmeric’s effectiveness for teeth whitening lacks substantial clinical evidence.
If you’re considering using turmeric paste, be mindful that its yellow pigment could temporarily stain teeth if not used properly. For the safest results, you should stick to clinically proven whitening products or consult your dentist for professional treatments.
Nature’s Fruits: Banana Peel and Pineapple Benefits
The natural properties of banana peels and pineapples have sparked interest in their potential teeth-whitening capabilities. While scientific evidence remains limited, these fruits contain compounds that may support oral health.
When using banana peel for teeth brightening, you’ll want to follow these key steps:
- Select a ripe, yellow banana peel and make sure it’s clean before use.
- Gently rub the inner white portion against your teeth for 2 minutes.
- Let the residue remain for 10-15 minutes before rinsing.
- Repeat daily for one week while maintaining regular oral hygiene.
Pineapple properties, particularly the enzyme bromelain, offer promising benefits through their proteolytic and antimicrobial effects.
However, you’ll need to exercise caution with pineapple’s natural acidity to protect your enamel from erosion during treatment.
Frequently Asked Questions
How Long Does It Take to See Results From Natural Teeth Whitening Methods?
Rome wasn’t built in a day! You’ll need consistent use of natural remedies for 4-12 weeks to see noticeable teeth whitening timeline results, with effectiveness varying based on your stain type.
Can Natural Whitening Remedies Work on Dental Crowns or Veneers?
No, natural whitening won’t work on your crowns or veneers. These materials are non-porous and can’t be whitened once placed. You’ll need professional veneers care to maintain their appearance through cleaning.
Are These Natural Methods Safe During Pregnancy?
Most natural whitening methods are safe during pregnancy, but you’ll still need to exercise caution. Due to safety concerns and pregnancy effects, consult your dentist and avoid harsh abrasives or extended applications.
Which Natural Whitening Method Is Best for Sensitive Teeth?
You’ll get the best results with coconut oil pulling, which offers both natural sensitivity relief and whitening. It’s gentler than other natural ingredients and won’t aggravate your sensitive teeth.
Should I Consult My Dentist Before Trying Natural Teeth Whitening Remedies?
Like a pilot before takeoff, you’ll want your dentist’s clearance first. Professional consultation guarantees your oral health is suitable for whitening and prevents potential damage to sensitive teeth and gums.
References
- https://www.nwfamilydentalcare.com/teeth-whitening-remedies/
- https://dentaldesignbg.com/blog/whiten-teeth/
- https://www.hyannisdental.com/blog/brighten-your-smile-naturally-6-simple-ways-to-whiten-teeth-at-home/
- https://www.berkeleyhillsdentist.com/brighten-your-smile-naturally-berkeley-home-remedies-for-teeth-whitening/
- https://www.healthline.com/nutrition/whiten-teeth-naturally
- https://southeasterndentalcenter.com/baking-soda-a-natural-solution-for-whiter-teeth/
- https://ubiehealth.com/doctors-note/baking-soda-teeth-whitening-effectiveness
- https://www.healthline.com/health/baking-soda-toothpaste
- https://pmc.ncbi.nlm.nih.gov/articles/PMC10024105/
- https://www.frontiersin.org/journals/dental-medicine/articles/10.3389/fdmed.2021.687507/full