You’ll achieve 2-6 shades of whitening by following this proven process: brush and floss thoroughly, apply carbamide peroxide gel evenly across your teeth using custom trays, then activate your LED mouthpiece by pressing the power button. Position the device flush against your teeth for 10-minute sessions daily over 10-14 days. The 456-nanometer blue light activates hydrogen peroxide molecules that penetrate enamel and break down stains through photon-assisted oxidation. Understanding proper technique, sensitivity management, and maintenance strategies guarantees you’ll maximize your treatment’s effectiveness and longevity.
Key Takeaways
- Brush and floss teeth thoroughly to remove plaque and food particles before applying whitening gel.
- Apply carbamide peroxide gel evenly across visible tooth surfaces using customized trays for consistent coverage.
- Activate LED mouthpiece and position flush against teeth, ensuring contact with gel throughout the treatment session.
- Complete 10-minute daily sessions for 10-14 days to achieve 2-6 shades of whitening improvement.
- Maintain results with touch-ups every 4-6 weeks, use straws for pigmented drinks, and schedule regular dental cleanings.
Understanding How LED Technology Whitens Your Teeth
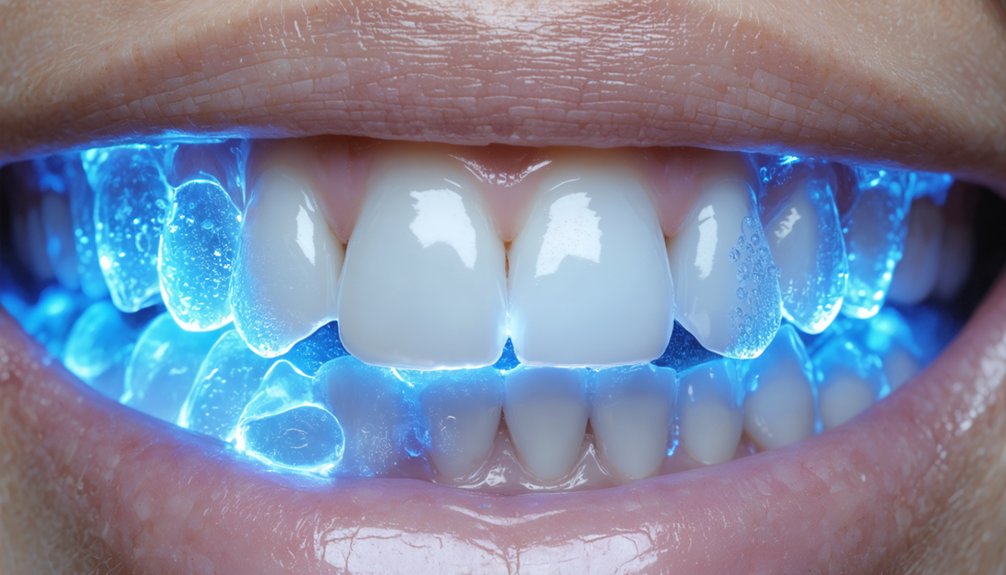
LED teeth whitening works through a sophisticated interplay of light energy and chemical reactions that target the discolored molecules embedded in your tooth enamel. The blue LED light operates at 456 nanometers, activating hydrogen peroxide in your whitening gel to accelerate oxidation reactions that break down stains.
This process involves two distinct chemical mechanisms: direct photobleaching, where chromophores absorb light and lose electrons through photooxidation, and photon-assisted oxidation, where light catalyzes peroxide breakdown.
The combination enables tooth enamel penetration as reactive oxygen molecules dissolve discoloration from both enamel and dentin layers. Your teeth’s porous structure allows the activated gel to distribute evenly, attacking all chromophore fractions simultaneously.
LED technology achieves this without overheating, preserving your enamel integrity while delivering measurable results within the 24-hour active window of hydrogen peroxide.
What’s Inside Your LED Whitening Kit
Your LED whitening kit contains two critical components that work together to remove stains and brighten your smile. The whitening gel, typically formulated with 35-44% carbamide peroxide (equivalent to 9-12% hydrogen peroxide), provides the active bleaching agent that penetrates enamel to break down discoloration.
The LED mouthpiece, equipped with 32 high-intensity lights in multiple wavelengths, accelerates the whitening process while its soft, flexible material guarantees comfortable contact with your teeth during each 15-minute treatment session.
Essential Gel and Tray
When you open a professional-grade LED whitening kit, you’ll find precisely formulated components designed to deliver clinical-level results at home. Your customized whitening trays guarantee even gel distribution across all tooth surfaces, preventing pooling or gaps that compromise effectiveness. These trays fit snugly to maintain consistent contact throughout treatment.
The optimized gel formulation typically contains 35% carbamide peroxide in three 5ml syringes, providing approximately 30 applications. This concentration breaks down gradually into hydrogen peroxide and urea, delivering controlled whitening with reduced sensitivity risk.
Premium kits incorporate 6% potassium nitrate and fluoride to calm nerve endings while strengthening enamel. The syringe design enables precise dispensing, allowing you to control gel quantity per session. Stabilizers like carbomer and glycerin maintain proper consistency for ideal tray adhesion during treatment.
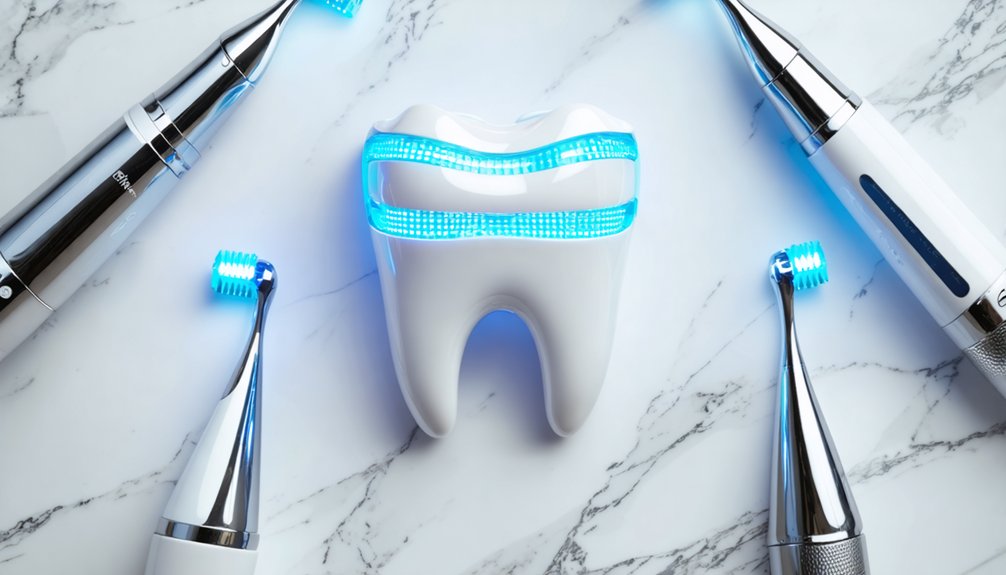
LED Device Features
At the core of professional-grade whitening systems lies the blue LED device, which emits a specific wavelength (typically 460-490 nanometers) that catalyzes the breakdown of chromophores—the molecular structures responsible for tooth discoloration. This photochemical activation accelerates peroxide penetration into enamel, removing stains from coffee, wine, and tobacco more efficiently than gel alone.
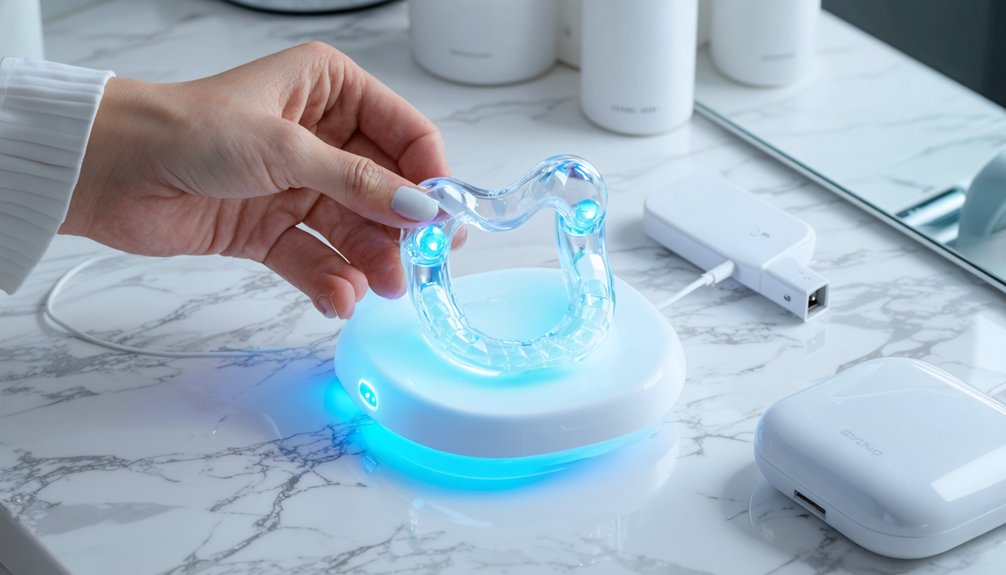
Modern LED devices feature design flexibility through ComfortFit silicone mouthpieces that conform to your dental anatomy, ensuring uniform gel distribution and preventing slippage during 5-30 minute sessions. You’ll find both wired and wireless configurations, with rechargeable units offering 20+ treatments per charge via USB connectivity. Premium kits include magnetic charging cables and protective storage cases.
The light wavelength remains constant across sessions, delivering consistent results without causing enamel damage when you follow manufacturer protocols for frequency and duration.
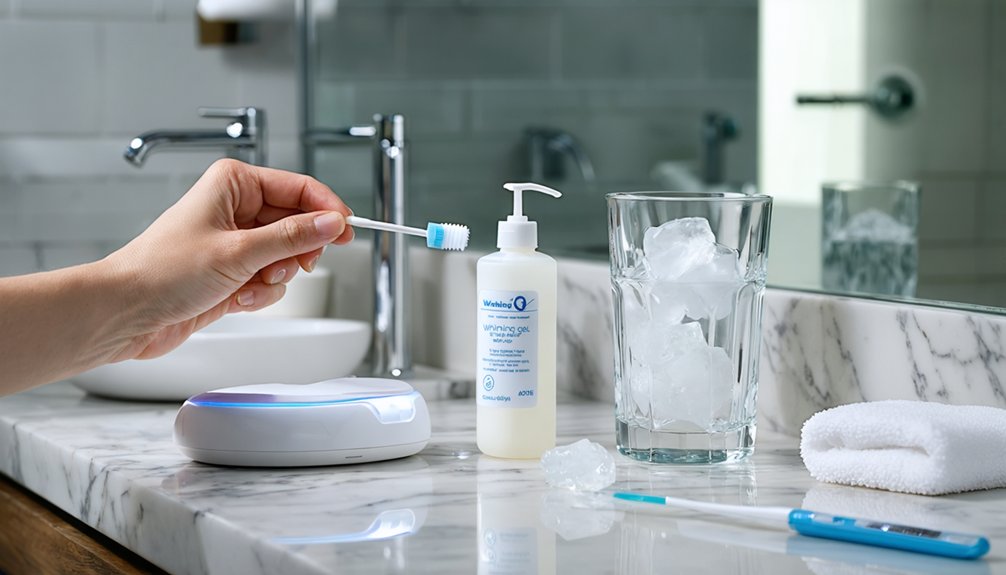
Preparing Your Teeth for Treatment
Proper preparation determines the success of your LED teeth whitening treatment. Begin by thoroughly brushing and flossing to remove plaque and food particles that would block gel penetration. This step guarantees optimizing tooth surface cleanliness for maximum whitening agent contact with enamel.
Remove refrigerated gel six hours before application, or submerge the syringe in 49°C water for ten minutes. Wait five minutes post-heating before use to achieve proper viscosity.
Dry your teeth completely with clean tissue immediately before gel application. This moisture removal secures serum adhesion to enamel surfaces.
Avoid coffee, tea, and red wine for at least one hour pre-treatment. During application, focus on minimizing gingival irritation by keeping gel away from gums and using gauze to protect cheeks and lips from peroxide contact.
Using Your LED Whitening Device Properly
Your teeth are now clean, dry, and ready for whitening gel application. Apply your chosen whitening product methodically—strips center on front teeth with edges folded back, serum painted tooth-by-tooth using the wand, or gel brushed 1-2mm thick across surfaces. For effective treatment application, guarantee complete coverage of visible tooth enamel.
Once product’s applied, activate your LED device. Press both side buttons simultaneously, or use the power button depending on your model. Proper light placement requires positioning the mouthpiece flush against your teeth, maintaining contact with the whitening product throughout the session.
Treatment duration varies by system: 5-minute sessions with auto-shutoff, 10-minute daily treatments, or twice-daily 10-minute applications for 14 days. You’ll hear beeps signaling halfway points and completion times.
How Many Shades Whiter Can You Expect
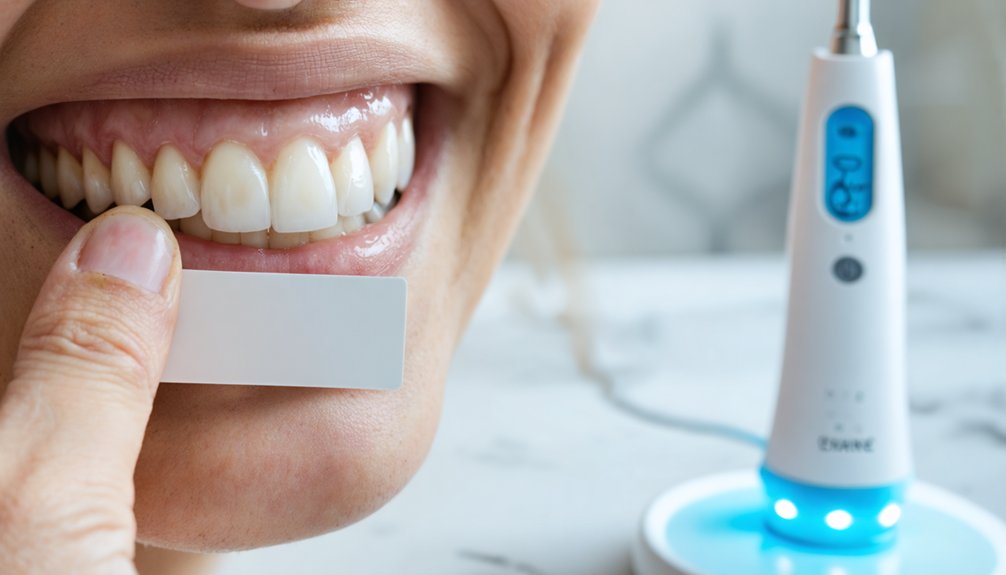
At-home LED whitening typically produces 2-6 shades of improvement over 1-2 weeks, which is more modest than the 7-8 shades you’d achieve with professional in-office treatments in a single 30-minute session.
Your results depend primarily on your starting tooth shade, the concentration of peroxide gel you’re using, and how consistently you apply the treatment.
Understanding these factors helps you set realistic expectations and maximize your whitening outcomes with home LED devices.
Typical At-Home Results Range
Most users can expect their teeth to lighten by 2-5 shades when using LED whitening kits at home, though individual results vary considerably based on your unique tooth characteristics. This shade variation occurs because enamel thickness, natural tooth color, and stain type differ from person to person.
Intrinsic stains embedded within your tooth structure respond less effectively than surface-level extrinsic stains from coffee or wine.
Predictability challenges arise from these biological differences—your baseline shade ultimately determines your realistic whitening ceiling. While some manufacturers claim 7-8 shade improvements, these figures typically represent professional treatment outcomes rather than at-home expectations.
You’ll achieve ideal results by maintaining consistent daily application for 7-10 days and understanding that your individual tooth composition directly influences final outcomes.
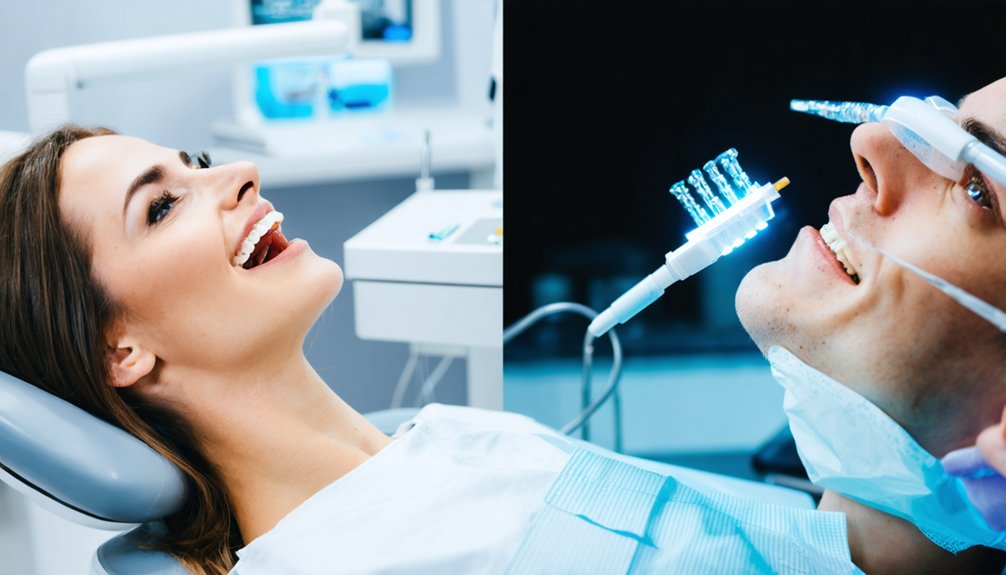
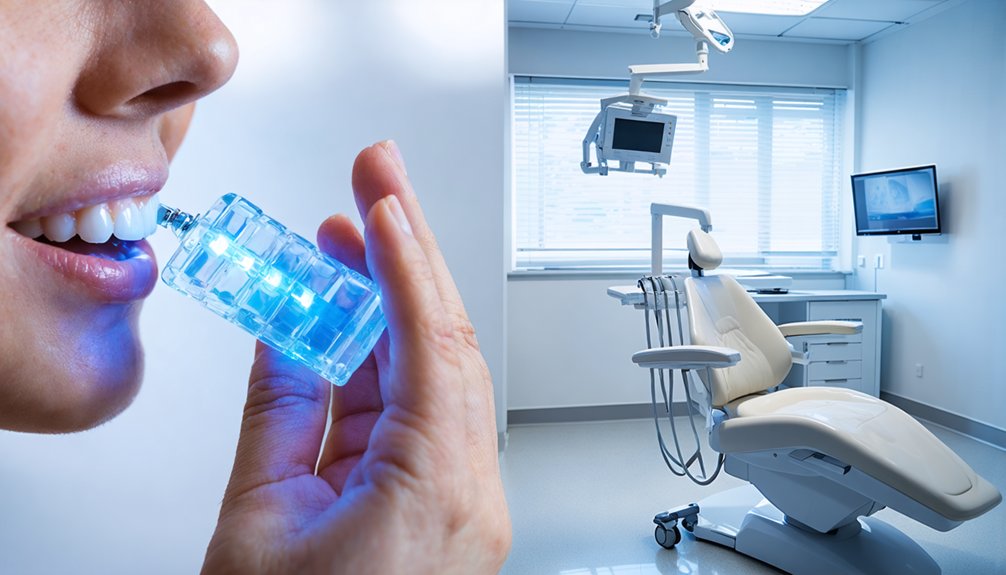
Professional Vs Home Comparison
Professional LED whitening treatments deliver 6-8 shades of improvement in a single session, while at-home kits typically achieve 2-5 shades over 10-14 days of consistent use. This difference stems from concentration levels—dentists apply high-strength bleaching agents that penetrate enamel more effectively, while home formulas use lower potency for unsupervised safety.
You’ll notice professional treatments offer superior quality assurance through expert application, ensuring even coverage and minimizing patchy results. At-home LED kits risk inconsistent outcomes from user error during application.
Regarding lasting effectiveness, professional whitening maintains brightness up to one year with proper maintenance, whereas home treatments fade more quickly, requiring frequent touch-ups. Professional methods target deeper stains for sustained results, while gentler home formulas provide shorter-term improvements that necessitate ongoing commitment.
Factors Affecting Shade Change
When considering LED teeth whitening at home, you’ll find that baseline tooth color serves as the primary predictor of visible results. Darker starting shades produce more dramatic contrast, while lighter teeth limit maximum shade gain. Your enamel health directly determines safe whitening limits and final outcomes.
Key factors influencing your shade change:
- Gel concentration: 37.5% hydrogen peroxide achieves ΔE of 8.37 ± 2.73, while 6% yields 5.27 ± 2.53 with better stability
- Age-related staining: Younger teens (14-16) experience preferable results through enamel thinning patterns, whereas older adults show minimal transformation due to enamel wear
- LED activation: Blue wavelengths accelerate peroxide breakdown for 4-8 shade improvement with 1.8-unit average color change
Heavy lifestyle staining requires multiple sessions, and annual maintenance becomes necessary for sustained results.
Managing Sensitivity and Potential Side Effects
While LED teeth whitening delivers impressive aesthetic results, understanding and managing potential side effects guarantees a comfortable experience. You’ll likely encounter transient tooth sensitivity within 24 hours post-treatment, particularly with higher hydrogen peroxide concentrations. This dental discomfort management requires strategic intervention: use sensitivity-specific toothpaste daily, reduce treatment frequency, and avoid temperature-extreme foods during recovery periods.
Gum irritation prevention demands precision application. Ill-fitting trays cause bleaching solution leakage, resulting in chemical burns on soft tissues. If you experience burning, whitening, or severe redness, discontinue immediately and rinse thoroughly. Professional-grade custom trays eliminate contact risks.
Most side effects resolve within 1-3 days and remain fully reversible. For persistent symptoms exceeding this timeline, consult your dentist for fluoride treatments or remineralizing protocols. You control outcomes through proper technique and dosage adherence.
Making Your Results Last Longer
Your whitening investment requires strategic maintenance protocols to preserve luminosity beyond the initial treatment window. You’ll need a personalized whitening plan that addresses your consumption patterns and lifestyle factors. Establish a regular usage schedule for at-home touch-ups, typically every 4-6 weeks depending on staining exposure.
Maintaining your whitening results demands a customized treatment schedule aligned with your dietary habits and staining risk factors.
Core maintenance strategies:
- Dietary vigilance: Use straws for pigmented beverages, rinse immediately after staining foods, and limit acidic substances that compromise enamel integrity
- Professional coordination: Schedule cleanings every 6-12 months and arrange periodic in-office touch-ups based on regression rates
- At-home protocols: Apply dentist-prescribed gels in custom trays as directed, incorporate whitening toothpaste daily, and store maintenance products properly
You control outcome longevity through consistent adherence to evidence-based preservation techniques and proactive intervention before significant discoloration recurs.
LED Home Kits Vs Professional Whitening Treatments
Choosing between LED home kits and professional whitening treatments fundamentally alters your whitening trajectory, with each pathway offering distinct advantages in effectiveness, safety parameters, and cost-benefit ratios.
Professional treatments deliver several shades lighter in one session through higher bleaching agent concentrations, with dentist monitoring minimizing gum irritation and sensitivity risks. You’ll invest several hundred to over $1,000, but results last up to a year with proper maintenance.
LED home kits cost $20-$100, providing gradual improvements over 10-14 days. Safety considerations include potential enamel damage and uneven application from unsupervised use. You control timing and privacy, though results prove shorter-lasting and milder.
Your cost benefit analysis should weigh immediate dramatic results against budget constraints, considering whether surface stain removal suffices or deep discoloration requires professional intervention.
Frequently Asked Questions
Can I Use LED Whitening if I Have Dental Crowns or Veneers?
You can safely use LED whitening with crowns or veneers—dental implant compatibility isn’t an issue. However, the effect on dental work is negligible; your restorations won’t lighten, potentially creating color mismatches with your whitened natural teeth.
How Long Should I Wait Between Whitening Sessions to Avoid Enamel Damage?
Like letting sunburned skin heal, you’ll need 24 hours between sessions to allow teeth recovery time. Monitor enamel sensitivity closely—if irritation persists, extend intervals and consult your dentist for personalized guidance.
What Foods and Drinks Should I Avoid Immediately After LED Whitening?
Immediately after LED whitening, you’ll need to avoid colored beverages like coffee, tea, and red wine, plus acidic foods including citrus and tomatoes for 48 hours. This protects your enamel and maintains ideal whitening results.
Is LED Teeth Whitening Safe for People With Sensitive Teeth?
Concerned about increased pain sensitivity? LED whitening’s generally safe for sensitive teeth if you’ll use desensitizing toothpaste beforehand and choose lower peroxide concentrations. Note: it won’t impact dental restorations but may cause temporary discomfort you can manage effectively.
Can I Use My Own Whitening Gel With Any LED Device?
You can use standard peroxide-based gels with most LED devices, but device compatibility varies by wavelength. Your whitening gel formula must match the LED’s specifications—typically carbamide or hydrogen peroxide concentrations—to guarantee safe, effective activation and consistent results.