At-home teeth whitening kits can brighten your smile by 2-8 shades within 1-3 weeks using peroxide-based gels and LED technology. You’ll find options ranging from $11 drugstore strips to $500 premium systems, with Crest 3D Whitestrips and Snow Teeth Whitening among top-rated choices. For best results, select ADA-approved products with 10-16% carbamide peroxide or up to 10% hydrogen peroxide concentration. Understanding proper application techniques and safety guidelines will maximize your whitening success.
Key Takeaways
- Choose between strips for beginners or custom trays for deeper whitening, with strips offering easier application and trays providing better coverage.
- Look for ADA-approved products containing 10-16% carbamide peroxide or up to 10% hydrogen peroxide for safe, effective at-home treatment.
- Follow application instructions carefully, using the recommended amount of gel and wearing time to prevent sensitivity and ensure optimal results.
- Consider LED whitening kits combining light technology with peroxide gels for enhanced effectiveness and faster results.
- Maintain results by brushing twice daily, limiting staining beverages, and using whitening toothpaste weekly for touch-up maintenance.
Understanding At-Home Teeth Whitening Technology
At-home teeth whitening technology harnesses the power of chemical bleaching agents and specialized light activation to transform discolored teeth.
The whitening gel composition typically contains hydrogen peroxide or carbamide peroxide, which break down stains through oxidation when applied to your teeth.
Light activation methods, particularly LED systems, accelerate this whitening process by enhancing the chemical reaction of the bleaching agents. These treatments are safe and fast for achieving visible results.
You’ll find these gels are specially formulated with a viscous consistency to stick to your teeth while minimizing contact with sensitive gum tissue.
For your safety, at-home kits use lower concentrations of active ingredients compared to professional treatments, effectively balancing results with comfort.
The recommended treatment time of 10-30 minutes allows the gel to work efficiently while protecting your enamel from dehydration.
Modern LED technology provides energy-efficient whitening while operating at cooler temperatures to reduce discomfort during treatment.
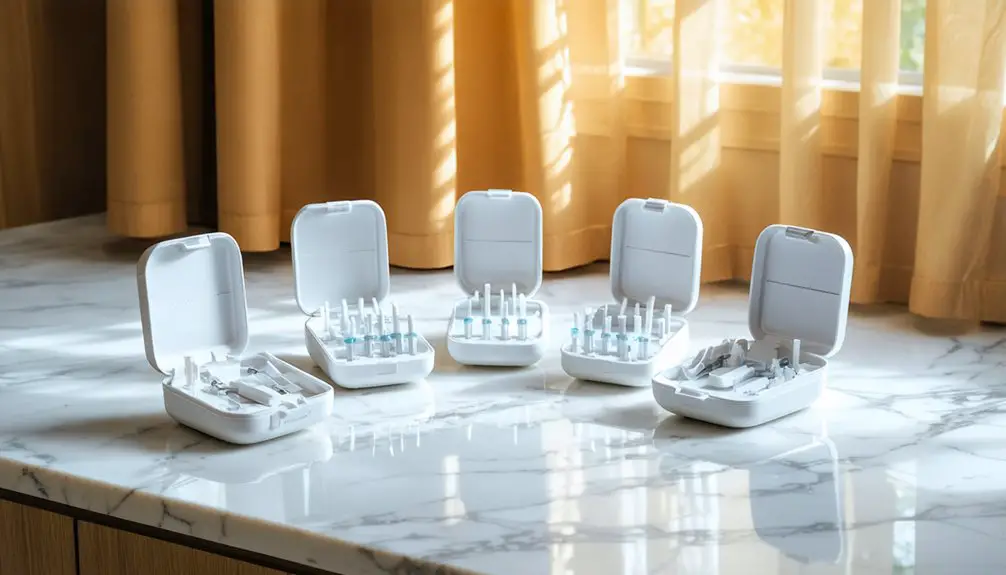
Top-Rated Whitening Kits for Different Needs
With an understanding of whitening technology, selecting the right kit for your specific needs becomes clear-cut. Current whitening trends show that kits fall into distinct categories based on user requirements.
Understanding today’s whitening technology helps you select precisely the right kit by matching features to your specific whitening needs.
For surface stains, Crest 3D Whitestrips Professional Express with LED light delivers an average 2.6-shade improvement within 19 days. The Oralgen NuPearl system achieves 2.1 shades lighter in just one week. If you’re dealing with sensitivity, consider Snow Teeth Whitening or GLO Brilliant, which incorporate gentle formulations with effective results. Most comprehensive kits contain carbamide peroxide as the primary whitening agent for gradual, controlled results.
Kit comparisons reveal diverse price points, from $11 drugstore options like Plus White to premium systems around $500.
For stubborn stains, high-performance kits combining custom-fitted trays with LED acceleration provide ideal results. Your choice should align with factors including whitening goals, sensitivity levels, budget constraints, and time commitment for treatment.
How to Choose the Right Kit for Your Teeth
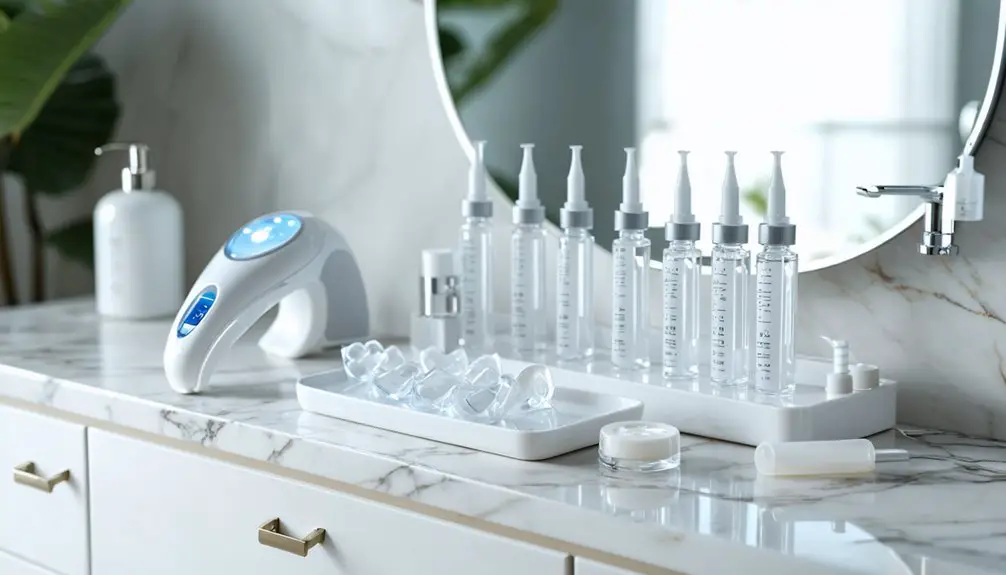
When selecting a teeth whitening kit, you’ll need to first consider the peroxide concentration that matches your sensitivity level, with 10-15% hydrogen peroxide or 35% carbamide peroxide being standard effective strengths.
Your choice between fitted trays and strips will impact both the coverage area and the consistency of whitening results, as custom-fitted trays typically provide more extensive contact with tooth surfaces. The LED whitening kits combine special light technology with whitening gels for enhanced stain removal.
If you’re new to teeth whitening, you might want to start with strips before investing in a more thorough tray system, allowing you to gauge your teeth’s sensitivity response while minimizing initial costs. Take time to read real user reviews to understand effectiveness and potential sensitivity issues from others’ experiences.
Peroxide Strength Matters Most
Understanding peroxide concentration in teeth whitening kits stands as the most critical factor in achieving ideal results safely.
You’ll find that application time often matters more than the actual peroxide strength – lower concentrations used longer can match the effectiveness of higher concentrations used briefly.
For at-home use, look for kits containing 10-16% carbamide peroxide or up to 10% hydrogen peroxide. The ADA-approved products provide tested safety and effectiveness for home whitening treatments.
These concentrations strike an excellent balance between safety and results. While higher concentrations may seem more effective, they don’t necessarily produce better overall whitening outcomes. Instead, they can increase your risk of tooth sensitivity and enamel damage.
Start with moderate concentrations and extend your application time rather than rushing with stronger formulas. Professional treatment may use concentrations up to 40% in carefully controlled settings.
You’ll achieve comparable results while protecting your dental health.
Tray Fit Vs Strips
Choosing between whitening trays and strips represents a critical decision that affects your treatment’s success. Custom trays offer significant advantages, including precise tooth coverage and deeper stain removal, while strips present notable limitations in fit and consistency. The overnight treatment option with custom trays provides enhanced whitening results compared to shorter strip applications.
Consider these key differences when selecting your whitening method:
- Fit and Coverage – Custom trays provide complete tooth surface contact and prevent gel overflow, while strips may miss curved areas and shift during use.
- Effectiveness – Trays deliver stronger peroxide concentrations and more uniform results, whereas strips offer primarily surface-level whitening.
- Long-term Value – Though initially costlier, trays require fewer applications and generate less waste compared to strips’ frequent replacement needs. Professional consultation can help determine if your oral health makes you an ideal candidate for custom impression kits at home.
Your choice should align with your specific needs, considering factors like tooth sensitivity, lifestyle demands, and desired whitening intensity.
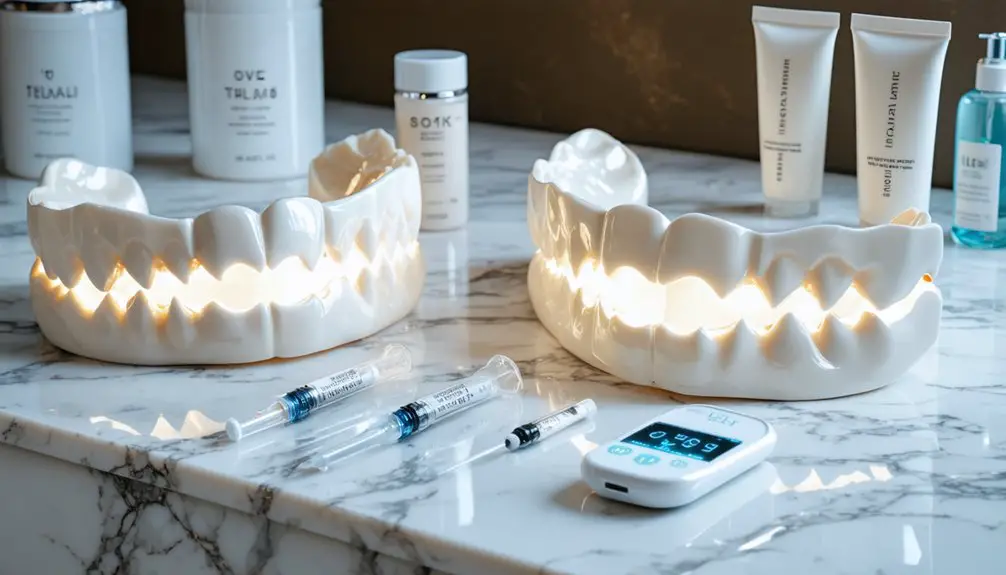
Step-by-Step Guide to Using Whitening Trays
Before you begin whitening, you’ll need to verify your custom trays fit properly by testing them without gel and trimming them to touch only your teeth.
When applying the whitening gel, use approximately 1/4 to 1/5cc total, focusing primarily on the front teeth and carefully wiping away any excess from tray edges.
You’ll achieve ideal results by keeping your trays clean and dry before each use, then pressing them firmly against your teeth to create an airtight seal that prevents gel leakage.
Prep Your Whitening Tray
A proper whitening tray preparation guarantees optimal results and comfort during your teeth whitening treatment. The tray customization process begins with carefully softening your tray in hot water for 3-5 seconds, holding it by the tab to maintain control during the molding process.
For ideal fitting techniques, follow these essential steps:
- Submerge your tray in freshly boiled water, then quickly position it over your teeth to create a precise impression.
- Trim excess material with small scissors, guaranteeing the tray only contacts your teeth and not your gums.
- Test the fit without gel by wearing the tray briefly to identify any areas needing adjustment.
Once you’ve confirmed a comfortable fit, verify your tray is completely clean and dry before proceeding with gel application.
Safe Application Techniques
Now that your whitening tray fits perfectly, proper application techniques will determine the success of your teeth whitening treatment.
Start by applying a small drop of whitening gel (1/4 to 1/5 cc) in each tooth compartment, ensuring even gel distribution without overflow. Place the trays firmly over your teeth, one at a time, and gently suction inward to secure them.
For ideal results, maintain application consistency by wearing trays for 30-60 minutes initially, adjusting duration based on sensitivity and gel concentration.
Remove promptly after each session and rinse your teeth thoroughly. Clean trays with cold water and store them in a dry case.
If you experience persistent discomfort, reduce frequency or consult your dentist. Remember to avoid colored beverages immediately after treatment to maximize whitening effectiveness.
Safety Tips and Best Practices
Maintaining safety during home teeth whitening requires careful attention to product selection and usage guidelines. Always choose products with the ADA seal and follow manufacturer instructions precisely to protect your oral health. Proper sensitivity management and product storage are essential for ideal results and safety.
Select ADA-approved whitening products and follow instructions carefully to ensure safe, effective treatment while protecting your teeth and gums.
For maximum safety and effectiveness, follow these key practices:
- Perform a patch test before full application to check for adverse reactions, and stop use immediately if you experience burning or severe irritation.
- Don’t combine multiple whitening products simultaneously, and avoid staining foods during treatment.
- Store your whitening kit as directed, and maintain gentle brushing with a soft-bristled toothbrush throughout the whitening process.
If you experience persistent sensitivity or gum problems, consult your dentist before continuing treatment. They can help customize your whitening approach based on your specific oral health needs.
Maintaining Your Whitening Results
To preserve your investment in teeth whitening, a thorough maintenance strategy combining proper oral hygiene, dietary choices, and regular dental care is essential.
Follow these proven whitening maintenance tips: brush twice daily with a soft-bristled toothbrush, use whitening toothpaste once weekly, and floss daily to prevent stain buildup.
Adjust your dietary habits by limiting stain-causing beverages like coffee, tea, and red wine. When you do consume these drinks, use a straw and rinse your mouth afterward.
Schedule regular dental cleanings for professional touch-ups, and follow your dentist’s recommendations for at-home whitening treatments.
Maintain consistent oral hygiene practices by replacing your toothbrush every three months and incorporating an antiseptic mouthwash into your routine.
These steps will help extend your whitening results considerably.
Frequently Asked Questions
Can I Whiten Teeth With Dental Work Like Crowns or Veneers?
While 95% of dental patients seek whiter smiles, you can’t whiten crowns or veneers since whitening treatments aren’t effective on these dental materials. You’ll need professional consultation to address color compatibility issues.
How Long Should I Wait to Whiten Teeth After Dental Cleaning?
You can whiten your teeth the same day as cleaning, but waiting 24 hours helps minimize teeth sensitivity. For best results and comfort, consider this brief waiting period between cleaning and whitening frequency.
Will Whitening Treatments Remove White Spots on Teeth?
Whitening won’t remove white spots since they’re caused by enamel defects, not stains. You’ll need specific treatment options like microabrasion, resin infiltration, or fluoride treatments to effectively address these spots.
Can Teenagers Safely Use At-Home Teeth Whitening Kits?
You shouldn’t use at-home whitening kits until you’re at least 14-16 years old, due to safety concerns with developing teeth. Always get your dentist’s approval and follow age restrictions on products.
Should I Brush My Teeth Immediately Before or After Whitening Treatment?
Like a gentle sunrise, pre-treatment hygiene calls for brushing before whitening, but you’ll want to wait 30 minutes after treatment. Post-treatment care requires patience to protect your newly softened enamel.
References
- https://www.tribecasmiles.com/best-teeth-whitening-kits-with-trays-2025
- https://www.goodhousekeeping.com/health-products/g28723133/best-at-home-teeth-whitening-products/
- https://nhdentistrybeverlyhills.com/press/6-of-the-best-teeth-whitening-kits-in-the-drugstore/
- https://gloscience.com
- https://www.trysnow.com/blogs/news/how-do-teeth-whitening-machines-work
- https://www.colgate.com.au/oral-health/teeth-whitening/how-does-led-teeth-whitening-work
- https://pmc.ncbi.nlm.nih.gov/articles/PMC6784469/
- https://www.youtube.com/watch?v=9iCUMh7gRRQ
- https://pmc.ncbi.nlm.nih.gov/articles/PMC4058574/
- https://g-p-dental.com/best-teeth-whitening-kits-in-2025-safe-option/